2nd Coats of Epoxy Primer
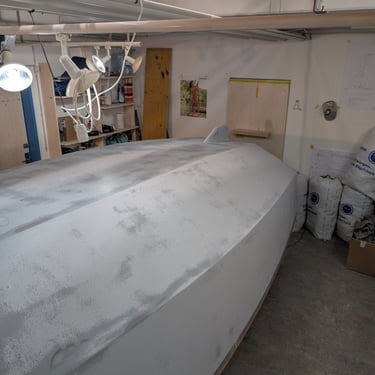
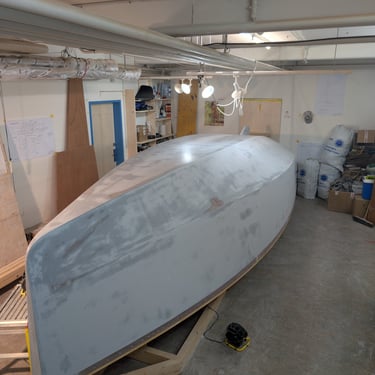
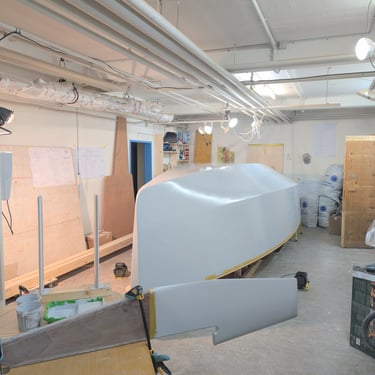
A fully sanded hull and some fresh primer
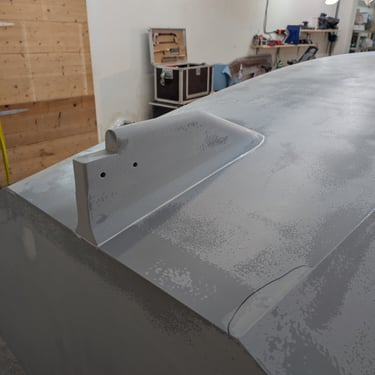
In the last blog entry, I showed how I installed the skeg. Before that, there was more sanding to do, and the initial coats of epoxy primer I had applied needed sanding with 120-grit and then 180-grit sandpaper. You can see the results below. In a few spots, I barely sanded through to the epoxy, revealing the most problematic areas.
The sanding process was much more enjoyable this time since I used electric tools. I started with a Mirka sander and 80-grit sandpaper to knock down the high spots because the surface was quite rough. After that, I sanded most of the boat with a Rupes sander borrowed from Jo (hull 165). In the bow section, along the chine, I used the Mirka orbital sander.
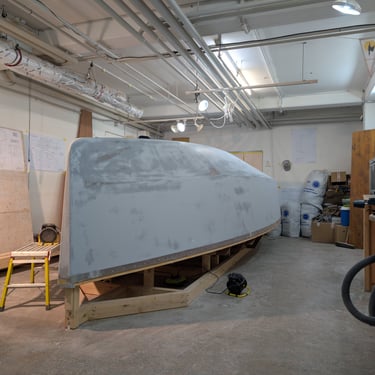
After cleaning and gluing on the skeg, I applied five more layers of Epifanes High Build Epoxy Primer. This time, I thinned it by 5% and used a fine foam roller to apply it, resulting in a thinner film and a very smooth surface.
The purpose of these layers is to build up the strength and thickness of the protective coating since the hull was already perfectly fair. Applying these layers made for a tough week, as I started on a Sunday afternoon.
Each application took about four hours. I mixed the primer in two batches because its pot life is roughly two hours. During the induction time, I degreased the surface one last time. The subsequent coats were applied on the following days after work, allowing 24 hours for the primer to cure and de-gas. No coloring agents were added.
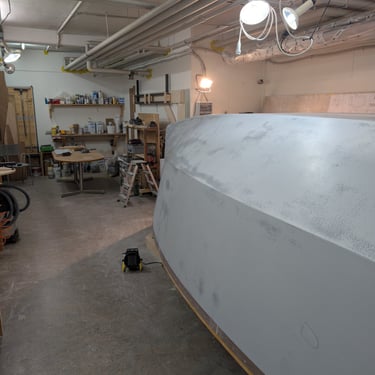
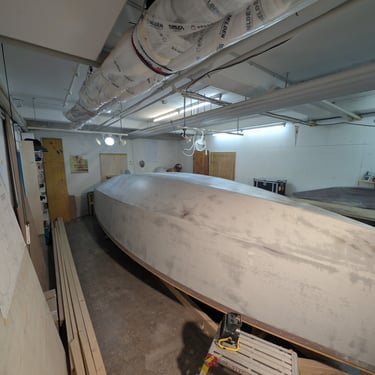
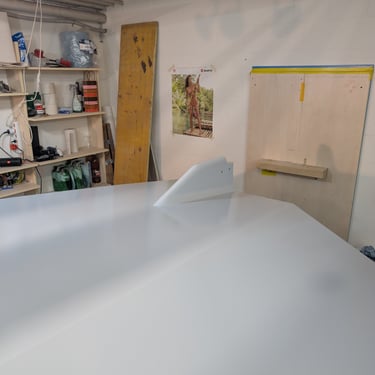
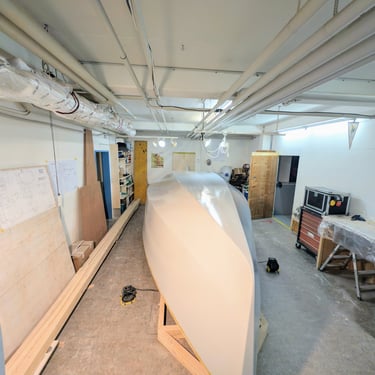
The pictures below show the progress after the first coat.