
Building the Bulb Plug and Casting Moulds
A side project alongside regular boat work documenting the full process of building concrete molds to cast lead keel halves for multiple Swiss builders.
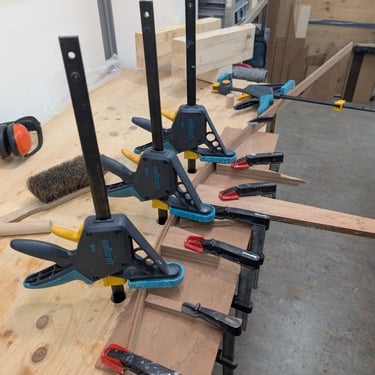
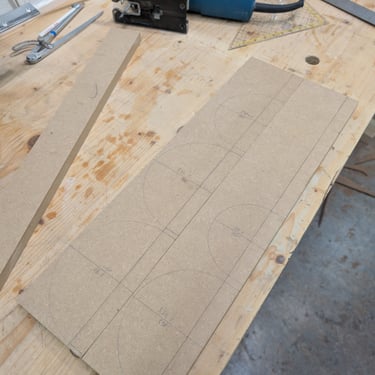
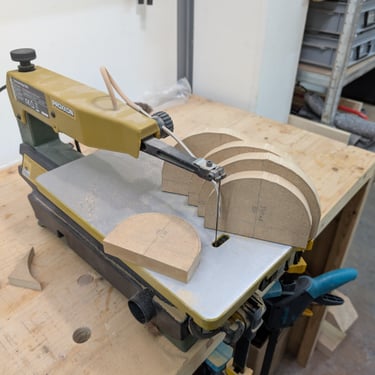
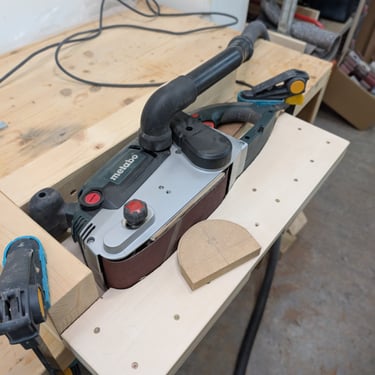
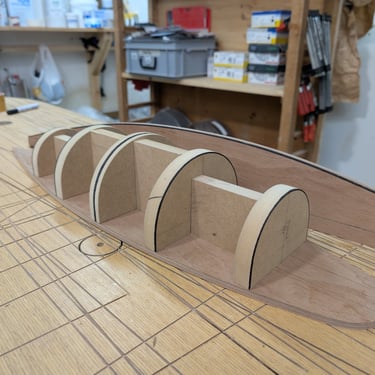
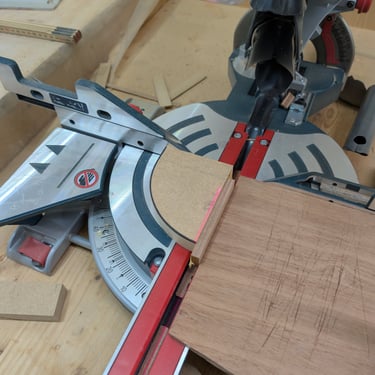
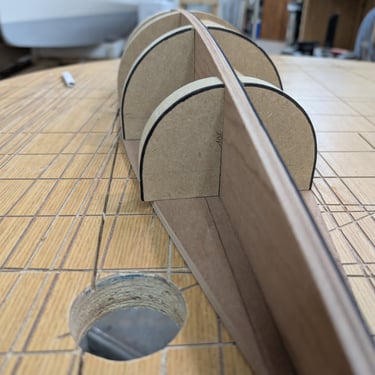
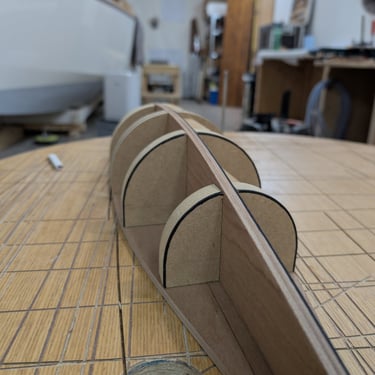
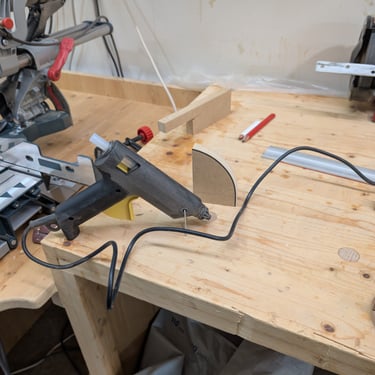
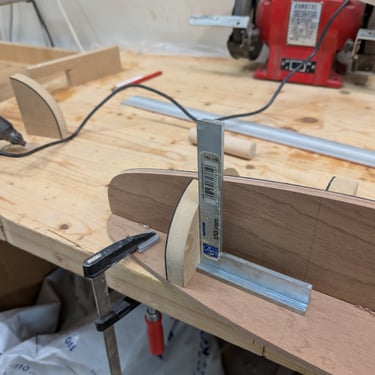
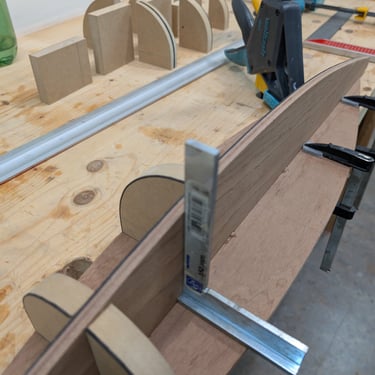
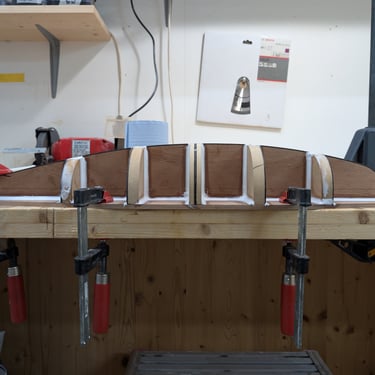
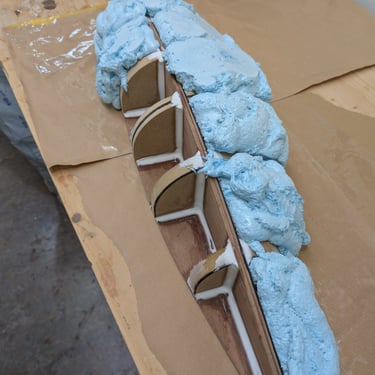
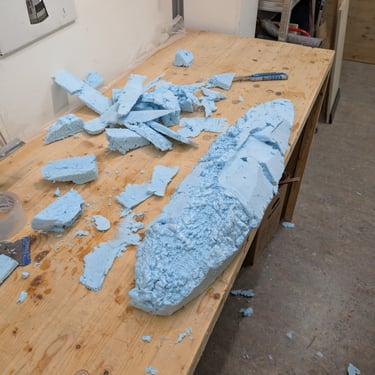
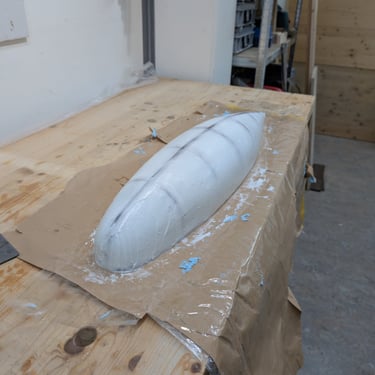
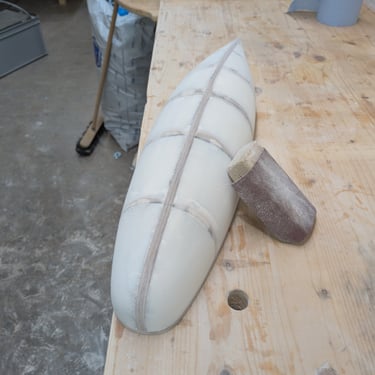
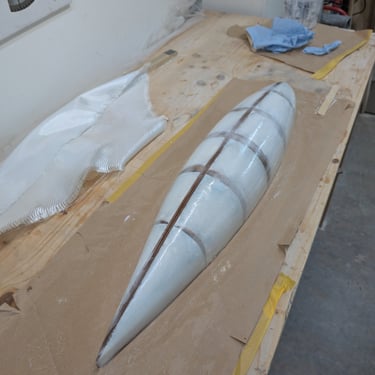
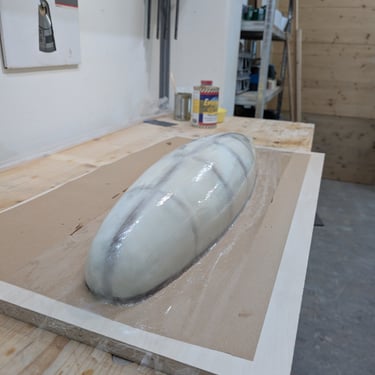
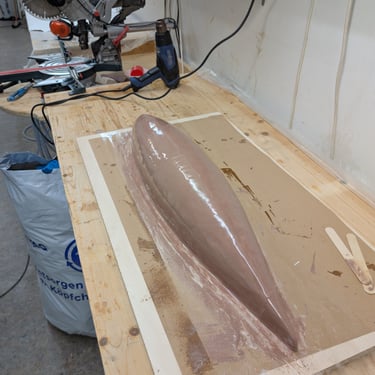
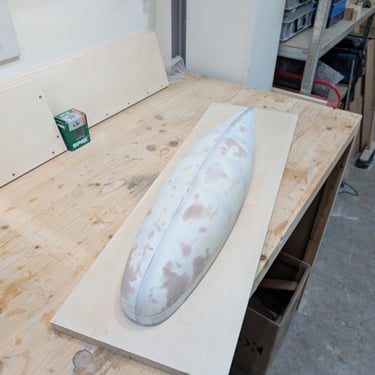
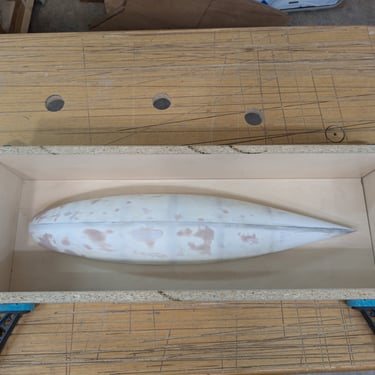
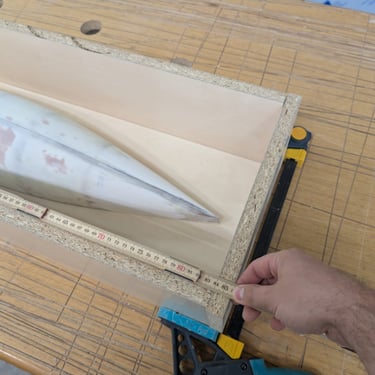
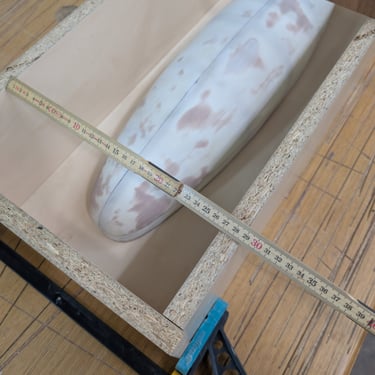
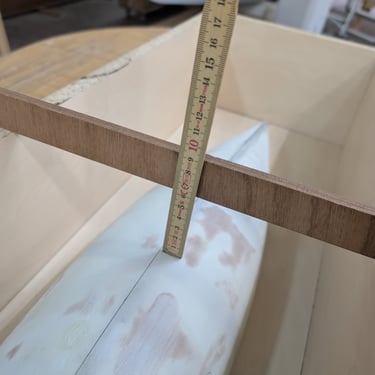
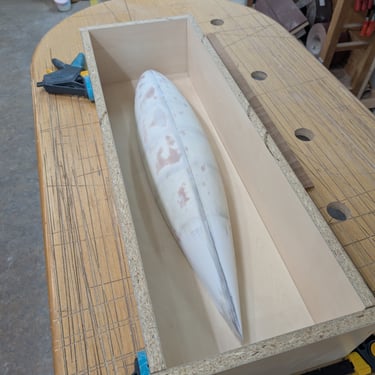
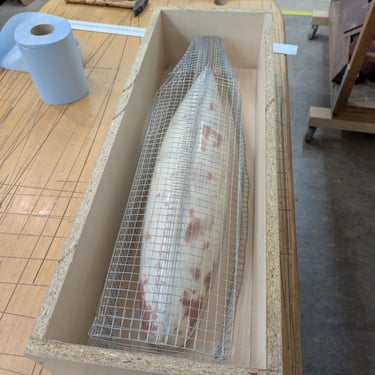
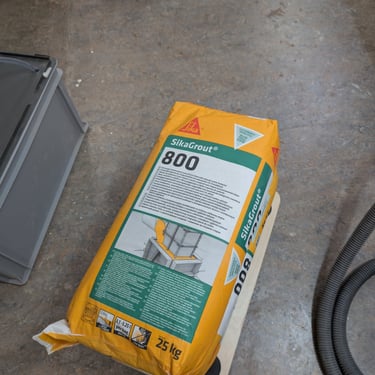
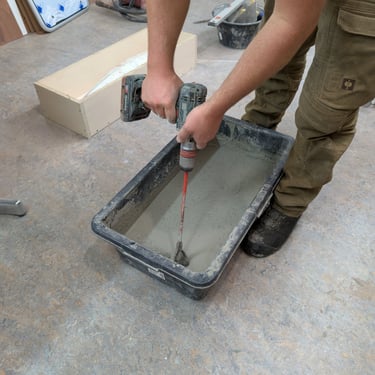
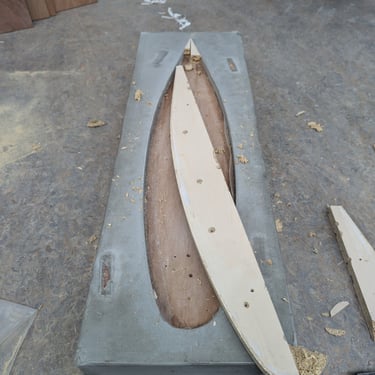
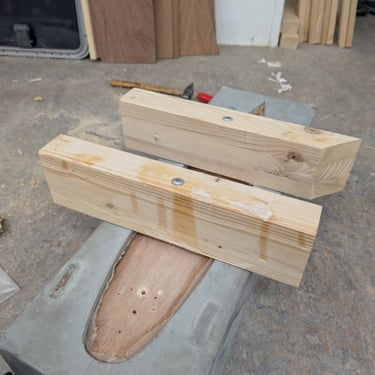
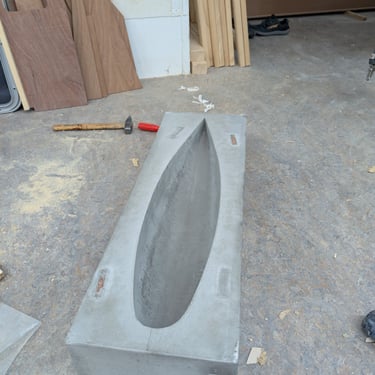
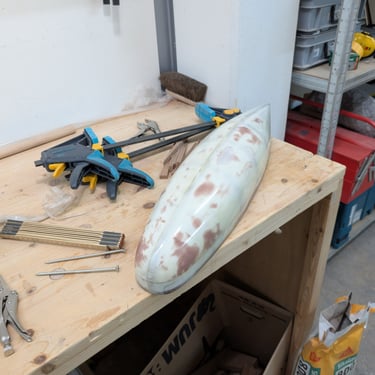
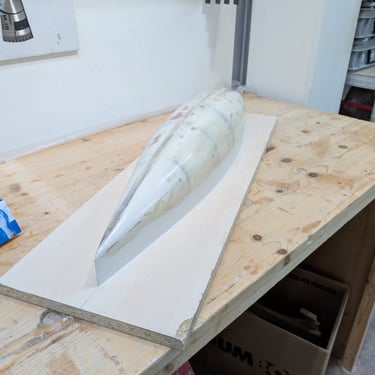
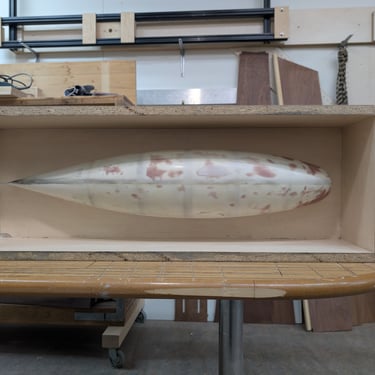
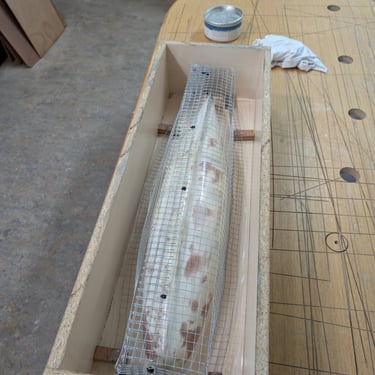
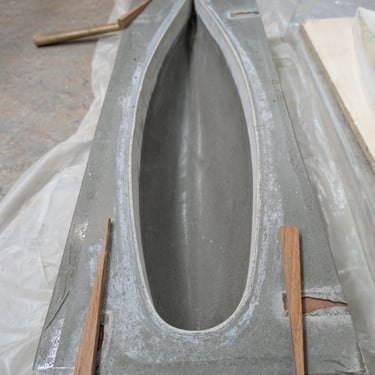
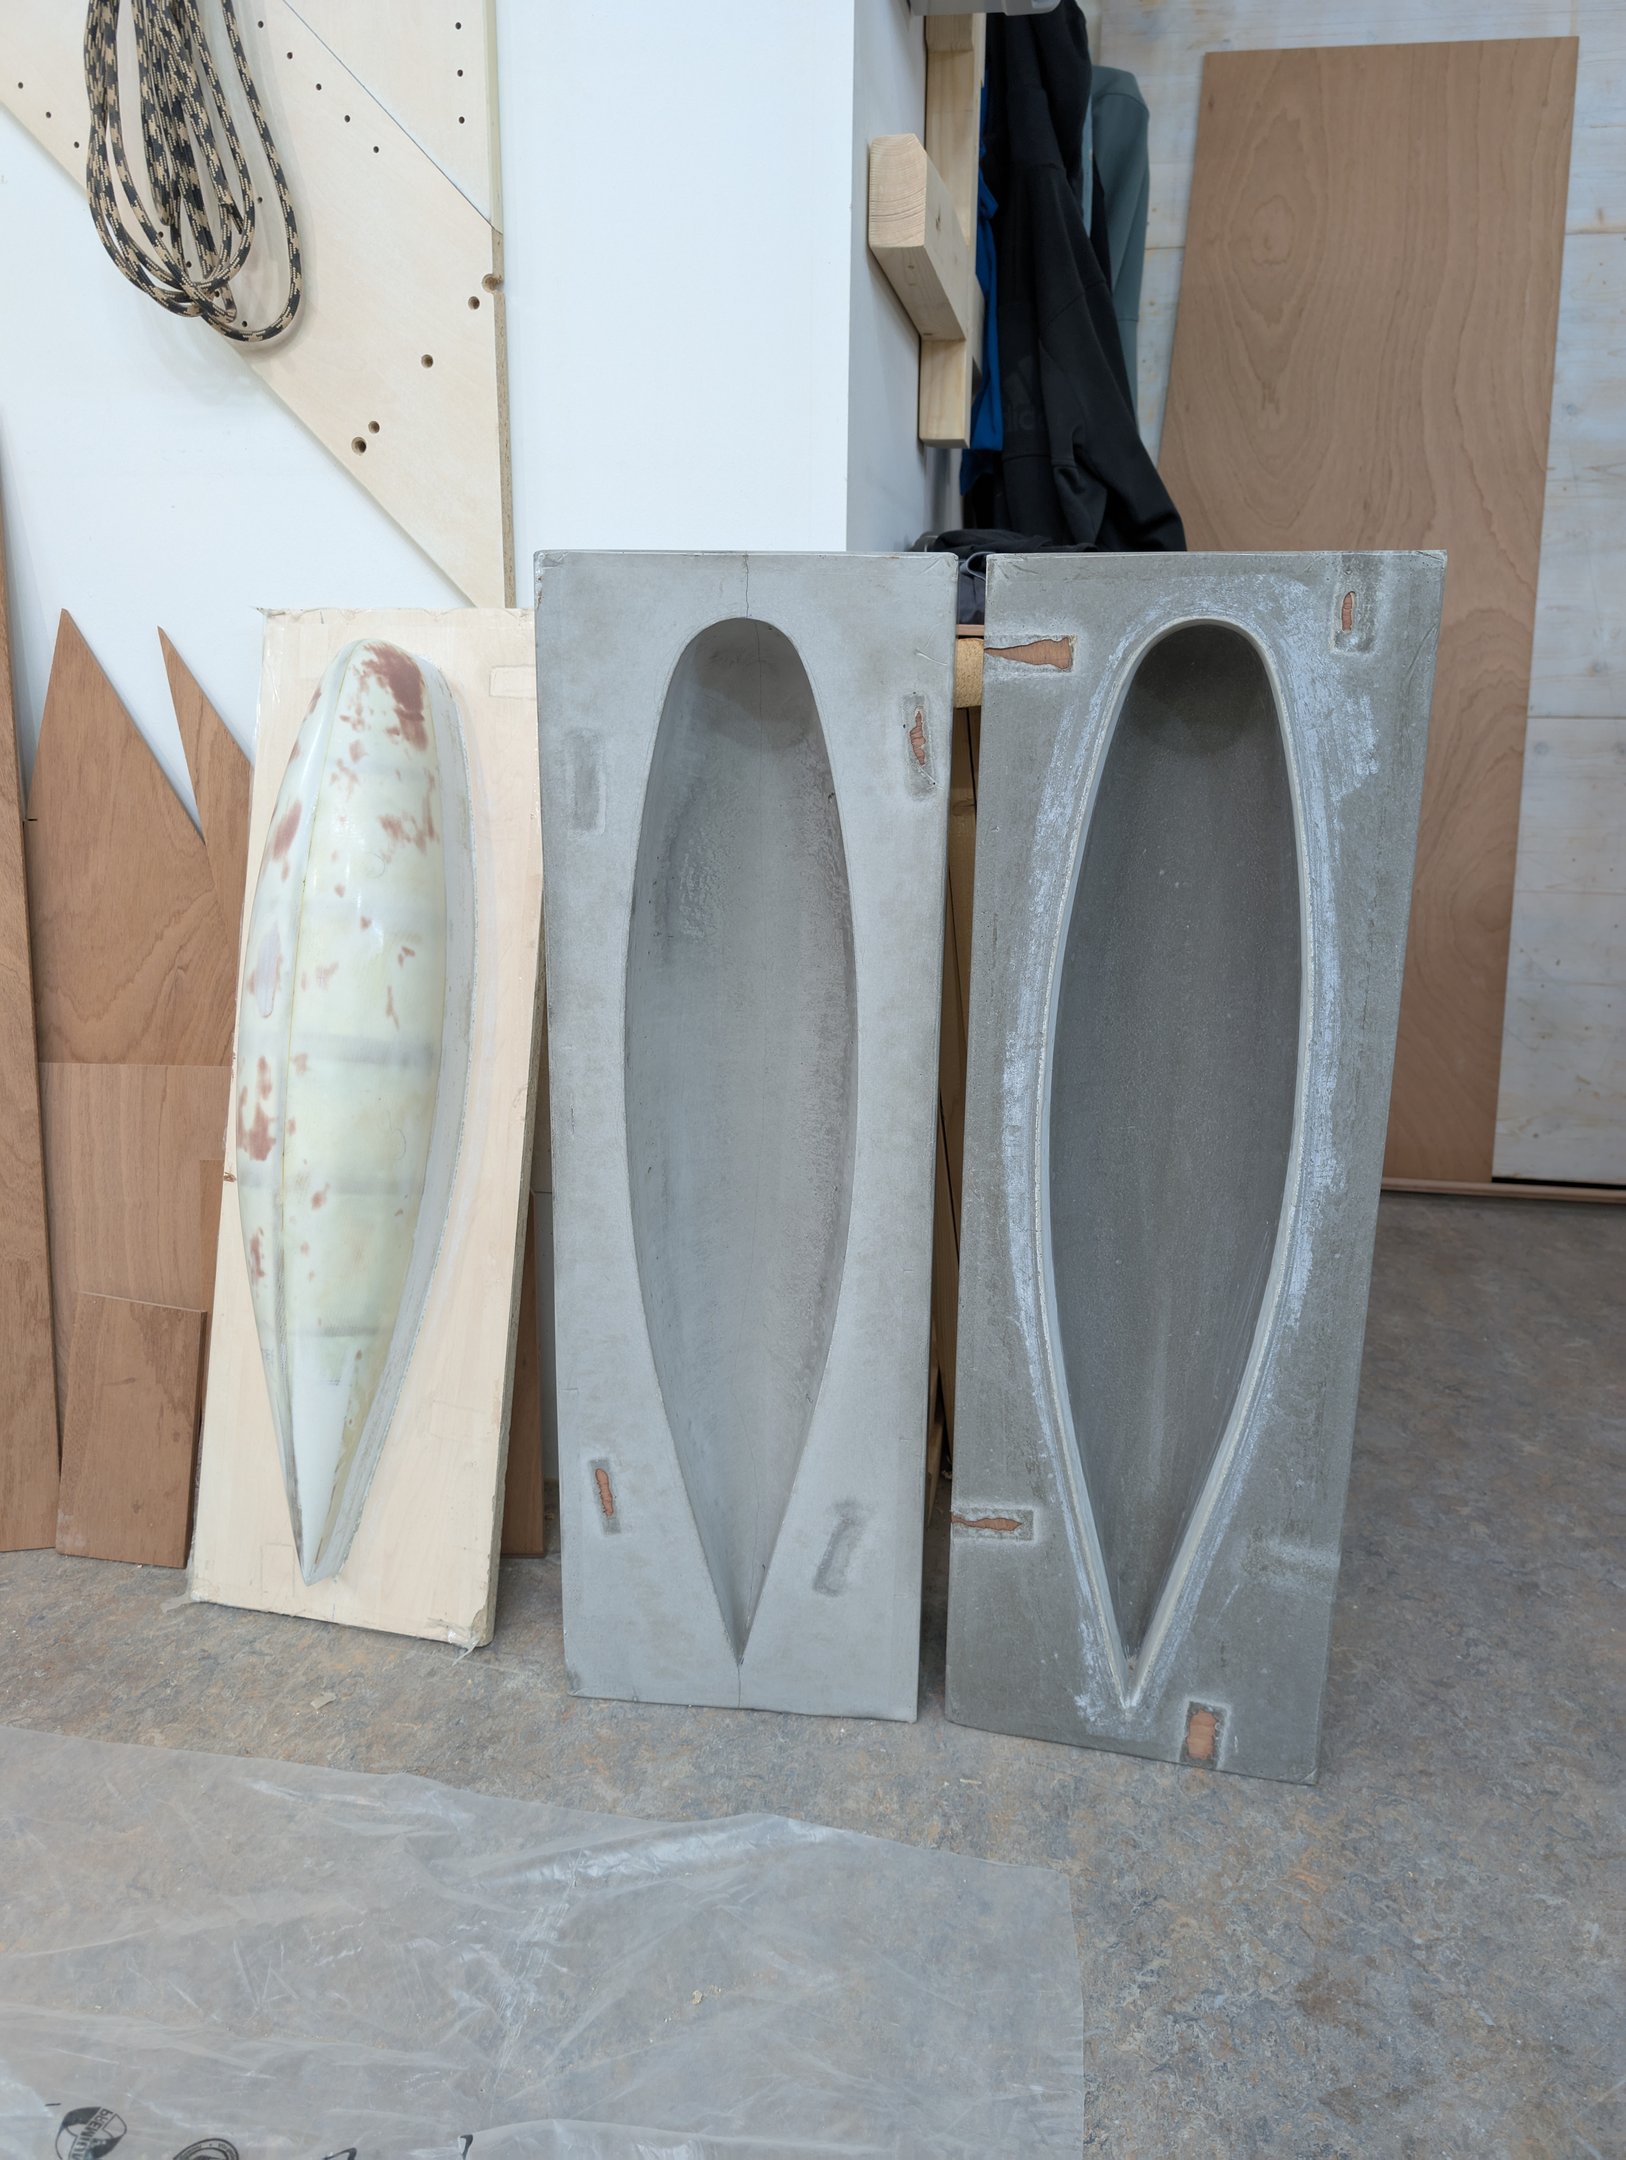
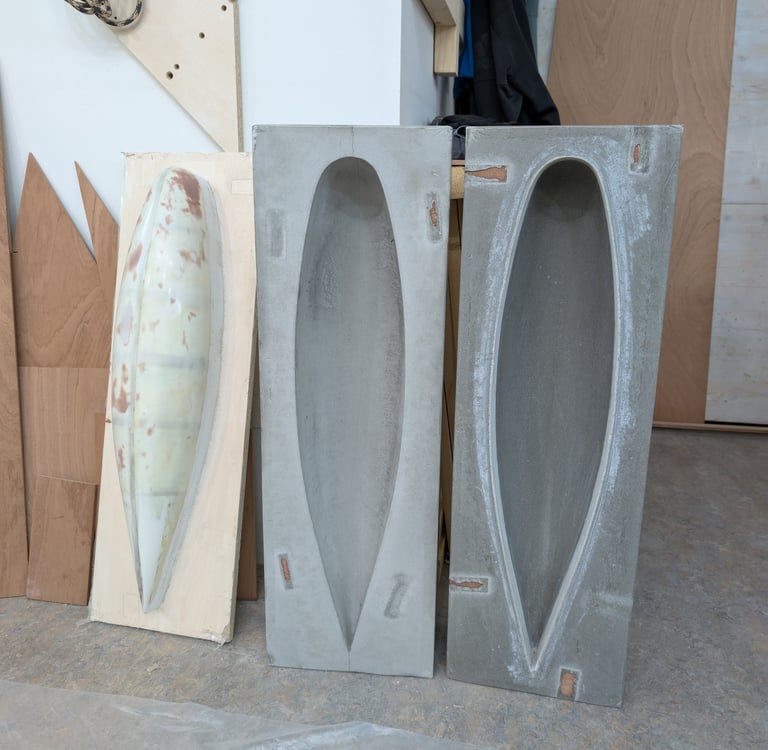
A change from the regular boat work! As a side project, I started work on the keel — or better yet, the lead halves for the keel. The pictures pretty much tell the story of how the male and female molds came to be, so I’ll just comment lightly.
From top left to bottom right:
Tracing the outline of the halves
Drawing the stations
Cutting the stations
Fine-tuning the stations with my very handy belt sander jig
Setting the stations and cutting a centerline backbone
Halving the stations and removing material for the centerline backbone
Before removing material for the backbone
After removing material for the backbone. The stations and backbone are set so that only material on the backbone and center station needs to be removed
Using tiny amounts of hot glue to assemble the stations
Always double-checking the fit
Another picture
Filleting with epoxy for actual strength
Using spray foam to fill out the gaps
Cutting the foam with a cutter
Fairing
Rough sanding
Laminating the plug with 280 g cloth
Applying fairing compound
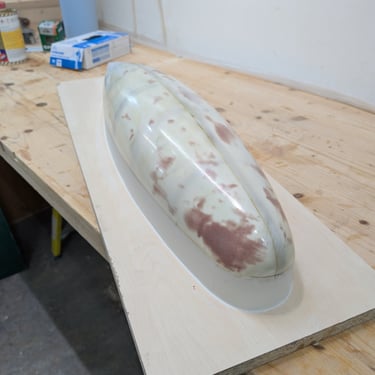
Applying brown fairing compound
Sanding
Making the casting mold for the negative molds
Dimensions
Dimensions
Dimensions
Mold and plug are waxed and polished
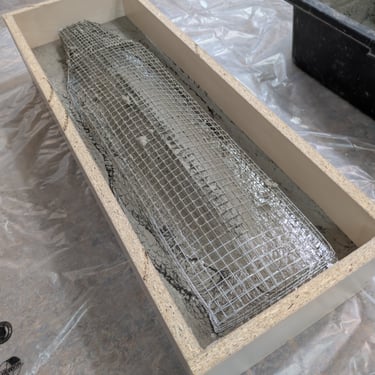
Wire mesh for fencing used as reinforcement (very important!)
Self-leveling high-density mortar
Mixing the mortar very accurately, carefully measuring the water content with a mixing cup
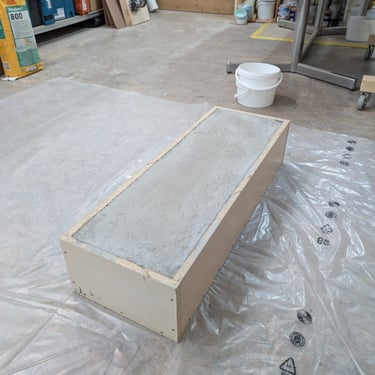
Pouring the mortar. The amount was calculated roughly (volume of the box minus the volume of 75 kg of lead)
Mold curing
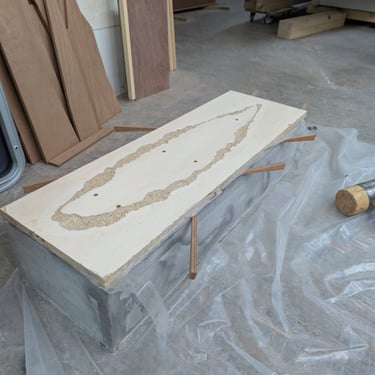
Removing the mold casing
Trying to remove the plug
Breaking out the plug doubler (this was screwed on to give the finished mold additional depth. The base plate is 8 mm plus the 20 mm doubler, for a total thickness of 28 mm)
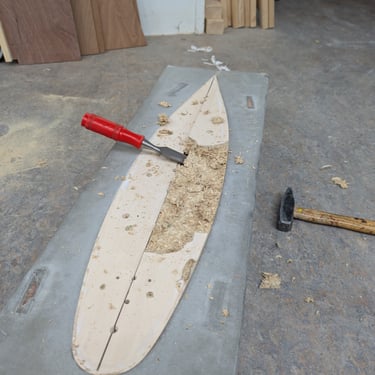
Using the most aggressive method to release the plug
It worked (I was very worried)
Plug removed and not damaged 😊
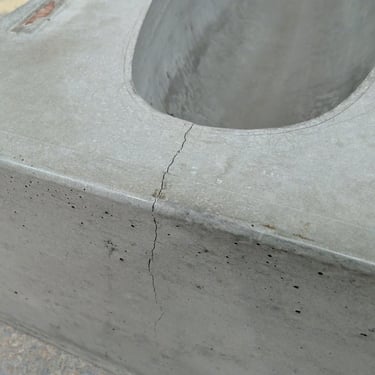
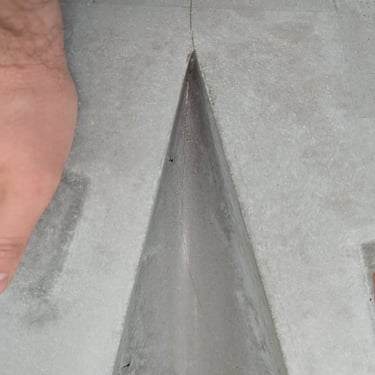
First casting mold, damage after releasing the plug (slight crack on the centerline)
First casting mold, damage after releasing the plug (slight crack on the centerline)
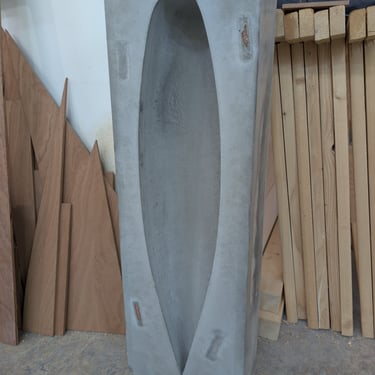
Still very happy with the result
Prepping the plug for the second casting (new 20 mm doubler and additional fairing for easier release)
Plug waxed again
Mold ready again
Wire reinforcement
Second release went a lot easier
Here is some more context: I created two concrete casting molds because we planned to cast 8 lead halves in one weekend for all the current Swiss builders: Joe #165, Oli #273, Dominic #220, and me, Fabian #208. For this, we will use the two molds, allowing us to cast four lead halves per day.
Some additional information about the molds:
The plug was built to plan on an 8 mm plywood base board
I added an additional 20 mm doubler to create a 28 mm rim
The stations are set so the black marked lines will remain
The backbone has the same curvature as the sides of the plug, allowing it to be copied with a router and trim bit
The required amount of mortar can be calculated very precisely
Use high-density self-leveling and self-compacting mortar (Sika Grout 800)
5 × 25 kg bags for both molds, with one additional bag for topping off the molds. This can be measured using a scale and volume measuring cup
Before using the casting mold, allow at least 1 month of drying time (the longer, the better)