Building the Frames
Read and see how the Frames of DriftingDonkey were built. The all important Frames build the Backbone of the Boat structure
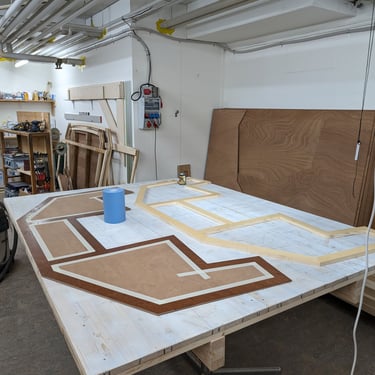


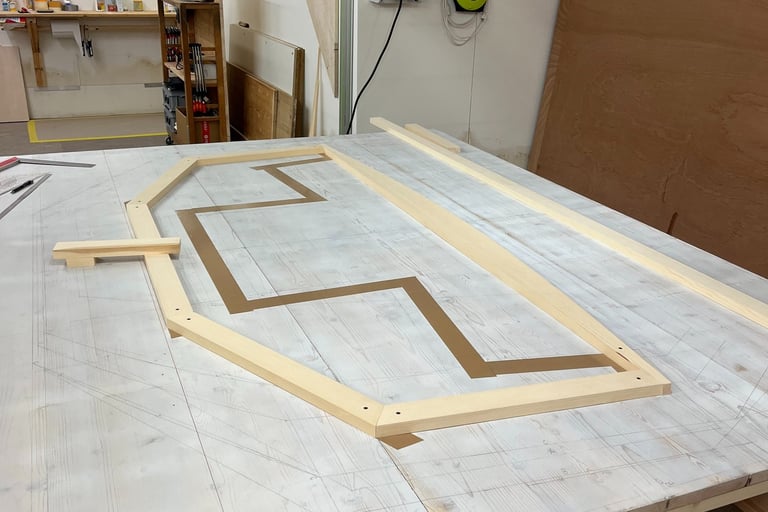


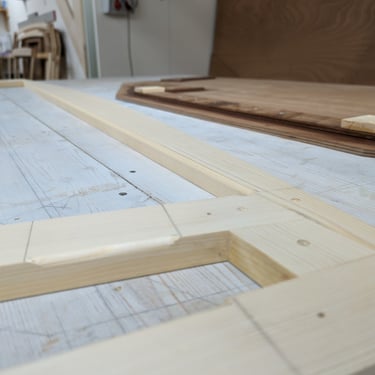

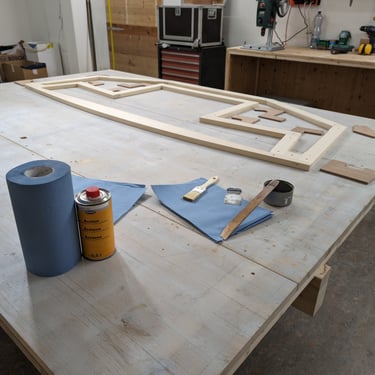


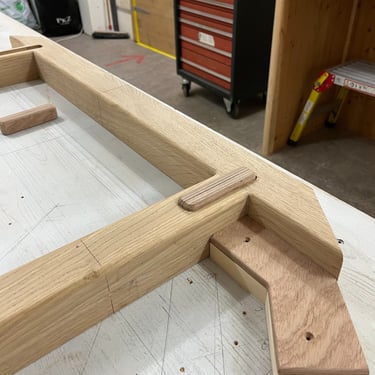

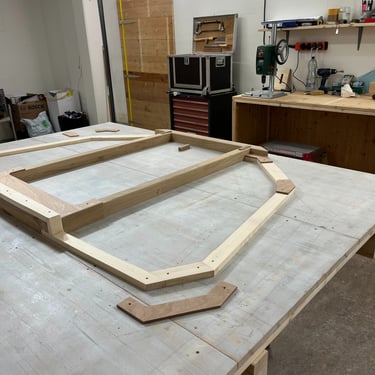

After drawing out all the frame lines at the 1 / 1 scale, I started to assemble the Pine Framing. I used Brown masking tape to mark out the Frame I was working on and also to Stopp the epoxy glue from sticking to my drawing board.
To glue everything into place I screwed each peace to the bord. The screw holes will later be covered with plywood doublers.
Glueing the end grain Pine requires some care. I saturated the end grain multiple times with clear epoxy to ensure a perfect joint
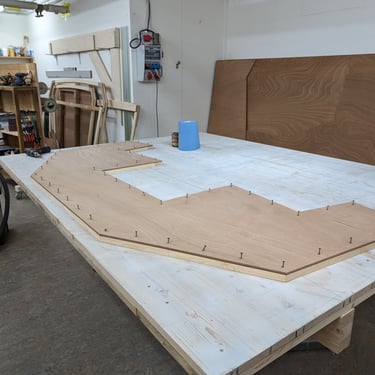
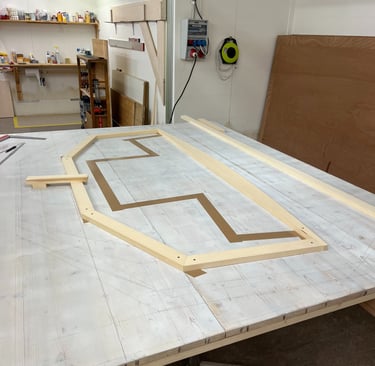
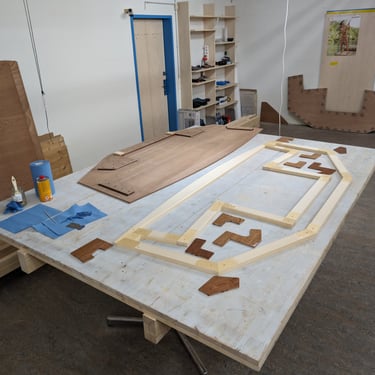
I later used the glued Framing as a Router template for the Bulkheads and Transom.
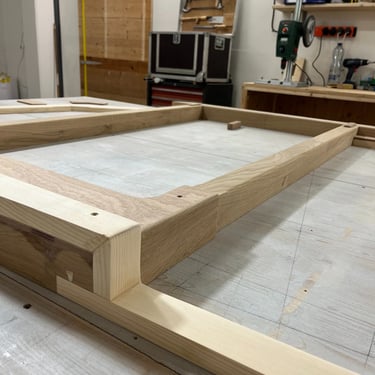
The gallery above shows the glue-up of the watertight bulkhead frame A
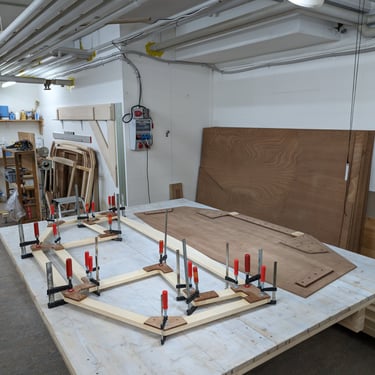
As with all the bulkheads I used the pine framing as a router template. Since I don’t have all that many clamps I decided to glue and screw almost everything.
I was very careful not to make e mess with the epoxy and I masked off the necessary surfaces. The squeeze out was cleaned up with a spatula and some acetone.
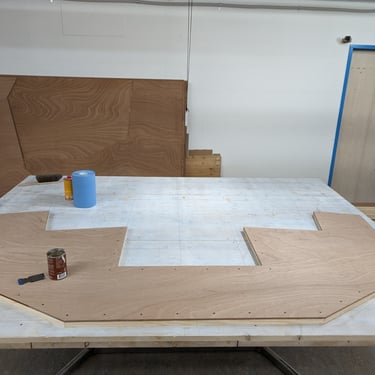
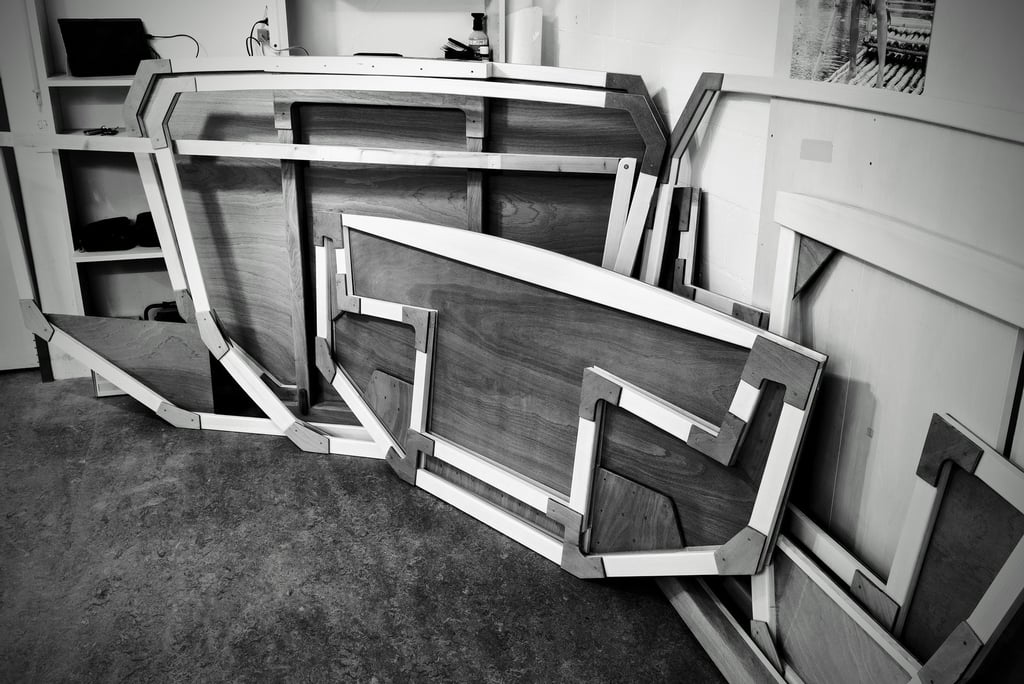
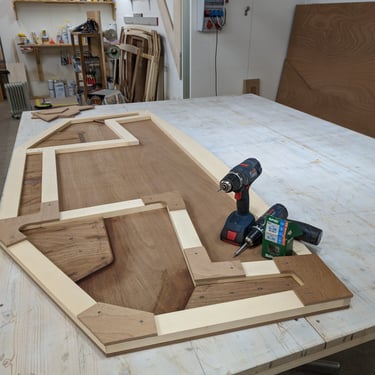
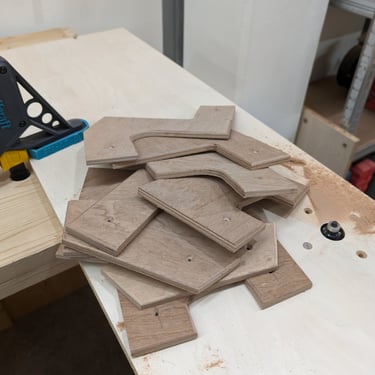
Fabricating all the plywood doublers was a big part of building the frames.
The gallery below shows the entire process for frame P (Transom).
Picture by Picture Left to right top to Bottom:
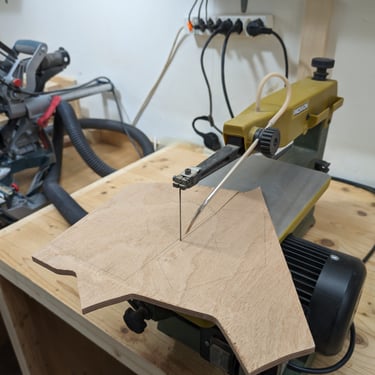
1. I used thick paper to create templates for one side
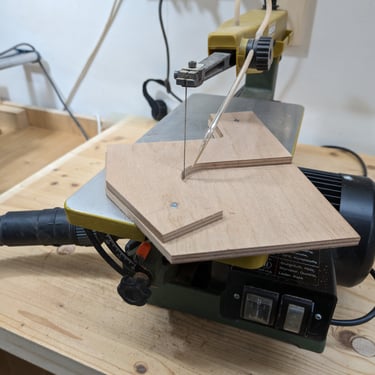
2. then I cut out the Plywood doublers on my scroll saw.
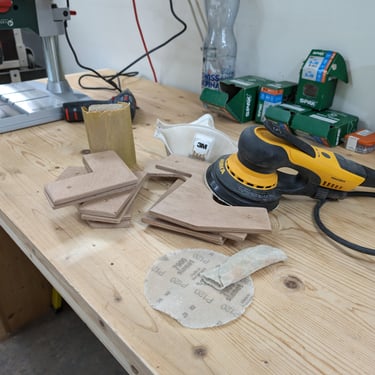
3. I used my belt sander with jig to flatten the doubler surface that cant be trimmed with the router.
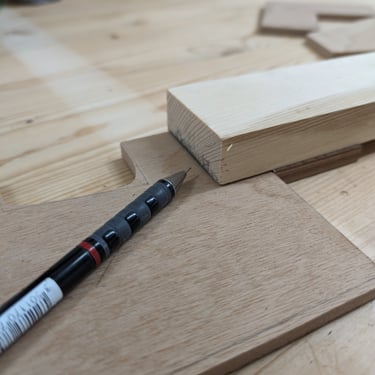
4. Since I use screws to fix and apply pressure, I marked symmetrical holes
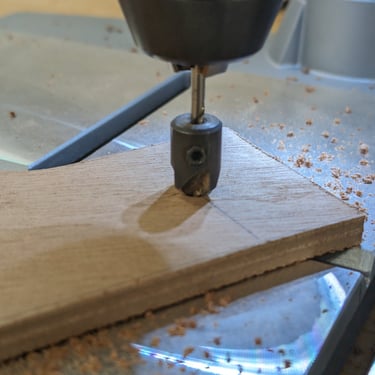
5. I used a combined drill bit….
6. On the drill press to drill the holes for installing the doublers
7. Afterward I mounted the doublers to the frame
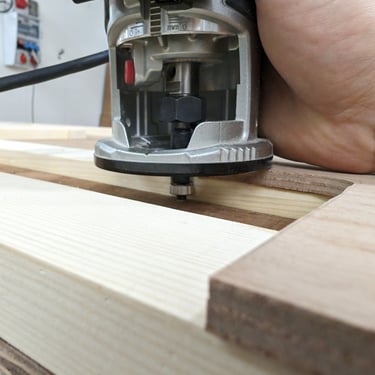
8. Using my router with a flush trim bit I finished off the Doublers
9. Dusty work
10. One side finished I used the doublers as templates for the other side
11. Again, I Used the scroll saw for some fine work
12. I had built a simple jug for my router
13. The flush trim bit did the rest
14. The next step was to mount all the doublers to the frame
15. I marked out all the edges on the doublers and the frame that needed round overs
16. I used a larger diameter round over bit on the frame
17. Shows the detail on the Transom
18. For the doublers I used a small diameter round over bit and my router jig
19. Shows all the ply doublers for the transom
20. Before glueing everything together sanded down all sides
21. Preparation is key
22. As with all epoxy glue ups, I first saturated the wood
23. Then I applied some thickened epoxy
24. I used additional clamps for pressure
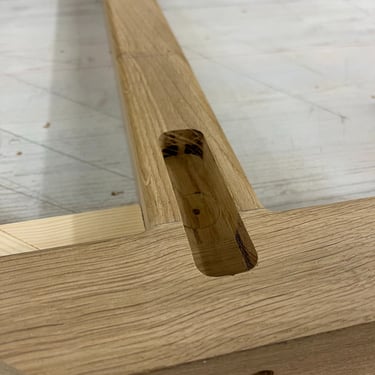
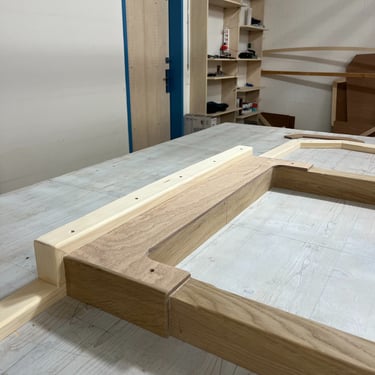
Frame D'
This is one of the more complex ones since it incorporates the compression posts for the mast and the most forward keel floor. I added two ply inserts for strength to the front and some trim to the sides of the compression post.