
Chine Planks & Keel Floors
Big bendy bow and way to many screws.. experience this difficult part of the build.
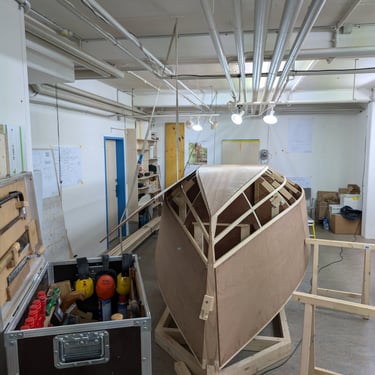
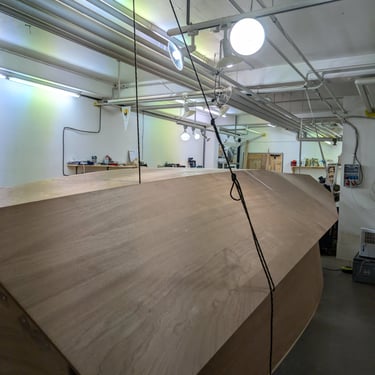
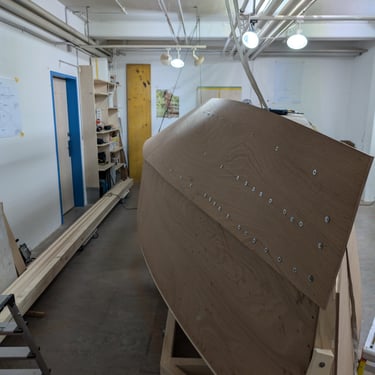
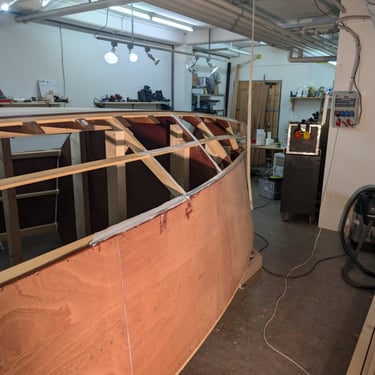
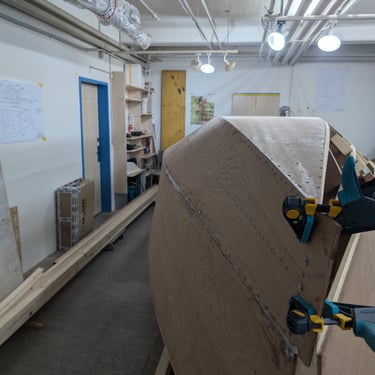
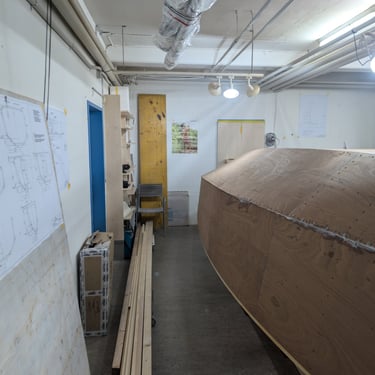
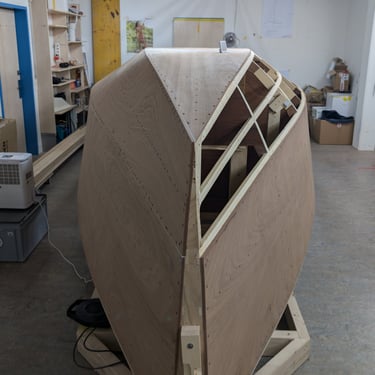
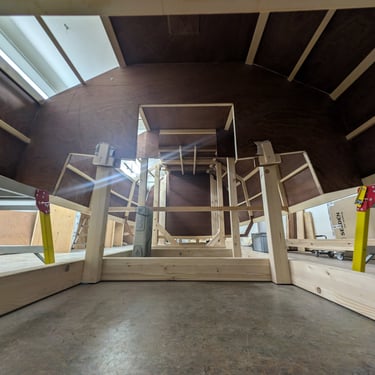
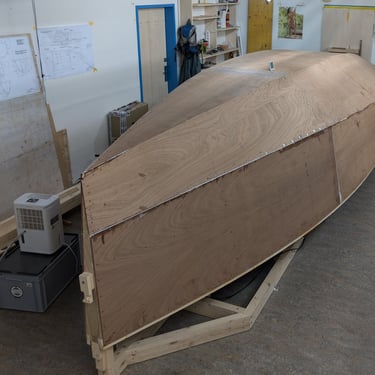
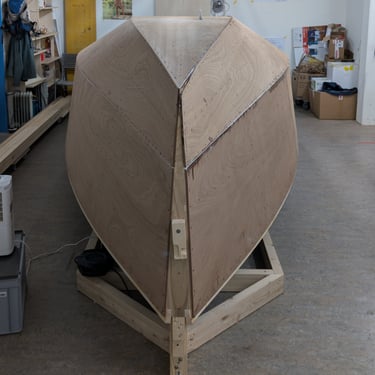
Installing the two chine planks was the most difficult part of the build so far. In order to be able to handle the planks on my own, I suspended the planks with the use of two ropes. This way, I was able to locate it on the framework. I fixed it with a couple of screws in the aft section, putting screws in the middle where needed, and I really struggled in the bow part (third picture from the left).
I decided to overlap the plank on the chine up until frame C which is where I switched from the overlap to a beveled joint.
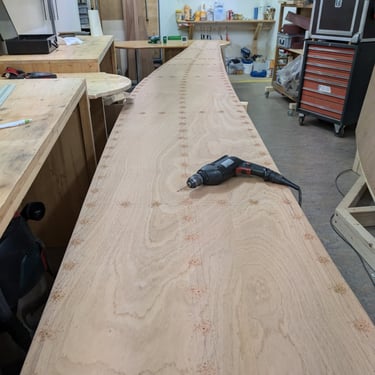

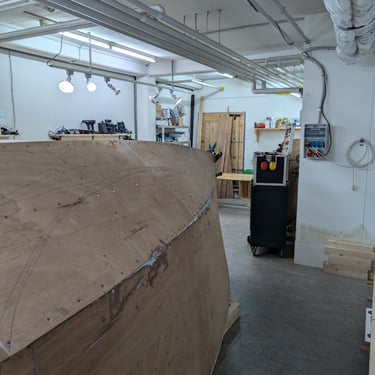

After I had cut and drilled the planks they were test fitted again. With all the excess cut off now, it was a bit easier at the bow, still very difficult though. Since everything was pre drilled and coated, it was very important to get a precise fit, which is why I gave about 1mm to 2mm space at the chine bevels in the bow section
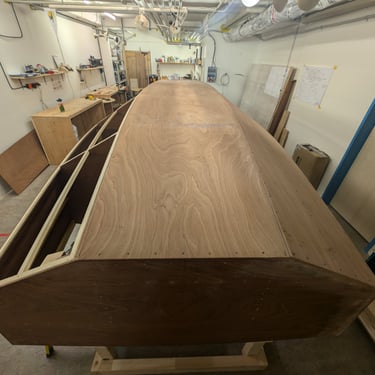
Happy with the fit, it was then time to glue. For both planks I was able to get help for the morning, from my friends, which was about the time it took to apply the glue and set the plank.
First we applied clear epoxy to both framework and planks, and re-applied after a while wherever the wood was especially thirsty. Then we put thickened epoxy on the plank and also on some of the more problematic parts of the boat (midsection and chine bevel on the bow).
Setting the planks was an experience in itself. It involved my friend holding the plank above his head for 5 min until I had set the guide screws in the aft section and worked my way forward to the bow.
We then proceeded with drilling all the holes into the stringers and sticking the screws in while the other drove them in with the impact driver on low setting. I re-tightened all the screws by hand afterwards. This process is very systematic. front to back, bottom to chine, frame-section by section.
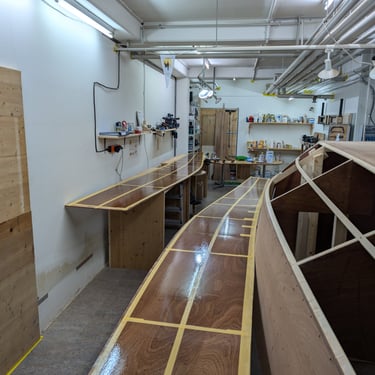
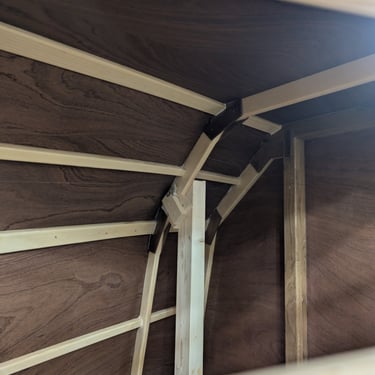
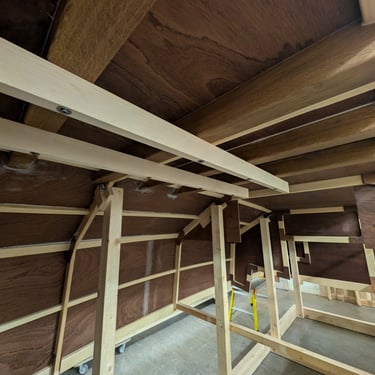
Before I put on the second chine plank, I got to work on the remaining keel floors. I built templates for the cutouts and measured each from the centerline. Originally I had planned to do them after the boat was turned but changed my mind because I want to drill the keel bolts and put in some fiberglass tubing while the boat is still on the jig. I Used the two already installed floors as a guide for the height of the others.
Some thoughts and problems:
As shown in the pictures it was incredibly hard to bend the ply in the bow section . I had to half the screw spacing. For even pressure I usually do 10 -12x the thickness of the material. So in the bow I now had a screw roughly every 6 cm (all holes pre drilled so the stringer doesn't split).
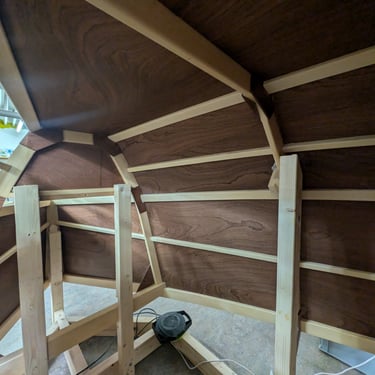
Because I didn't have most of the internal structures that a kit builder would have, I chose this order for the planks (bottom, sides, chine). This helped massively with frame alignment and stiffens. It also meant that on the chine plank I wasn't able to use any clamps.
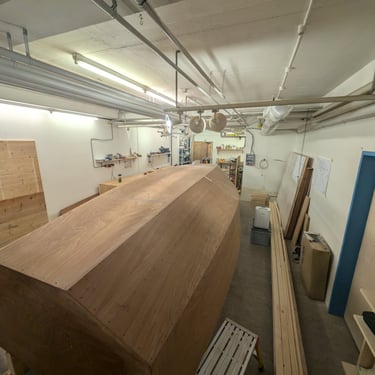
I used 10mm sapeli ply. Its great quality and what I am used to. The perfect boatbuilding wood, but it didn't like the bend in the bow .-)
Also I exerted too much force on some of the chine screws in the bow and mid section and stripped the hole. As a result I had to switch to longer and thicker screws which I put straight through the stringer. These screws I took out later and filled them with a bung and epoxy.