
Companionway and Cockpit Plating
Progress moves into the cockpit and companionway, with mock-ups, alignment challenges, and design decisions shaping the space.

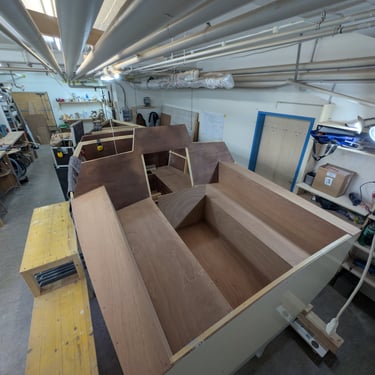


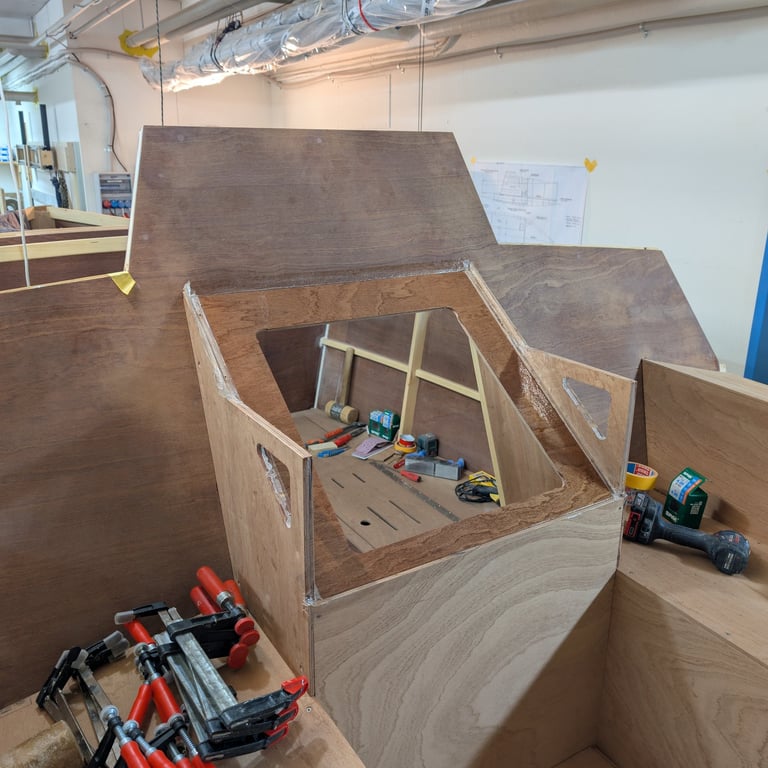
With the lower structure and frame-s installed, work continued on the bunk tops and the cockpit. I’ve been slowly working my way through the boat from back to front and from bottom to top. All the battens for the cockpit structure had already been built and notched earlier. While dry-fitting, I realised that if I glued and screwed the cockpit plating perfectly flush to the frames and structure, the finished cockpit wouldn’t end up completely straight as shown in the plans. This was down to small inaccuracies on my part—around 1 to 3 mm—but enough to be noticeable. So I came up with a plan to help align the cockpit plating properly.
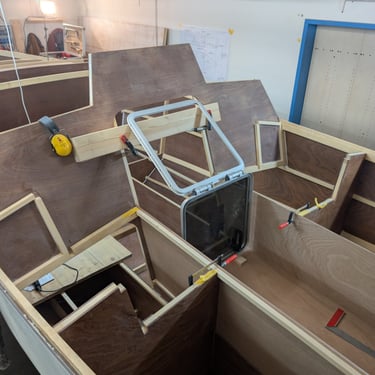
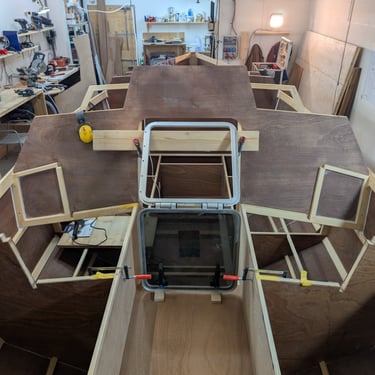
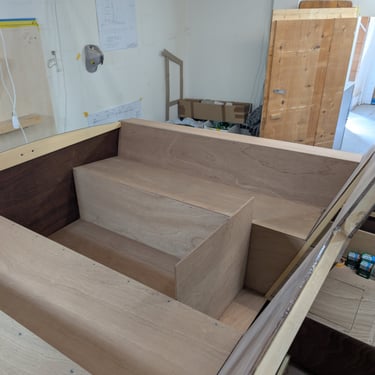
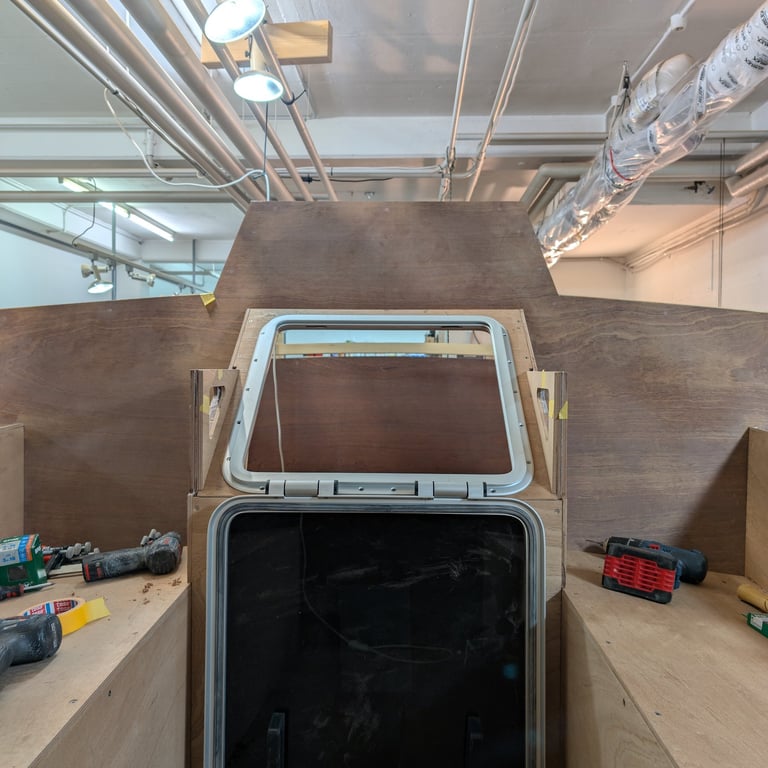
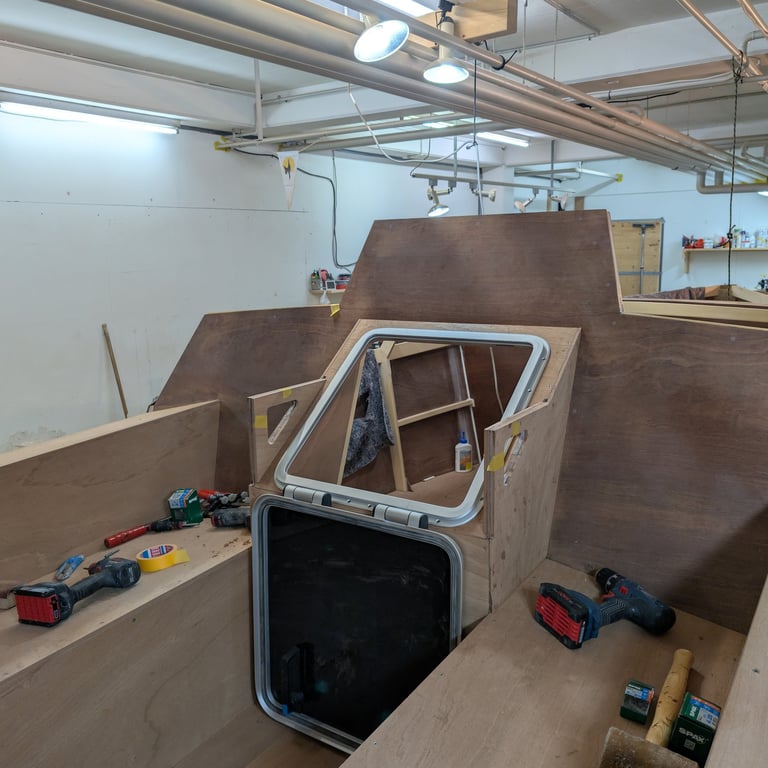
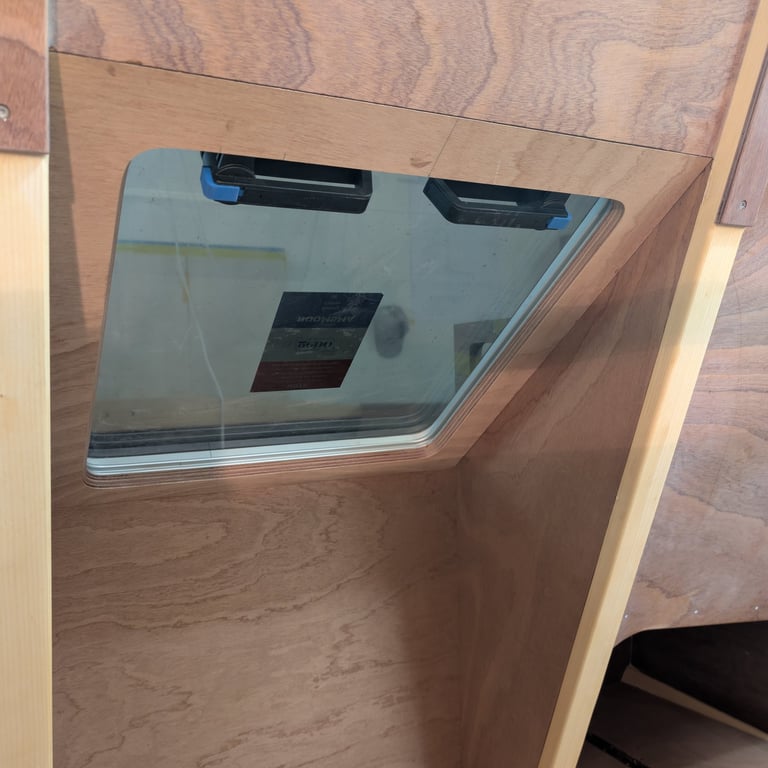
Before committing to that, I did a quick mock-up of the companionway. This is one of the areas where the design is fairly open, as long as the structure at frame-s stays per plan (even though it did have to be modified to accept an alternate companionway design). I temporarily installed the cockpit floor in 10 mm plywood along with the side panels in 8mm Ply and spent the better part of a day playing around with my Gebo hatch. This helped a lot in visualising proportions, clearances, and how the space would actually be used.
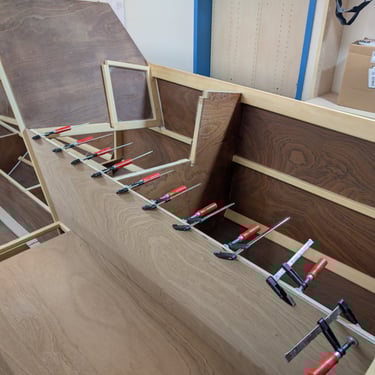
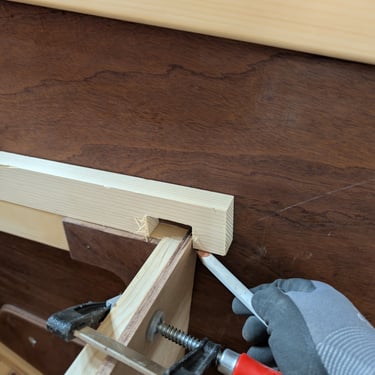
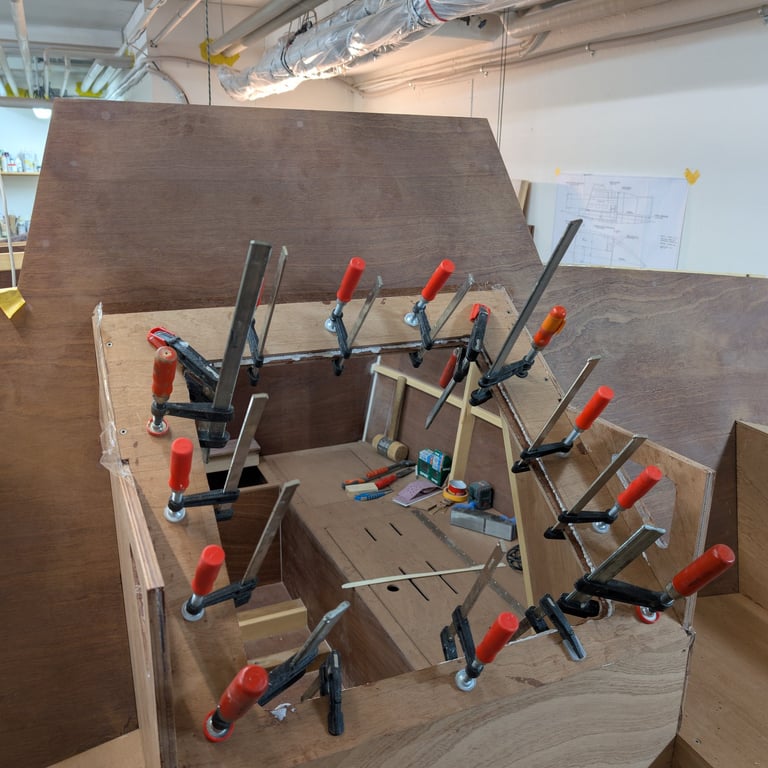
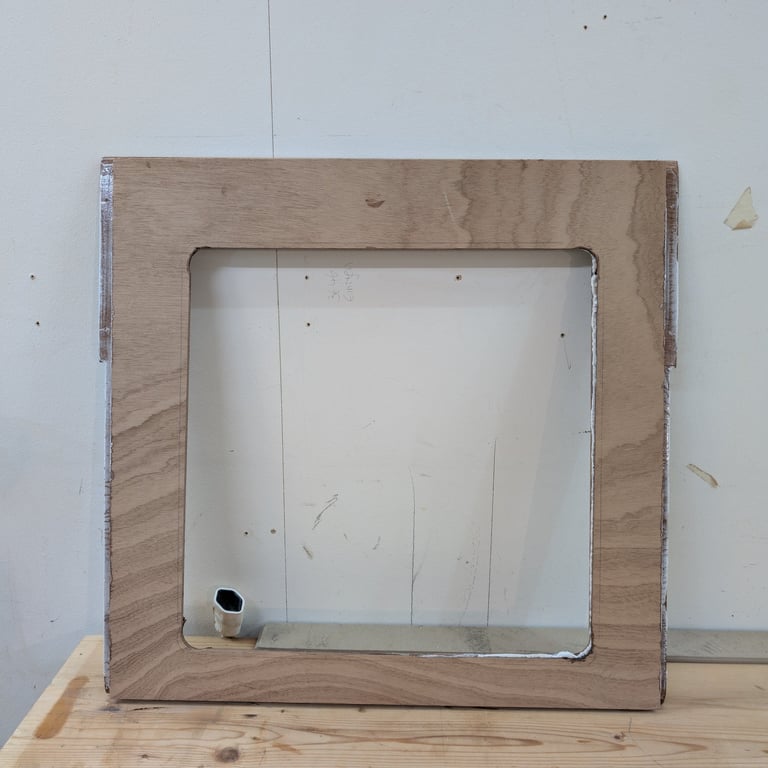
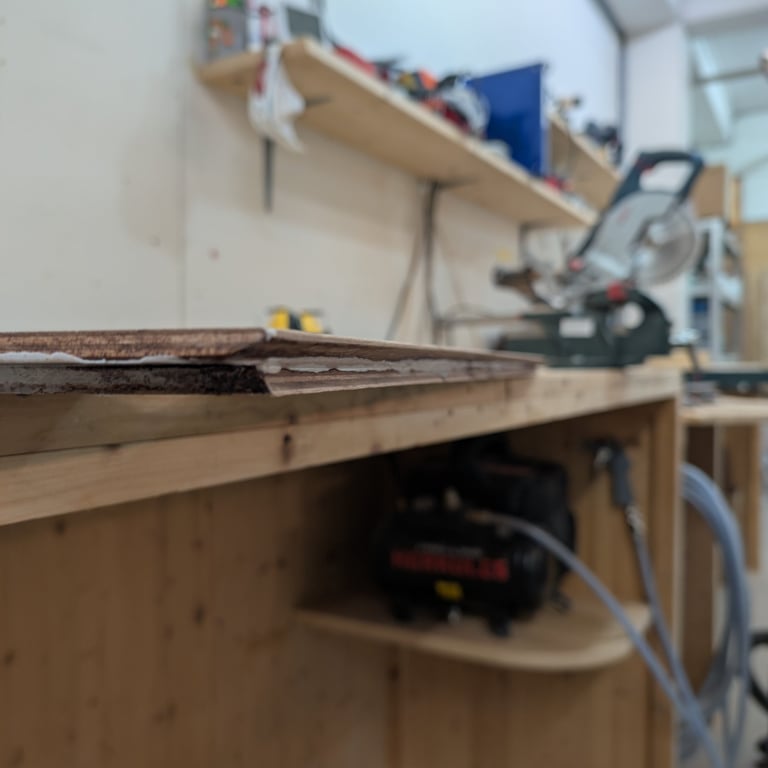
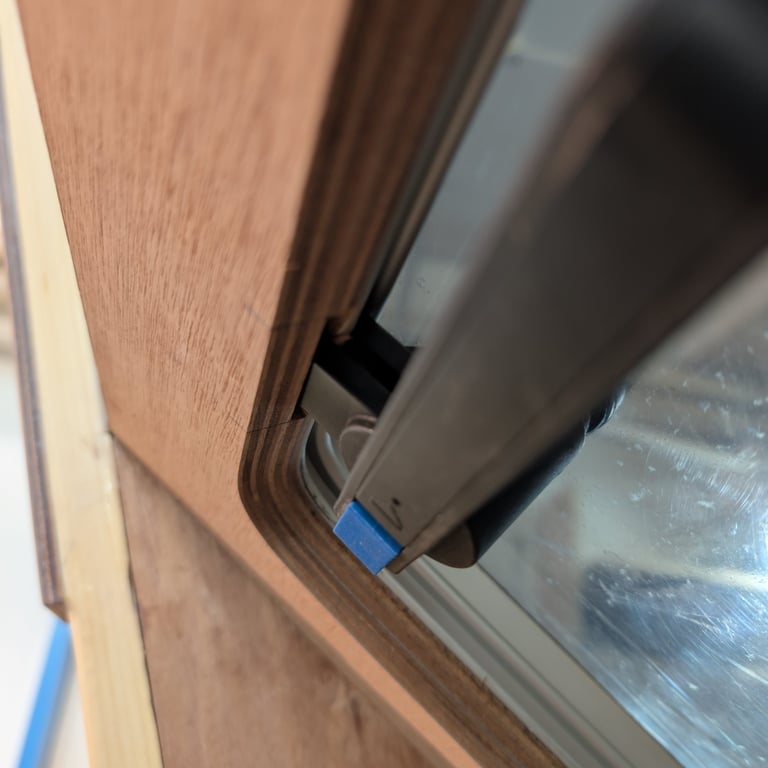
Each cockpit plate will be glued to one batten, as shown in the photos of the lower cockpit side plate. The next plate—the seat—will be used to align the lower side plate so it ends up perfectly straight. The aft edge of that plate then becomes the guide for the backrest plate, and so on until all plates are fitted and aligned. I hope that explanation makes sense 😊. The small 1–3 mm inaccuracies will be taken up by the glue, and in reality it’s really not as bad as it sounds.
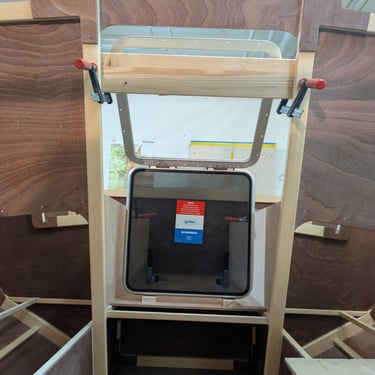
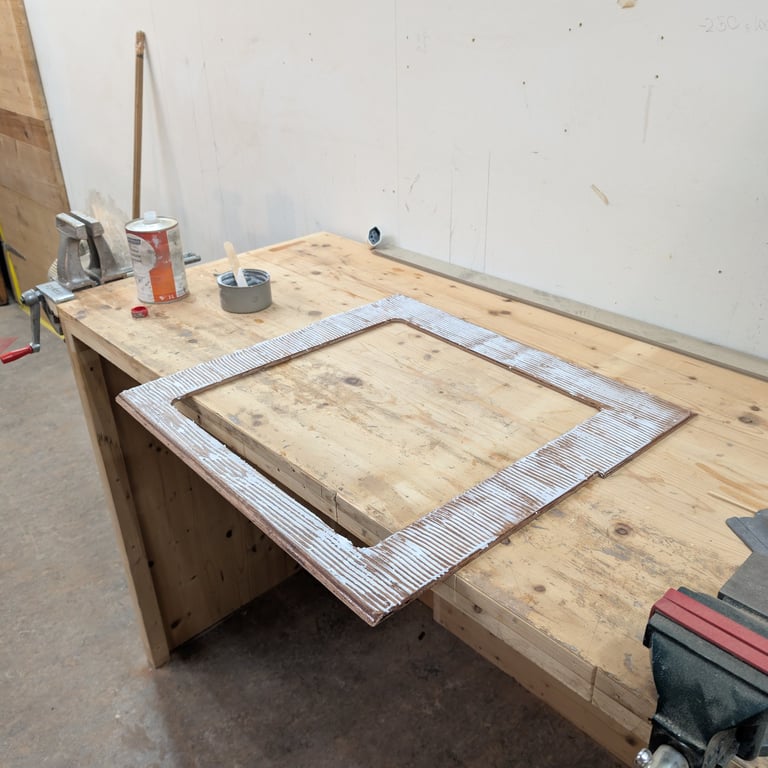
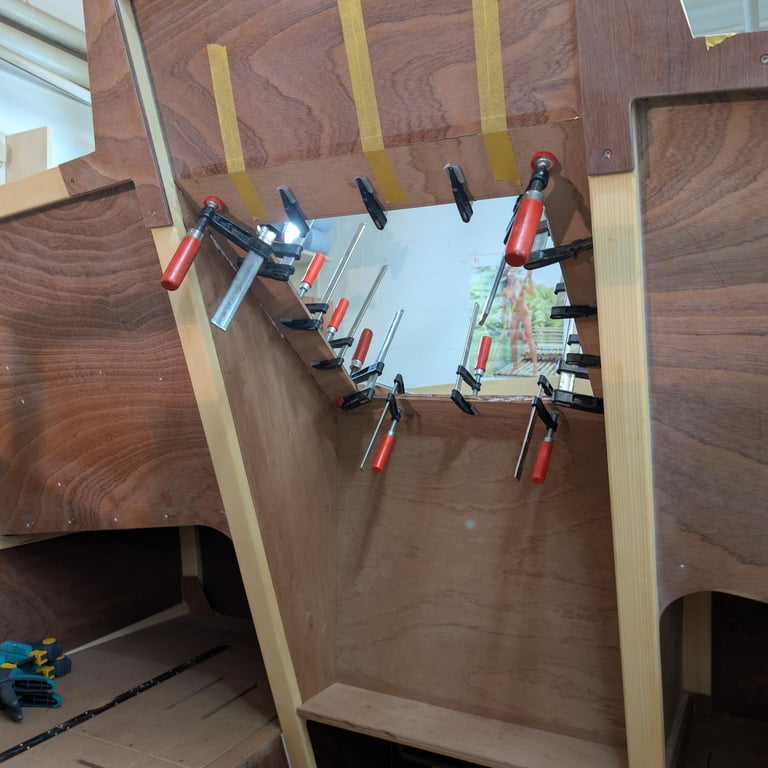
With the cockpit plating provisionally installed, I moved on to building the companionway entrance. The two side plates make up the difference in thickness to the pine supports of the frame-s and also add material for the integrated handles. To lock the entrance cover piece in place, a smaller outer section was added as well. The entrance cover itself is made up of two parts: the inner piece squares up the sides and accepts the chamfer of frame-s and aft-facing plate, while the upper plate sets the depth and locks everything together. For the glue-up of this top piece, I masked the sides with packing tape to keep things clean and allow for release after the glue-up.
The plan is to clear-coat the inside of the entrance, and so far I’m very happy with how both the design and execution have turned out. I really wanted the hatch to open downward and be completely out of the way, as I expect it will be left open most of the time in calmer conditions. The raised sides create secure aft-facing seating, and the integrated handles allow for entering either facing forward or aft. A little fun fact: the hatch lid could even double as a cockpit table 😊. Once the fold-up step is installed inside, the hatch opening will allow sitting with your head out or standing fully upright. One downside of this design is that the liferaft can no longer live under the cockpit floor—it would protrude too far into the cabin—so it will need to be stored either in one of the bunks or in the aft lazarette.