
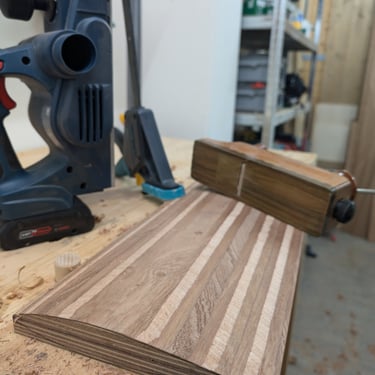
Daggerboards
Glue-up, Shaping, Lamination and Fairing
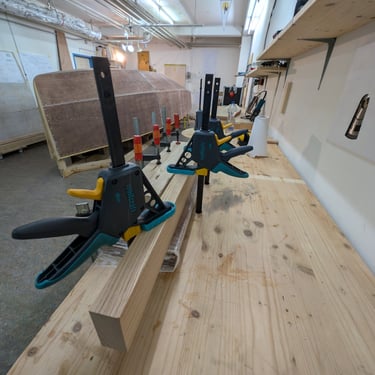
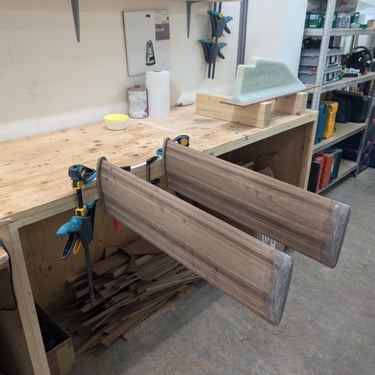
In mid-September, I began working on the daggerboards. Along with the rudder, I cut out the pieces and glued them together. Each daggerboard consists of three layers of 10mm mahogany plywood. For the glue-up, I used expanding polyurethane foam glue. I had just enough left over from glueing the second bottom layer of the hull.
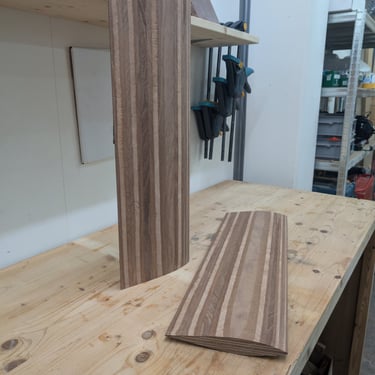
Since no profile was provided, I designed my own. To shape them, I made a template and secured it to the top and bottom to mark the outline. I also marked the centerline all around to serve as a guide. Profiling these boards went relatively quickly. I took care to preserve my guidelines as I approached the final shape.
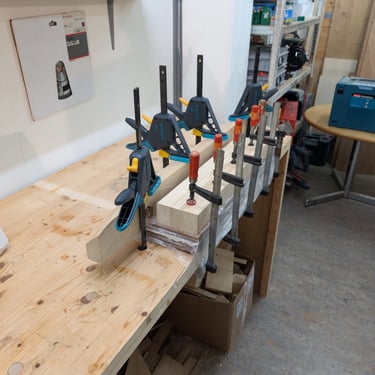
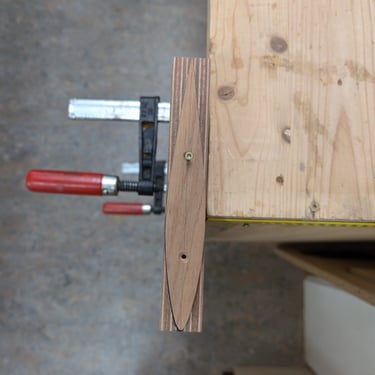

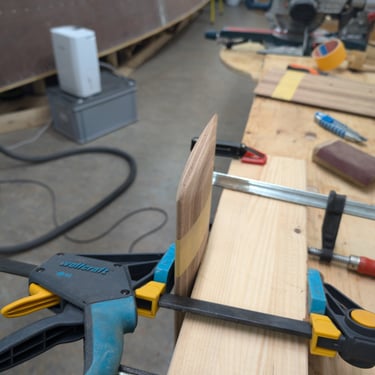
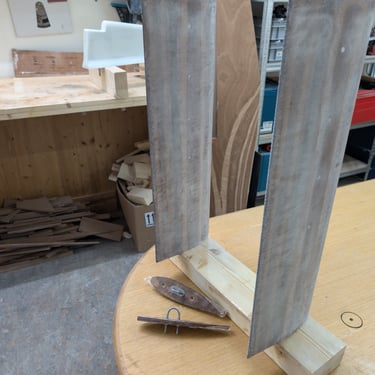


Once the profiling was complete, I decided to add a roundover to the bottom and create a top section to accommodate a U-bolt. First, I laminated over the roundover at the bottom. Since the design involved some very tight curves, I wrapped the entire piece in shrink wrap to prevent delamination. This method works well but can leave the surface a bit rough.
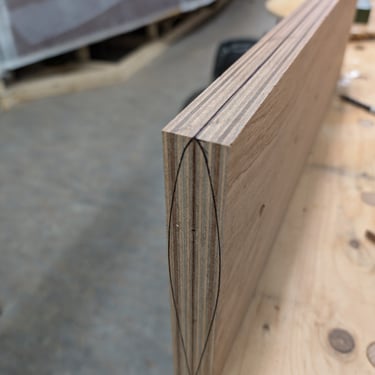
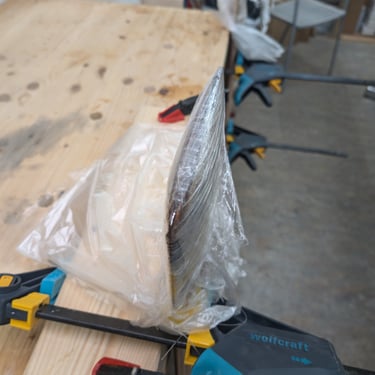
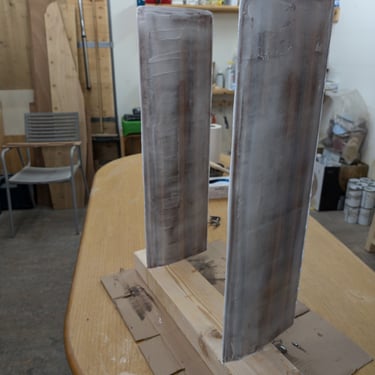
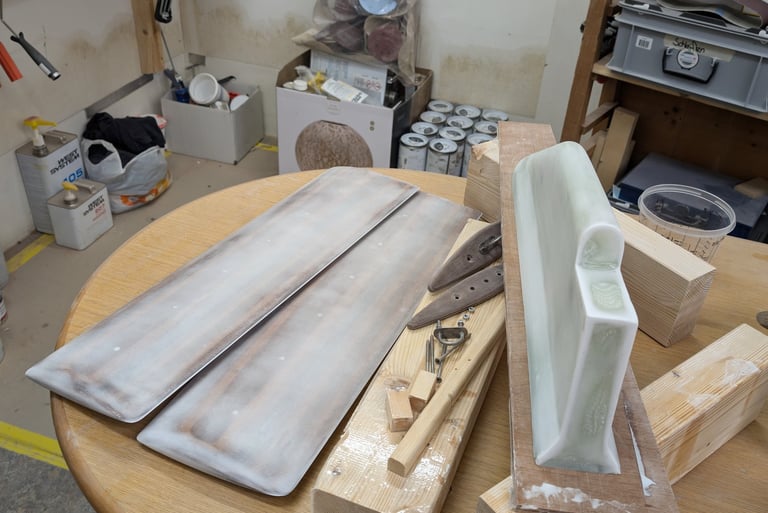
I used the same technique for the second step, laminating the rest of the daggerboards with 280g twill. Afterward, I sanded the glassed daggerboards to achieve a smooth surface and applied a single layer of epoxy. While the epoxy was still tacky, I added a layer of putty. During this process, I also applied epoxy to the top pieces of the daggerboards.
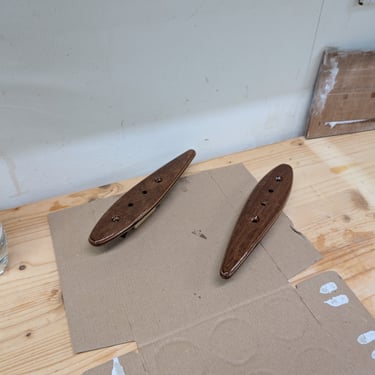
The final photo shows the daggerboards and the skeg prepped and ready for primer.