
Epoxy Filleting the Interior Structure
Mixing and applying epoxy fillets as part of the interior build process and structure
Before the cockpit plating and the cabin bunks could be installed, the lower interior structure needed to be painted. For that to happen, a number of epoxy fillets first had to be applied.
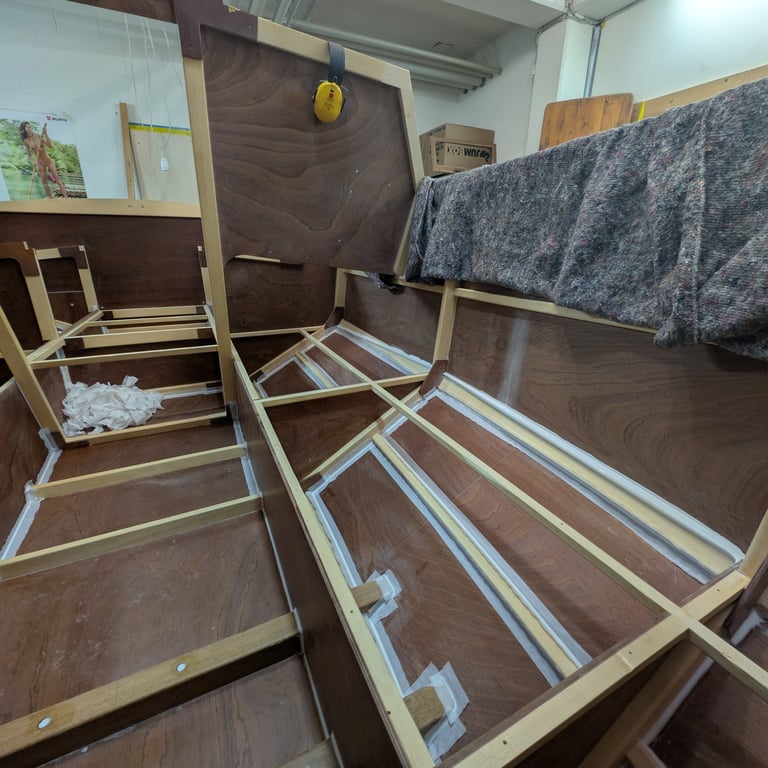
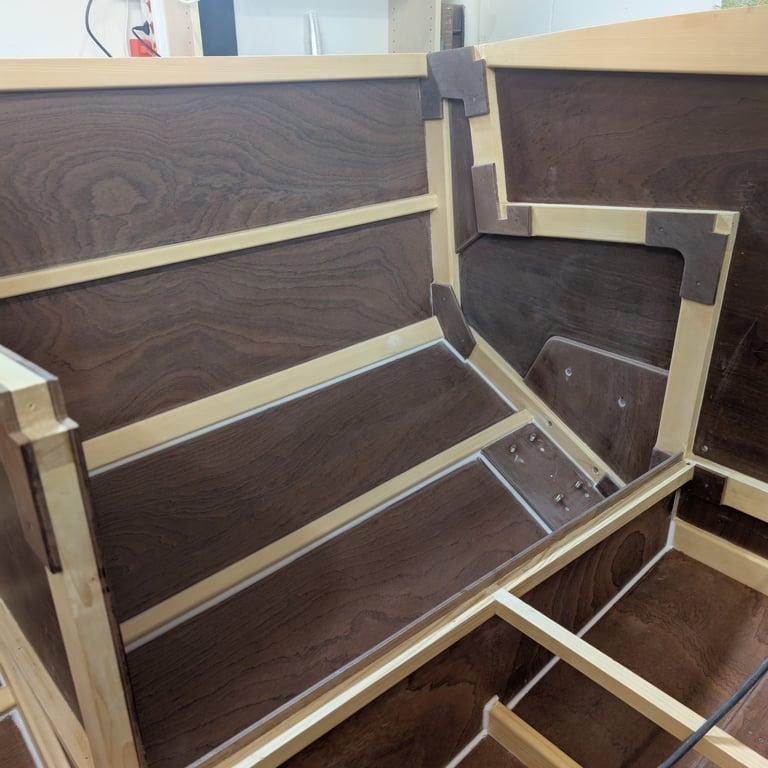
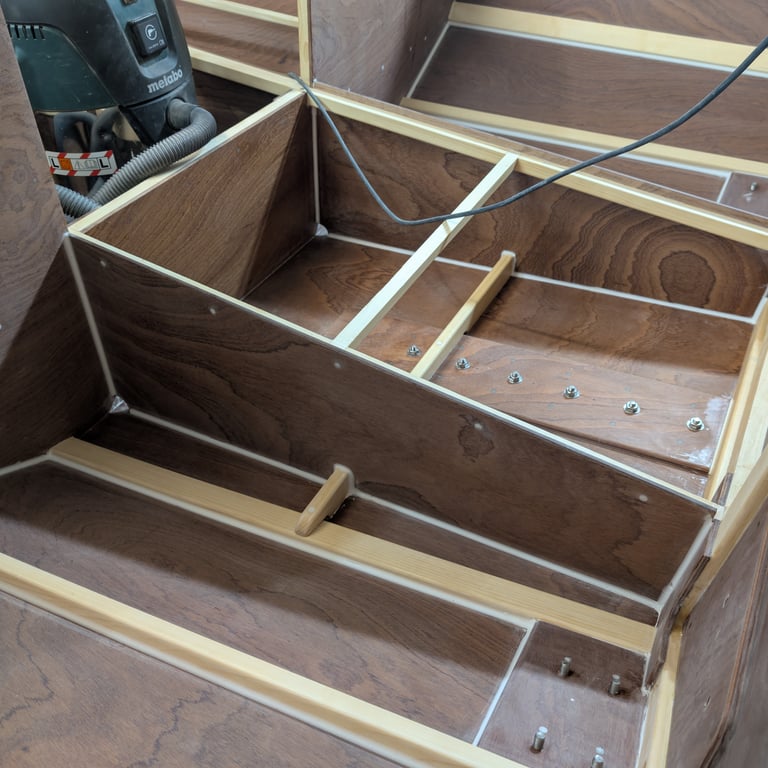
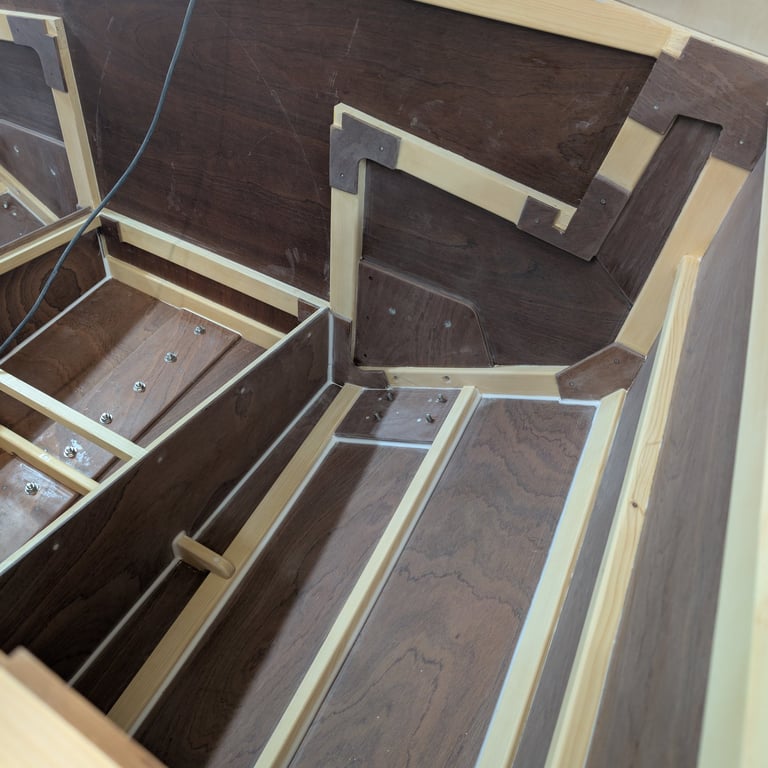
From a technical perspective, fillets are only strictly necessary where plywood parts meet in butt joints. In those areas, fillets provide the required strength to prevent the joints from cracking or loosening when the boat is under load. In my build, this mainly applied to the cabin bunk risers and the compartment sides behind frame A in the aft section.
I also chose to add epoxy fillets along the stringers below the upper chine. Many builders do this along all stringers, but strength-wise it offers little to no real benefit. At best, it can make painting easier and look nice—if you’re very good at it and like the aesthetic. I limited the fillets to the lower section for a couple of reasons. First, I had to clean up some cured epoxy in this area, which left scratches along the stringers. Second, if any standing water were ever to collect inside the boat, it would most likely be in this lower section, so sealing it properly seemed like a sensible precaution.
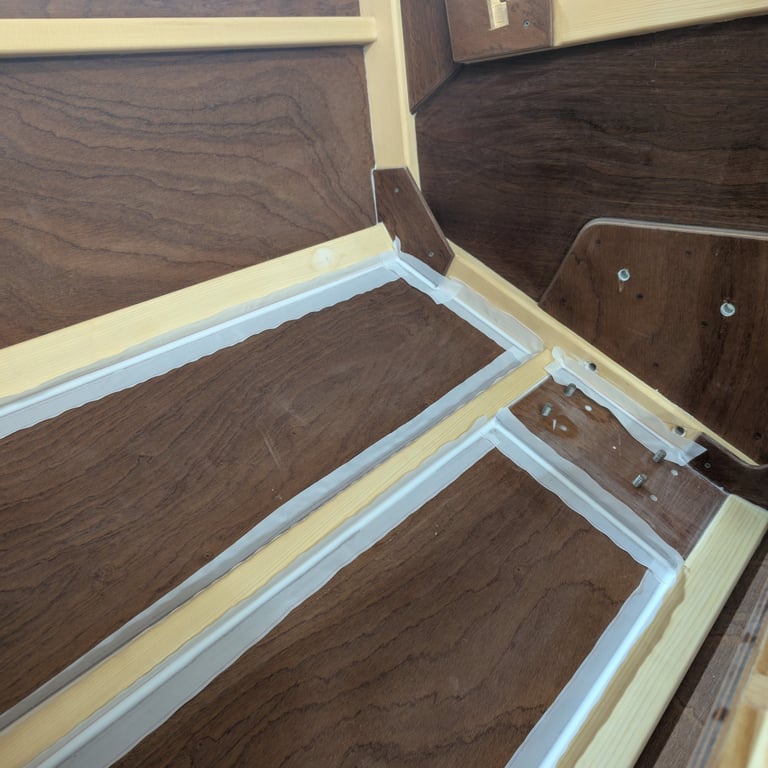
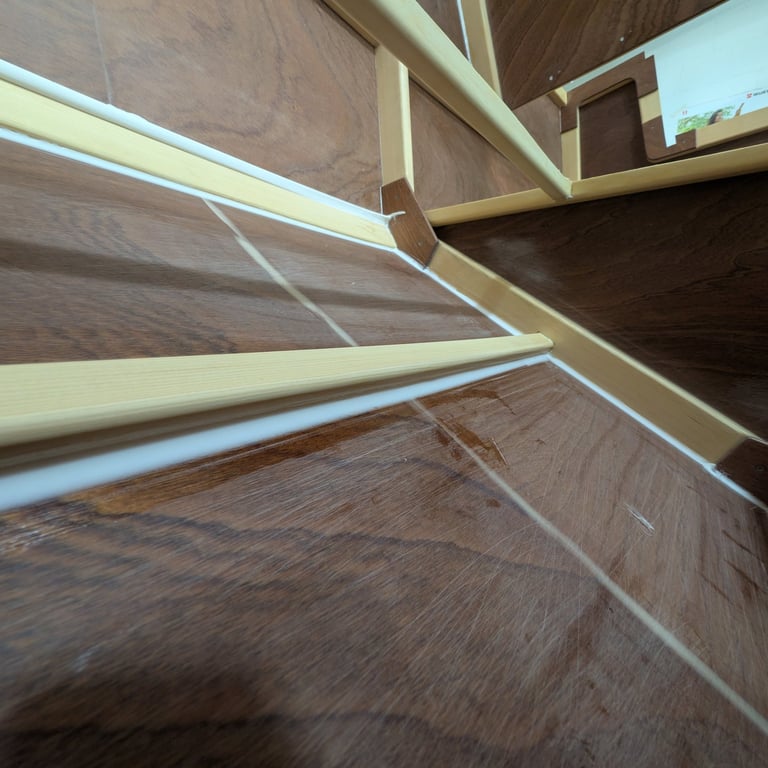
For the fillets, I mixed epoxy with microballoons, cotton flock, and colloidal silica. I tend to follow the same process each time. First, I add a small amount of cotton flock—just a spoonful or so—until the epoxy becomes a very runny gel. Then I roughly double the volume by adding microballoons. Finally, I add colloidal silica until the mixture reaches the right consistency: thick enough not to run, but still easy to work with.
I applied the fillets using a piping bag, shaped them with homemade spatulas, and cleaned up the edges with a flat one. The final step was laying strips of peel ply over the fillets and gently pressing them into place. Once the epoxy had started to cure, I usually went back and applied a bit more pressure with my fingers to make sure the peel ply was firmly adhered and the fillets were nicely shaped.
After removing the peel ply, I still gave the fillets a quick sanding, especially in the corners, which always need a bit of extra attention. Overall, this is a very efficient method. If the fillets come out perfectly, you could technically paint straight over them without any additional sanding.