
Frame-S and Cockpit Battens
Constructing Frame S after turning the hull, refining the companionway design, and preparing interior parts for epoxy coating and sanding.
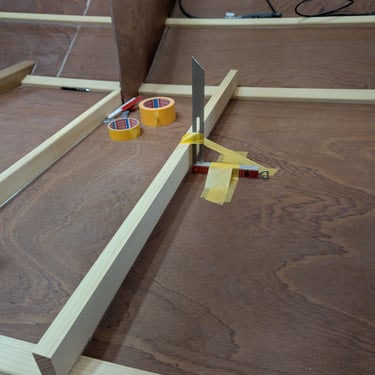
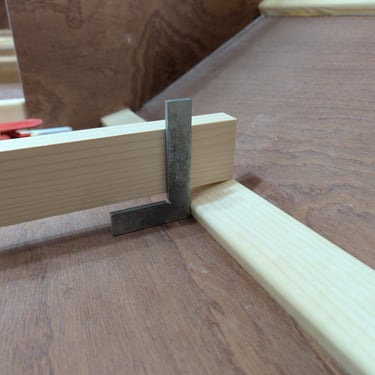
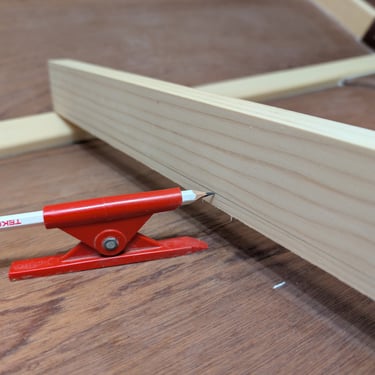
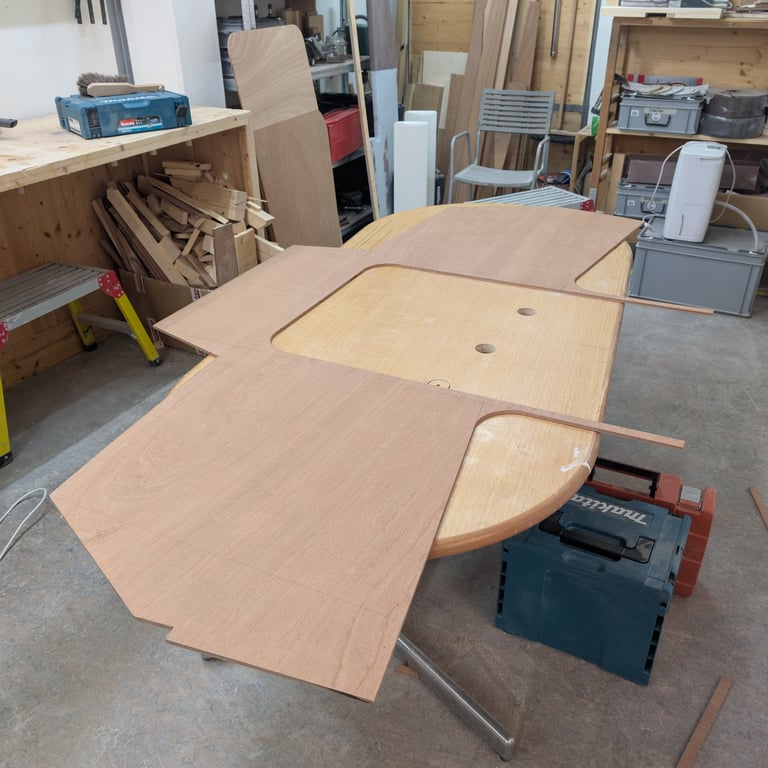
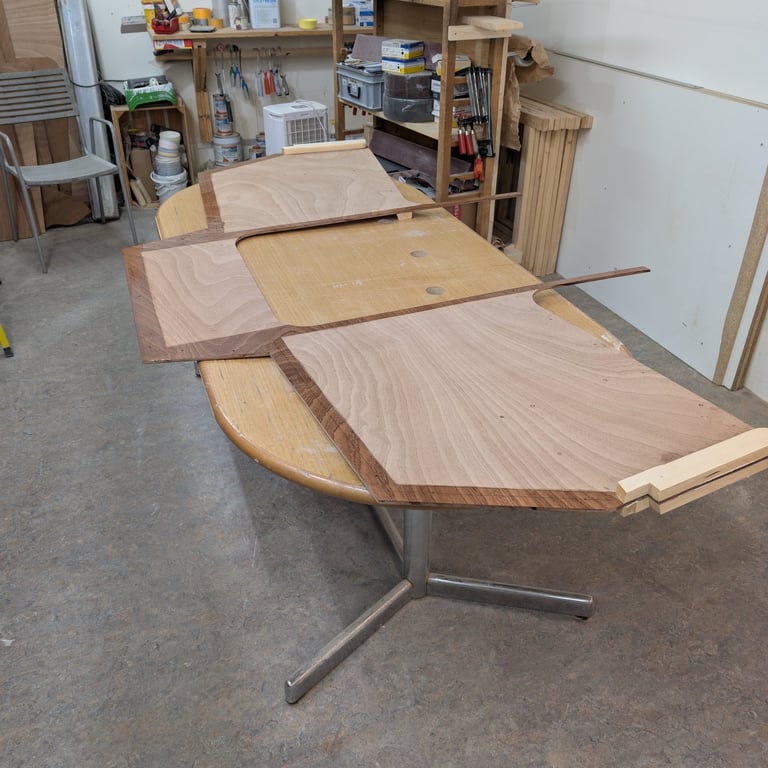


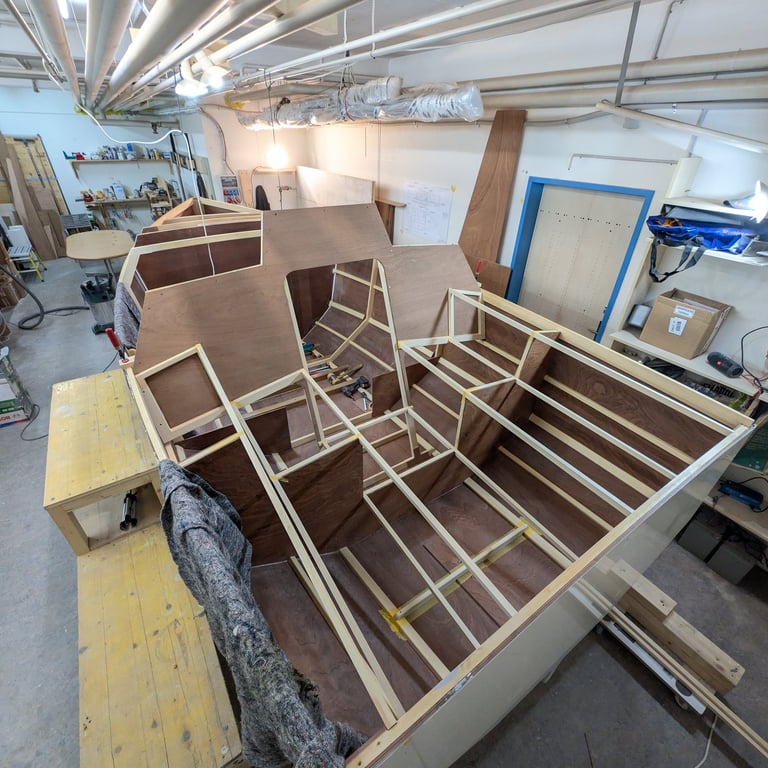
The first task after turning the hull was building Frame S. Since I was working from plans and didn’t have the bunksides to align the frame, I had decided to postpone its construction until now. There are quite a few ways to approach this, but I mostly followed Piotr’s method from Trekka #1. I began by building the floor piece—though the pictures actually show the timber that sits just in front of Frame S.
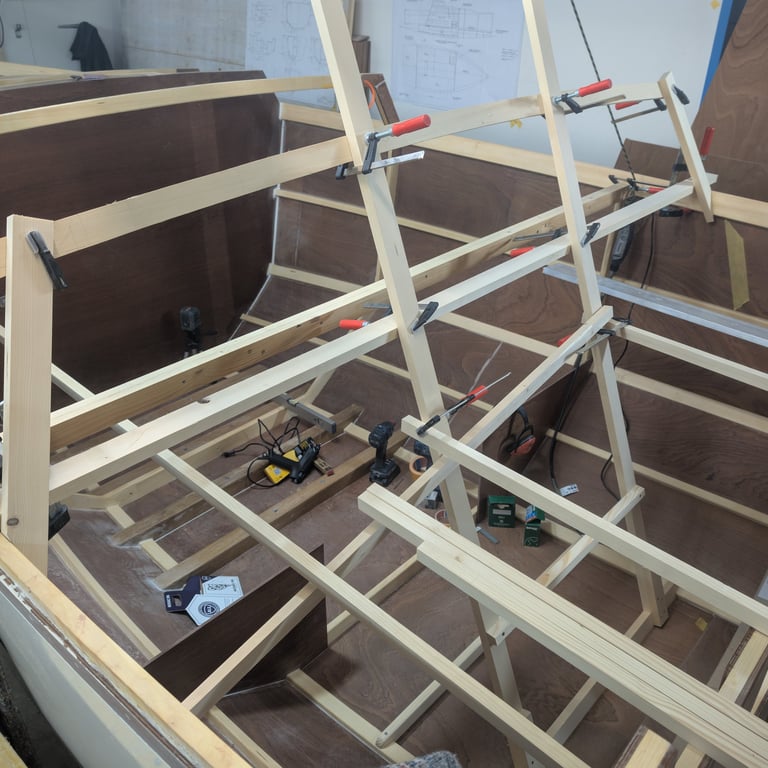
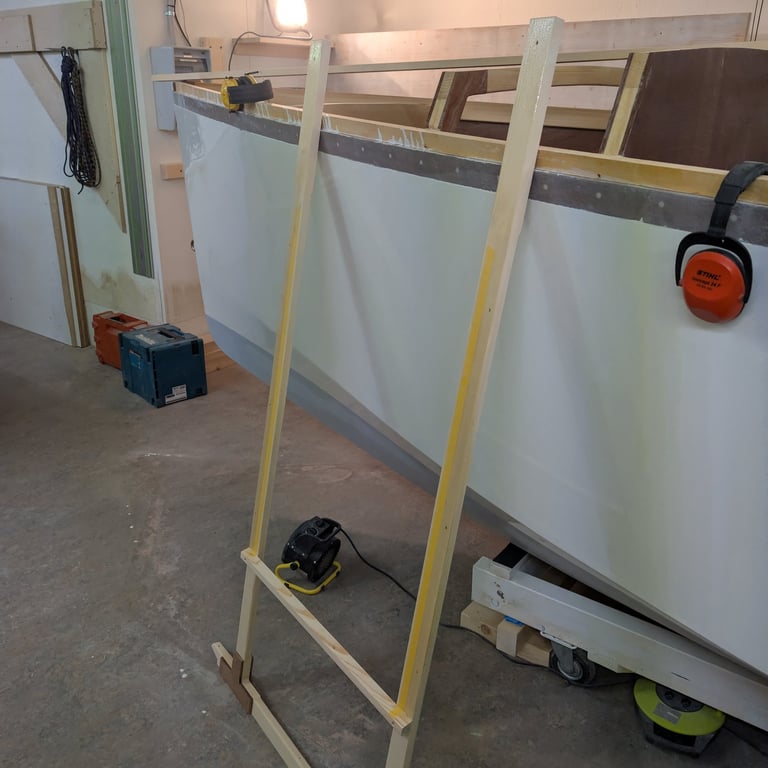
At first, I spent quite a while trying to construct the frame inside the hull, as shown in the first picture. This was helpful for designing the companionway but didn’t give me enough confidence in its accuracy and alignment with the plans. After determining the placement of the horizontal battens and the angle of the frame, I decided to draw the top plywood section according to the plans, adjusting it slightly for my modified companionway design. I was very happy with the result.
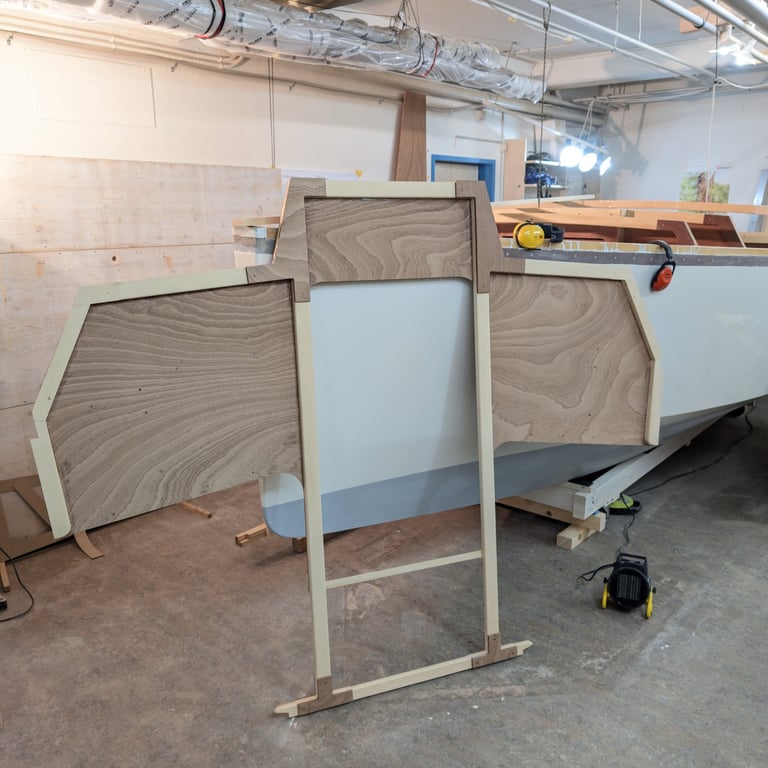
Once the frame was glued up, I chose to continue working on the interior, so I’d have a batch of pieces ready for epoxy coating and sanding. To do this, I temporarily fixed the newly built Frame S in place using a few screws and some hot glue. Then, with my fine tool and a sharp chisel, I carefully made the cutouts for the cockpit battens.