
Installing the Bunk Tops
Installing and finishing the bunk tops, including epoxy coating, lid design, and a few hard-earned lessons along the way
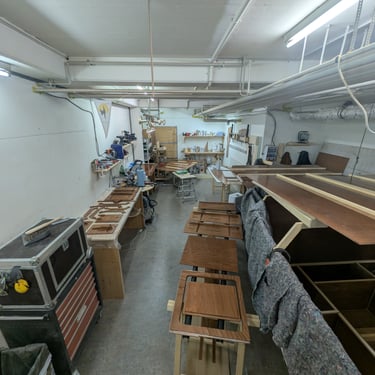


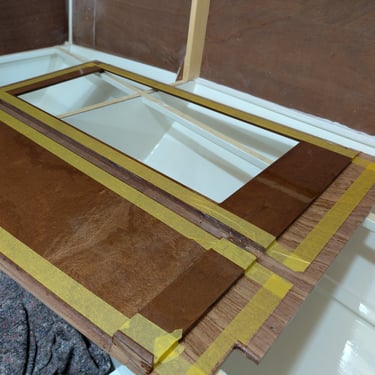
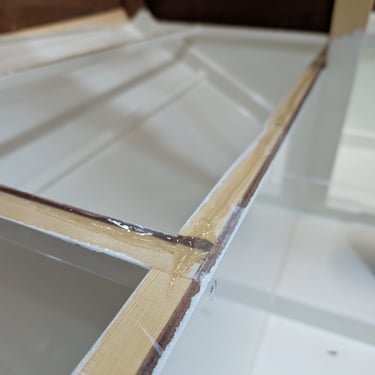
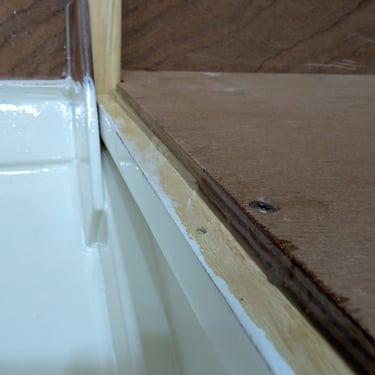
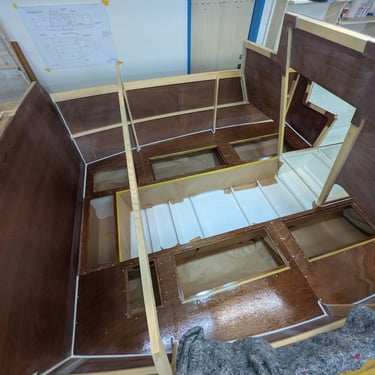

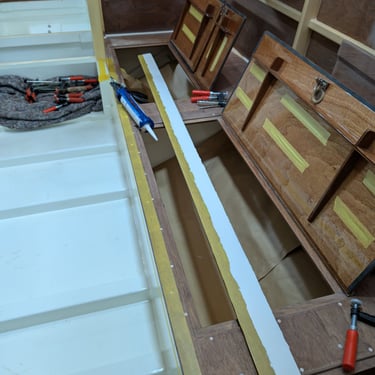
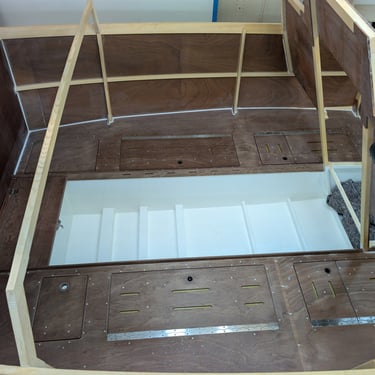


After I had painted the aft compartment and the entire lower section of the interior bunk structure, I was ready to glue in the bunk tops. The underside had already been coated with epoxy and then sanded. To finish it off, I added one layer of polyurethane varnish to seal everything and provide an easy-to-clean surface. After the varnish had dried for a few days, I masked off the gluing surfaces on the tops and glued them down. I used screws where possible, and on the side towards the hull I used lead weights to press everything into place.
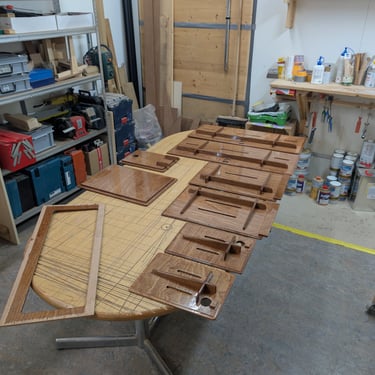
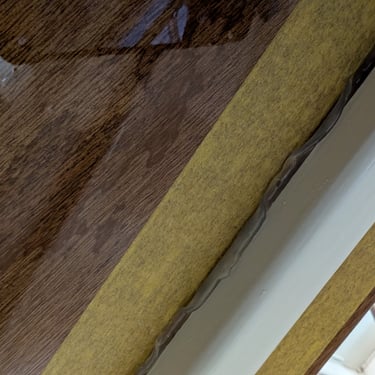
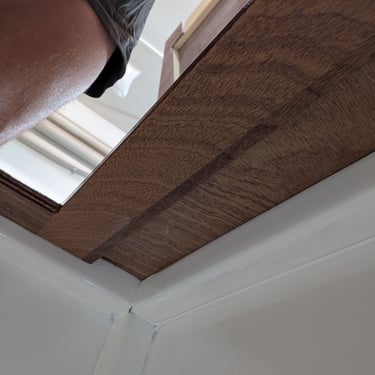
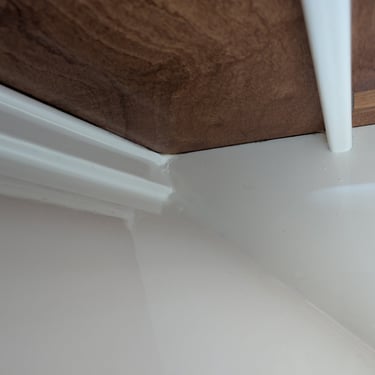
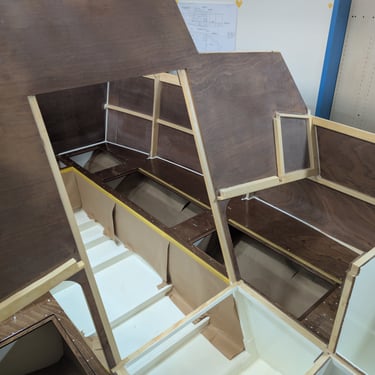
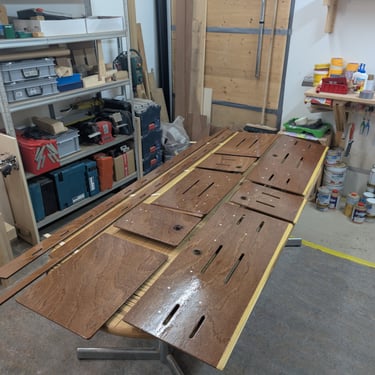
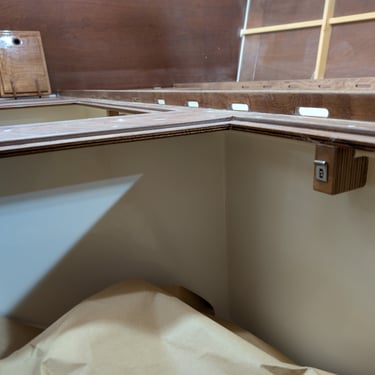
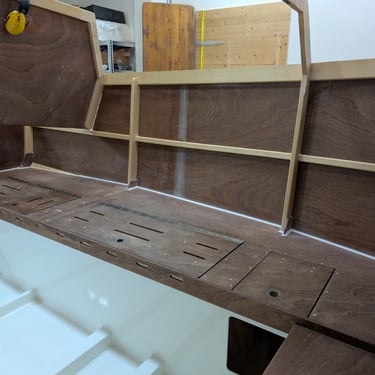
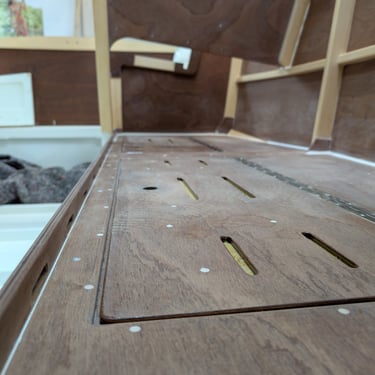
After the bunk tops had cured, I added an epoxy fillet along the joints and coated the tops with three coats of epoxy. I also did the same to the top surface of the lids. Next, I installed the edge strip along the bunk sides and fitted the bunk top lids. I used Sikaflex for both the strip and the hinges on the lids.
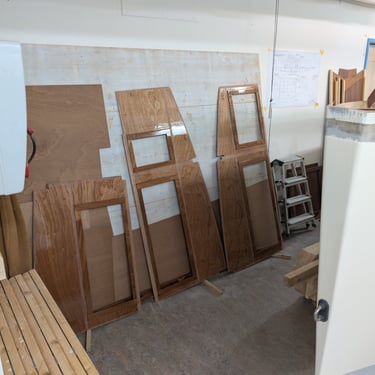
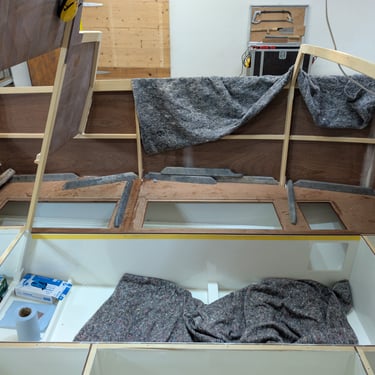
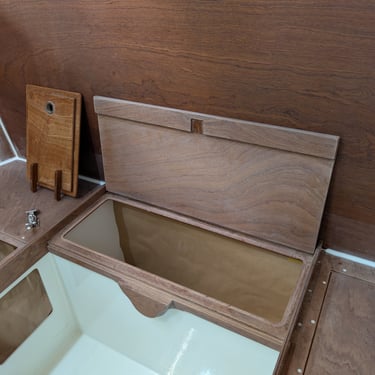
A couple of thoughts on the lid and strip design. I designed the lids to be large enough to fit the liferaft inside. I also plan to make split cushions, so the aft lid opens in two parts, allowing access while the aft cushion remains in place. I added slots for ventilation in both the lids and the side strip. The plan is to add a 1 cm mesh to allow for air circulation underneath the cushions.
I am very happy with the look and feel of the design, but I have to say that creating these parts was a lot of work. I would maybe recommend coming up with a different design or solution. Also, I think I’ve mentioned this before—I would recommend building the bunk tops out of 10 mm plywood.