
Installing the Skeg
Install using Sikaflex 292i for Structural bonds
Installing the Skeg
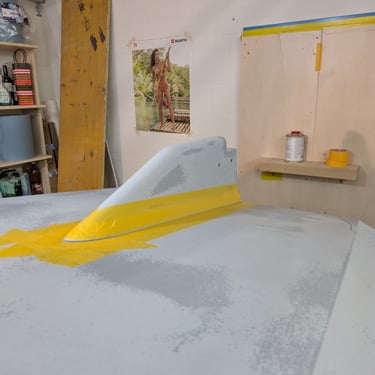
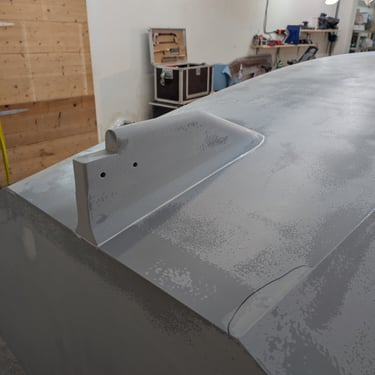
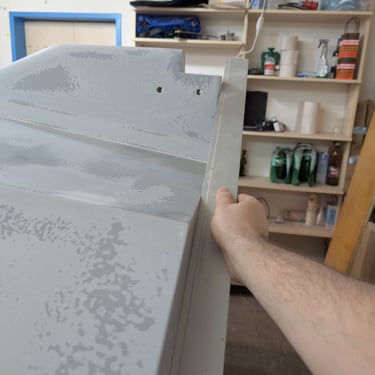
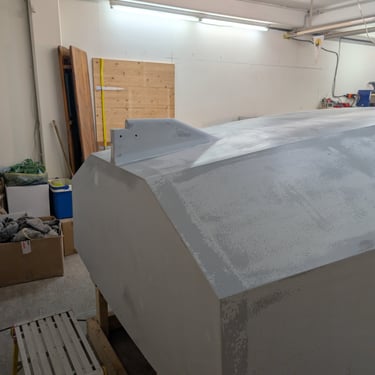
The next task on my list was installing the skeg. I planned to do this after the initial layers of epoxy primer were applied, as the surface was prepped and ready, but before applying the final coats.
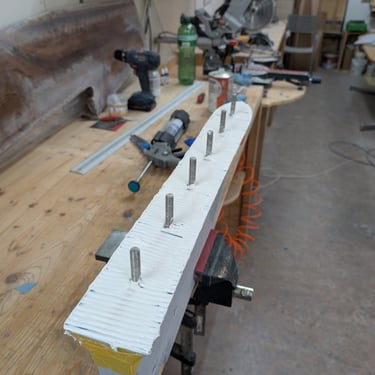
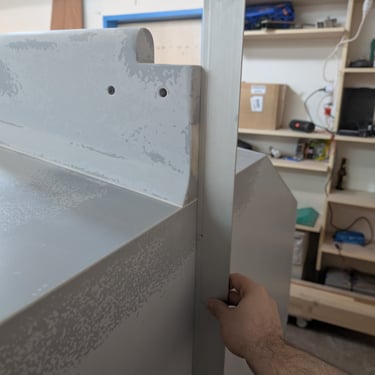
I had previously installed fiberglass tubing for the skeg bolts, ensuring a perfect fit. First, I positioned the skeg and taped around its edges to mark the area. Then, I removed the skeg to prepare the surfaces.
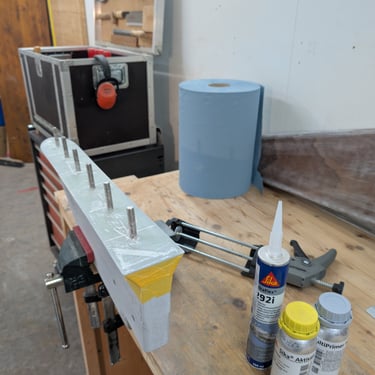
Since I was using Sikaflex 292i to bond the skeg—an adhesive suitable for structural applications—I also used the recommended activator and primer to maximize adhesion.
Why I Chose Sikaflex Over Epoxy
I decided to use Sikaflex instead of epoxy because it allows for more flexibility, which is crucial for a part as strong and highly stressed as the skeg. A rigid epoxy bond might be too brittle under the loads this area experiences. Sikaflex provides a durable yet slightly flexible joint, which I believe is better suited for this application. Additionally, I’ve had excellent results using this method for keel installations in the past, so I was confident it would work well here too.
Surface Preparation
I began by coating both the skeg and the boat with Sika 205 Activator using a brush. After allowing the solvent to evaporate, I waited 20 to 30 minutes. Next, I applied the Sika Multi-Marine Primer to both surfaces, following the same process: brush application followed by curing time. While this second step wasn’t strictly necessary (as the surfaces were already clean and non-porous), it ensures the strongest bond.

Applying Sikaflex
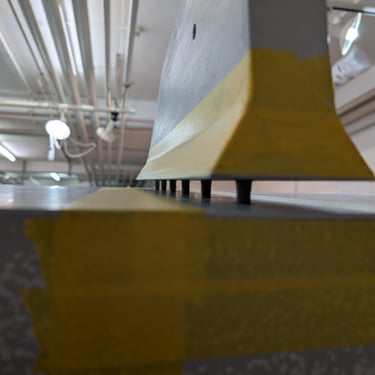
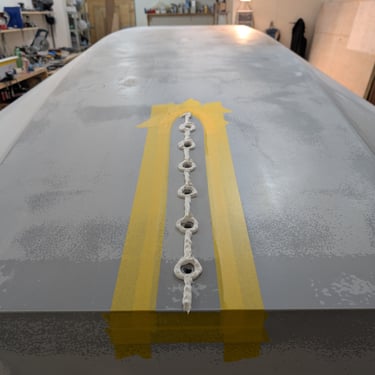
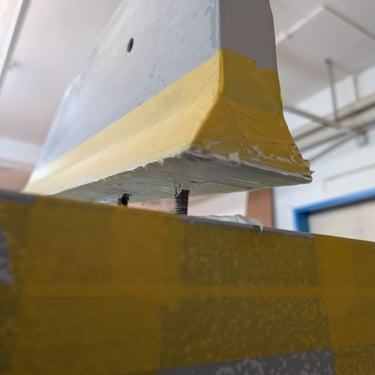
I then applied Sikaflex 292i to both surfaces. On the skeg, I used a combed spatula to create an even film, ensuring air could escape sideways. On the boat, I applied a generous amount of Sikaflex around the bolt holes and along the centerline. This resulted in excess material squeezing out along the edges and bolts during installation.
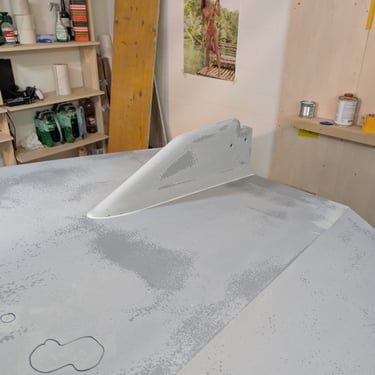
To secure the skeg, I tightened the bolts in alternating sequences, working from front to back and vice versa. I re-tightened them 20 minutes later, again after an hour, and a final time the next day. To clean up the excess Sikaflex, I used a light solution of soapy water mixed with West Systems cleaner.
Final Steps
The joint hardened by the following day. Since Sikaflex 292i is sandable and paintable, I’ll apply the next coats of Epifanes High Build Epoxy Primer over the joint. For the best adhesion, I’ll sand the surface lightly and reactivate it with Sika 205 Activator before applying the primer.