
Lead Casting
Four Swiss 5.80 builders teamed up to cast their lead bulb halves, sharing the process, lessons learned, and key technical details from a successful group casting day.
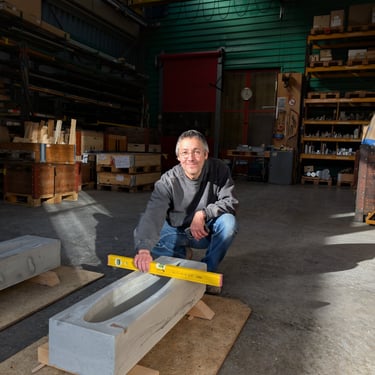
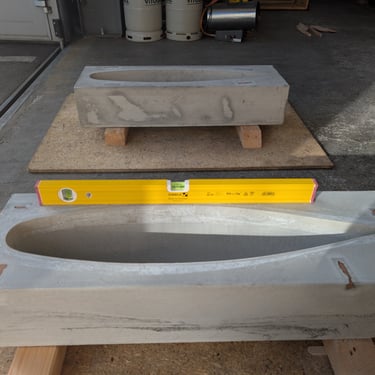
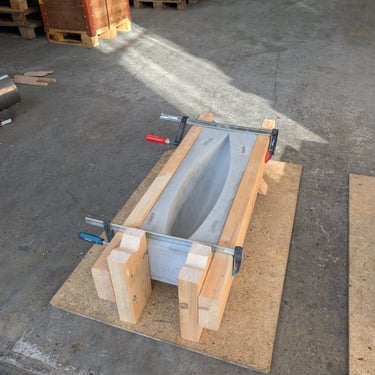
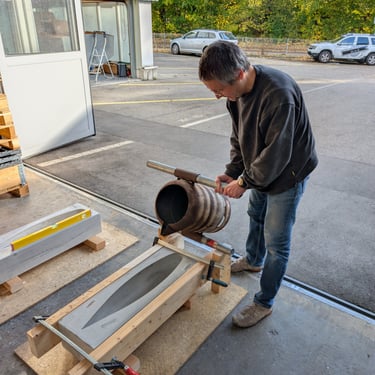
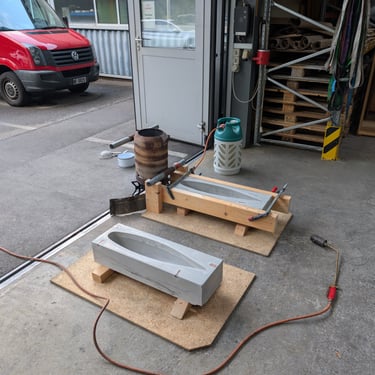
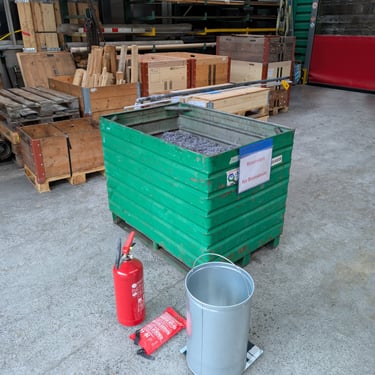
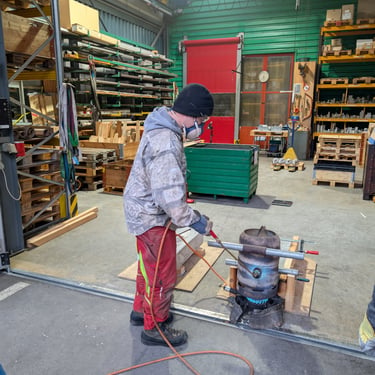
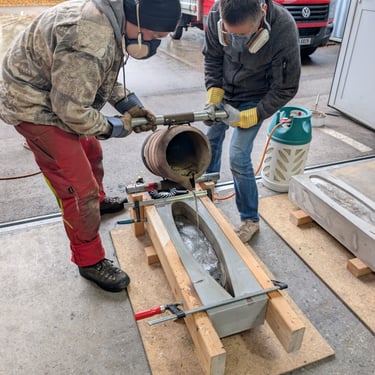
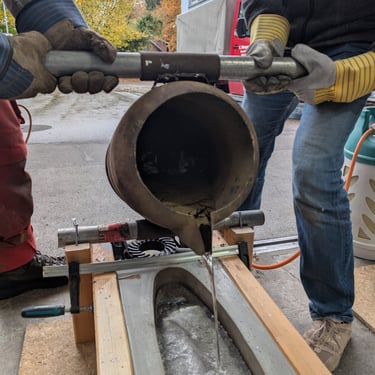
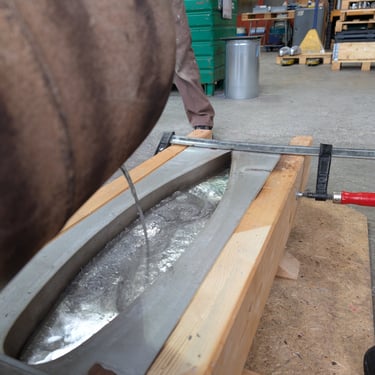
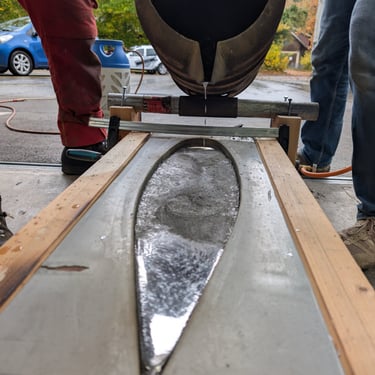
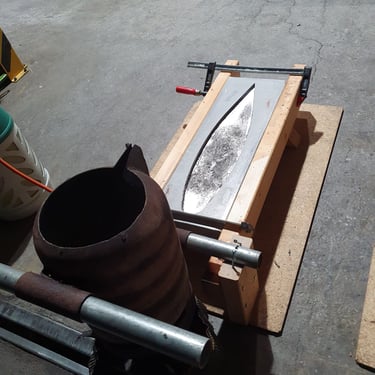
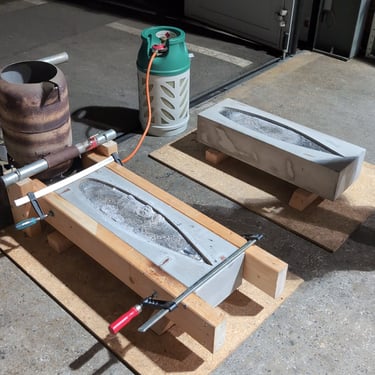
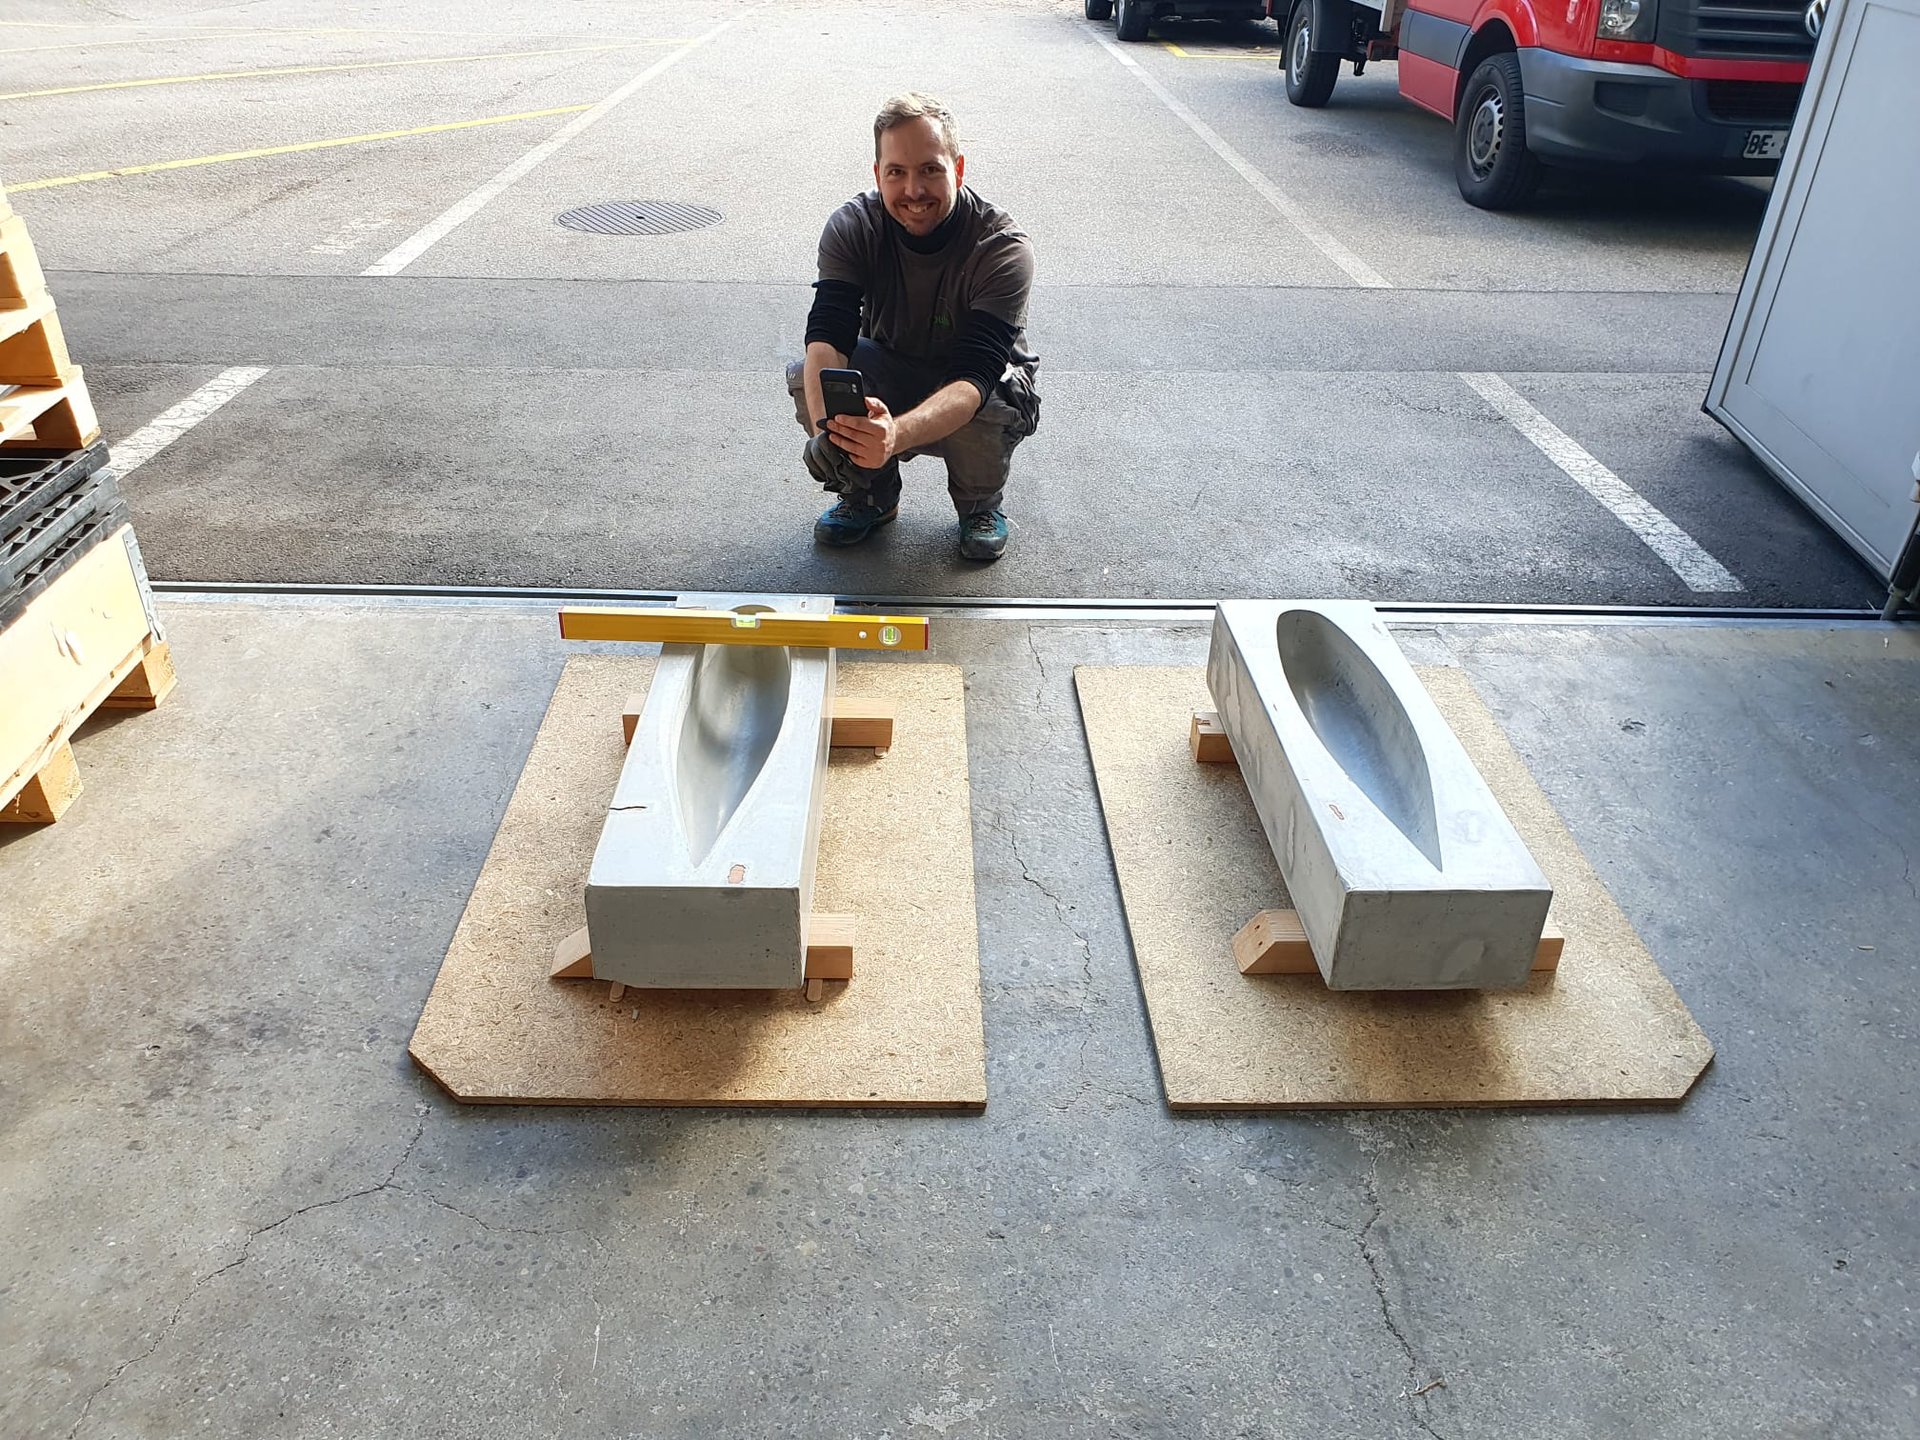
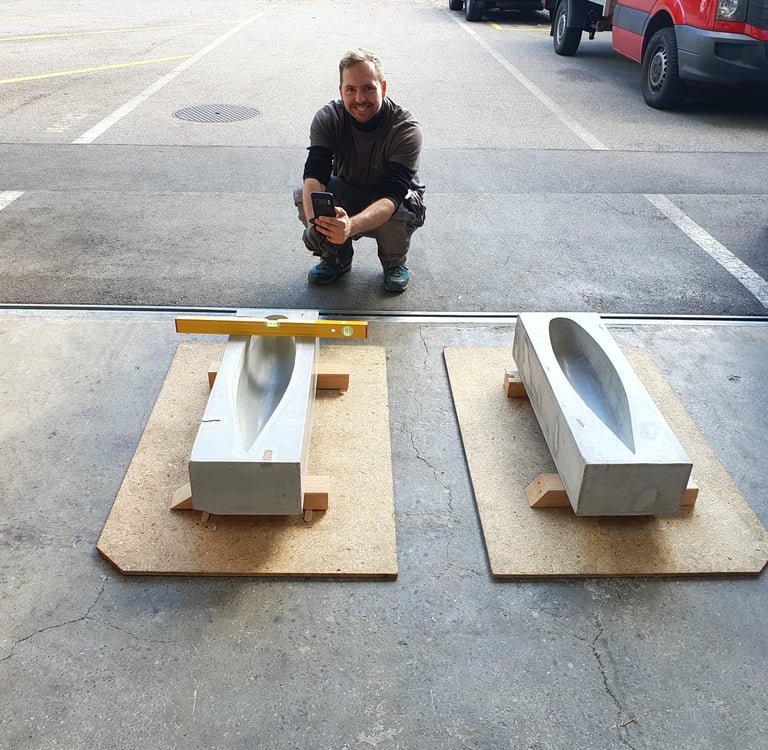
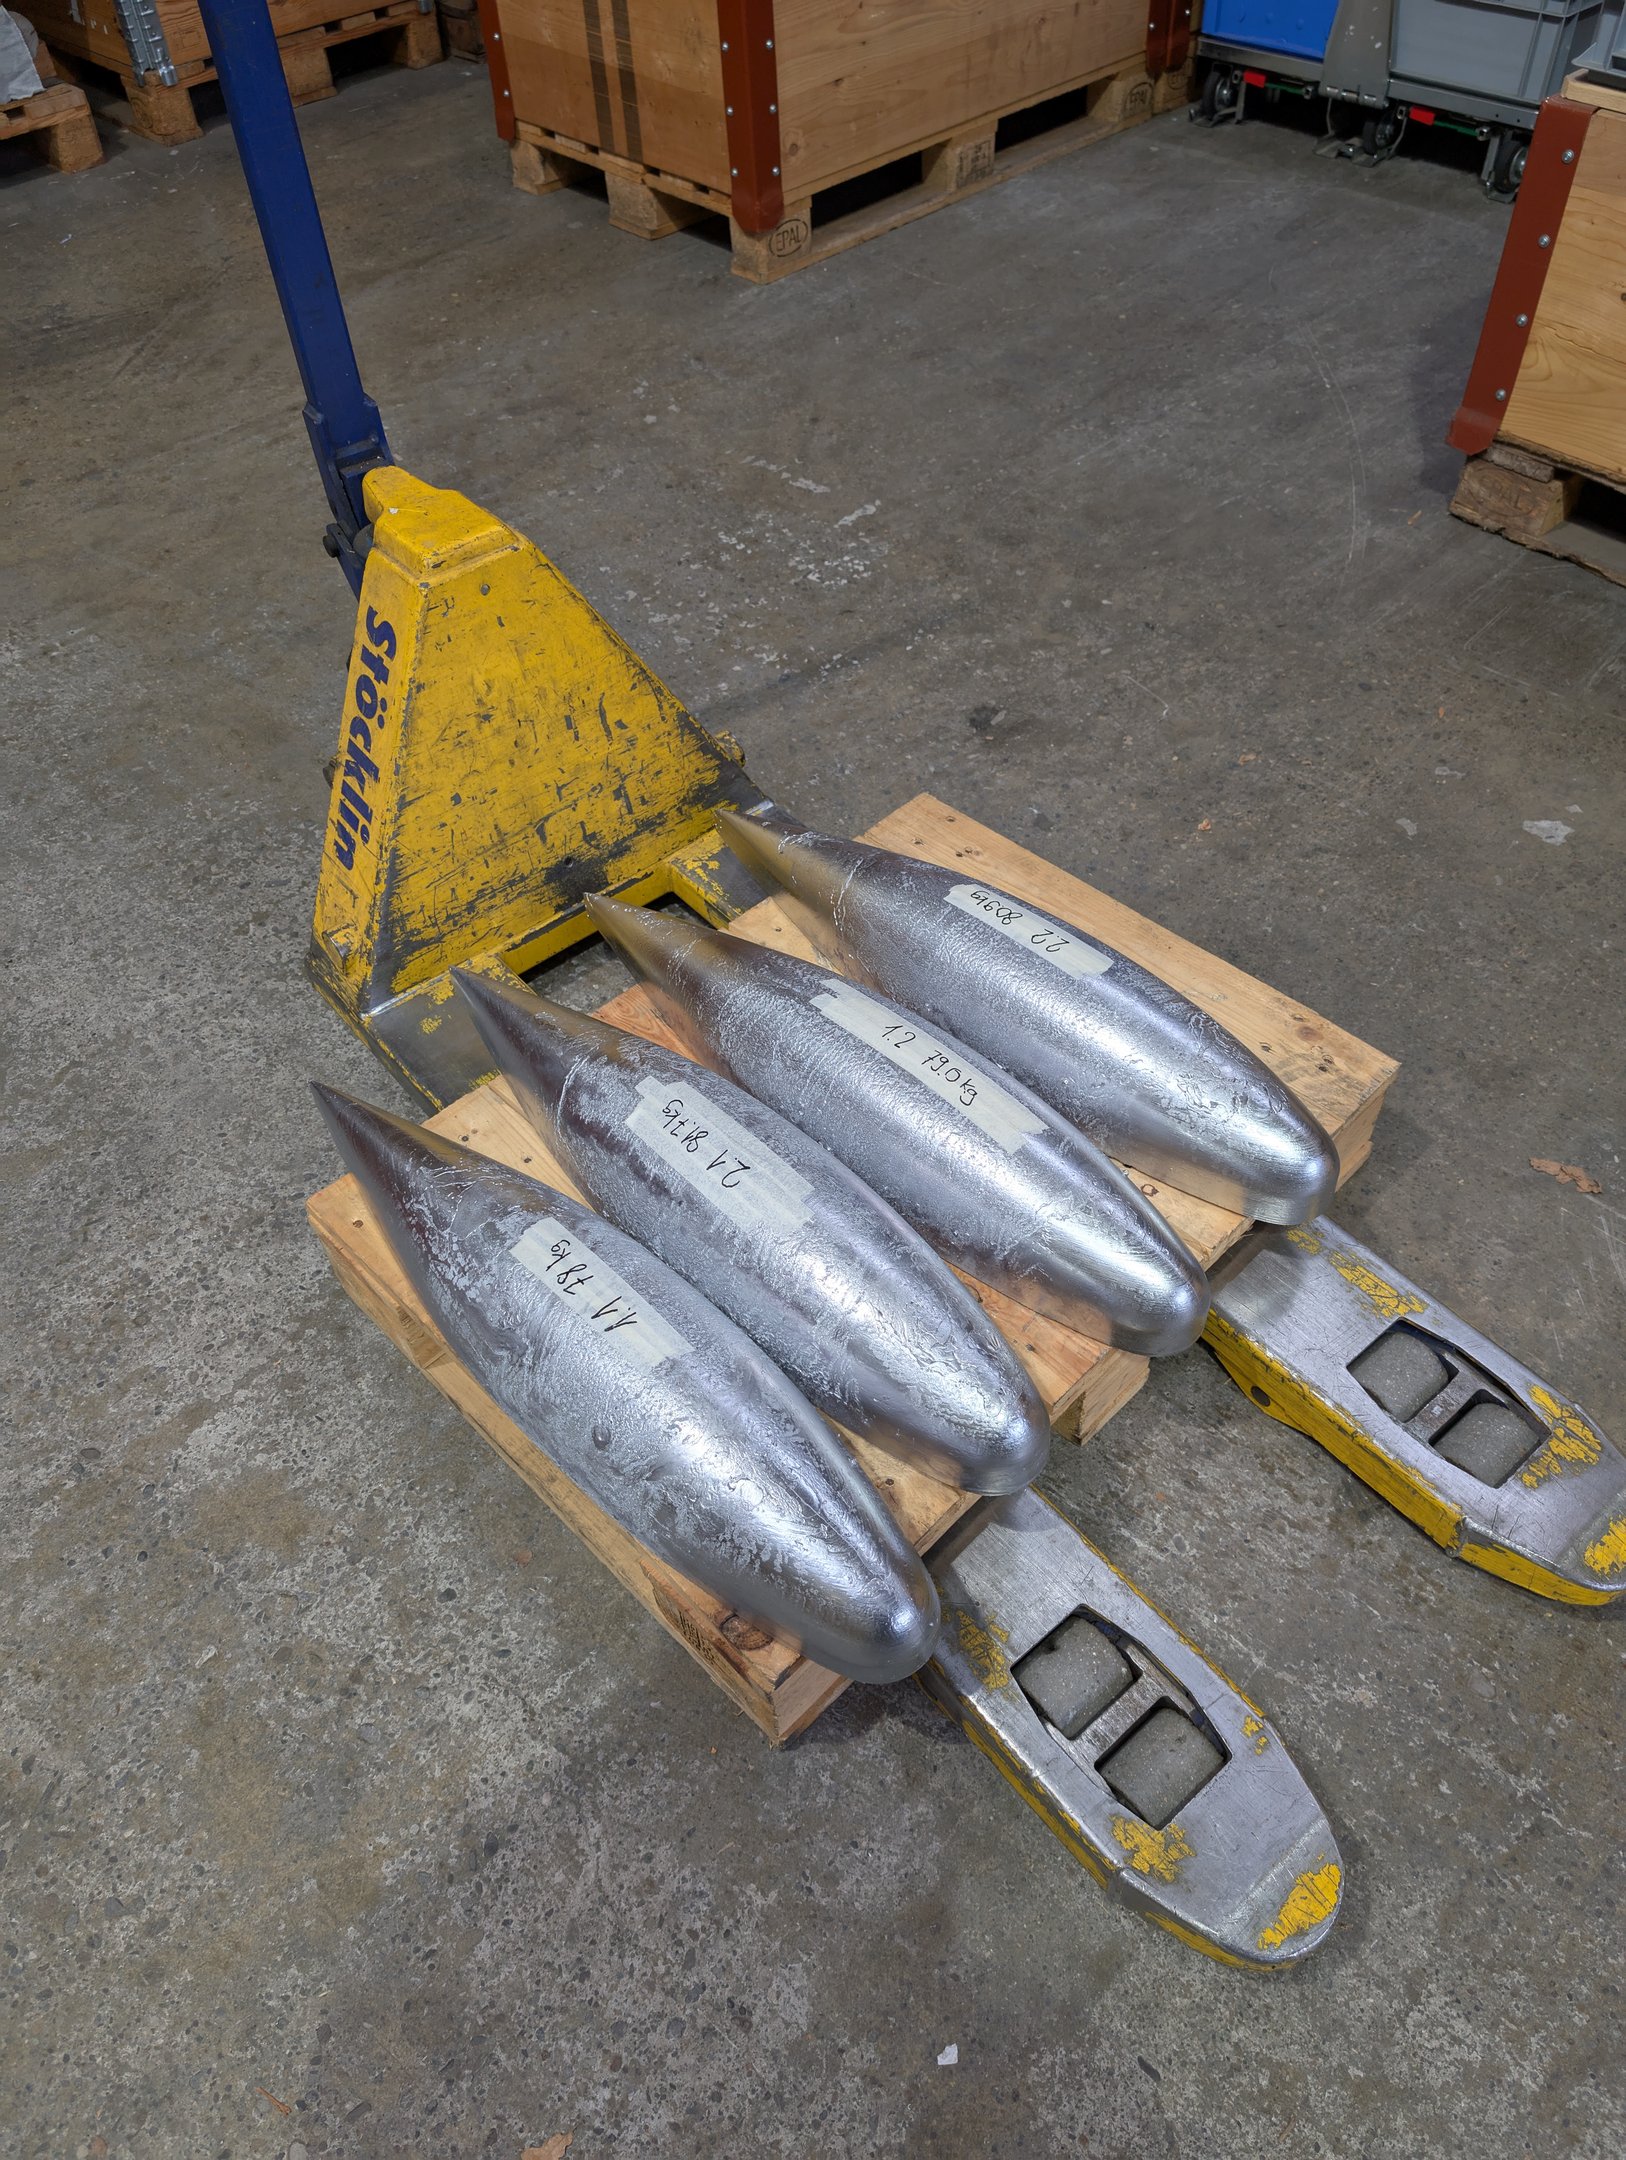
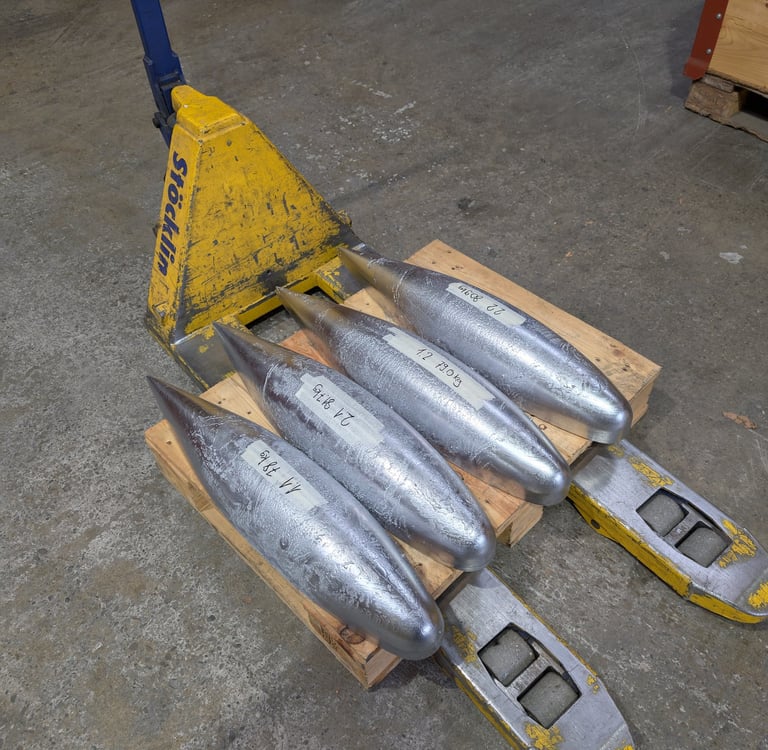
Late October last year (2025), a group of us came together to cast our lead bulb halves. At the time, there were five active builders in Switzerland, and four of us joined forces to tackle this project. It is far more efficient to work together on larger projects like this, and it's always fun meeting up and talking about all things 5.80 😊.
At first, we spent some time coming up with an efficient setup. I had previously built two casting molds out of high-density mortar. We set up in Joe's #165 workshop, or rather in his landlord's metal workshop right next door. There was a slight chance of rain, so we positioned ourselves right at the workshop entrance under cover. The plan was to cast two halves, let them cool for four hours, and then cast two more. We were able to borrow the casting pot and an 8 kW burner from Thomas Kindermann #66, so we only had to come up with an easy way to move the casting pot from mold to mold. After that, we leveled the molds and were ready to go.
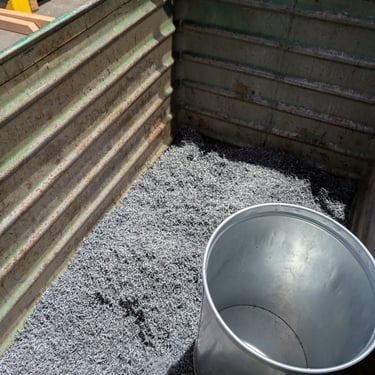
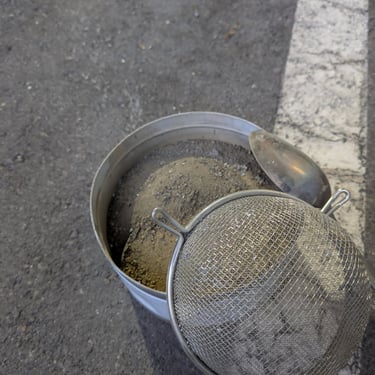
We weighed out 80 kg of lead and slowly started melting it in the pot. The lead shavings melted easily, but it still took roughly one hour to add all the lead and bring it up to temperature. During the melting process, we kept adding spoonfuls of fine, clean sawdust to help bind impurities in the lead. We then used a steel sieve to remove the debris. Throughout the melting process, we regularly checked the temperature of both the lead and the pot with a laser thermometer. Once we got close to the target temperature, we verified it with a probe thermometer.
The melting point of lead is roughly 327°C. We aimed for a casting temperature of 360–370°C and were very careful not to exceed 400°C in order to minimize the development of harmful fumes. Even so, it is always important to take proper precautions when carrying out a project like this. We wore active carbon filter masks and full-length cotton clothing for protection.
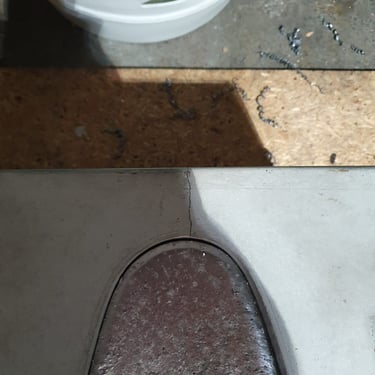
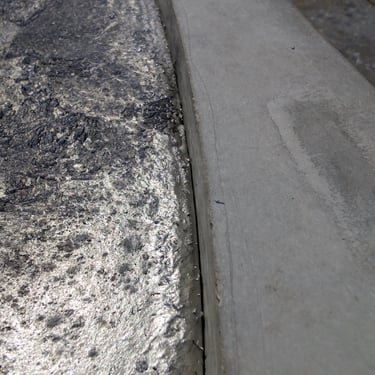
Pouring went very smoothly. At first, we experienced some bubbling, probably because the concrete still contained a small amount of moisture that needed to escape. It improved with every pour. Once cast, the lead began to harden on the surface almost immediately. At the point where the stream of molten lead entered the mold, significant shrinkage occurred as the lead cooled. Along the edge of the mold, a small crack started to develop, signalling a clean release from the mold.
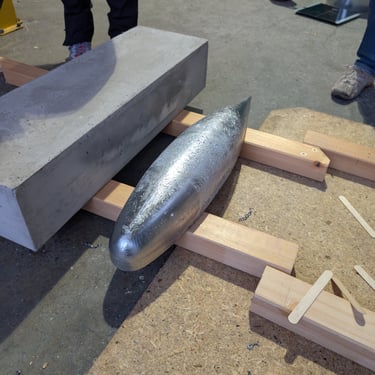
After four hours, we released the bulb half by turning over the mold. The casting pretty much dropped out on its own after a few seconds, and we simply lifted the mold away—ready for round two. The lead and concrete mold were still warm to the touch when we released the bulb. Immediately after casting, the concrete had heated up to around 65°C. We used a gas lance to preheat the inner surface of the molds slightly and to create a light layer of soot, which we assumed would help with release. We were very happy with the results. The molds should withstand many more castings, and the bulb castings just keep getting better.
Here are the most important details:
Melting point: 327°C
Casting temperature: 360–370°C
Do not exceed 400°C
Measure temperature with both a laser thermometer and a probe thermometer
Wear protective clothing, safety glasses, and a carbon filter mask
Wash clothing and dispose of filters afterwards
The molds provided 28 mm of additional depth compared to the design drawings to allow for shrinkage
We melted down approximately 80 kg of lead per bulb half
Do it with friends and Share resources😊 Thank you all so much
Joachim Götz, #165 https://jogotransat.ch/
Dominic Rohr , #220 https://tutuoh580.wordpress.com/
Oliver Egloff, #273 https://adopo.blog/
Thomas Kindermann #66 https://minisailer.ch/