
Making and Glueing the Topsides
Port and Starboard Topsides: Marking, Cutting, Drilling, Coating and Installing

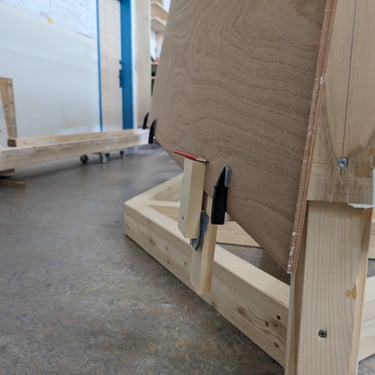
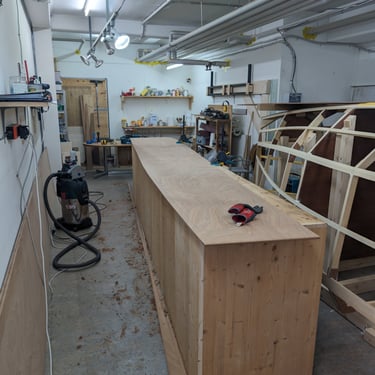
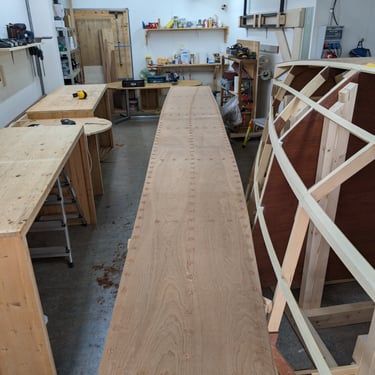
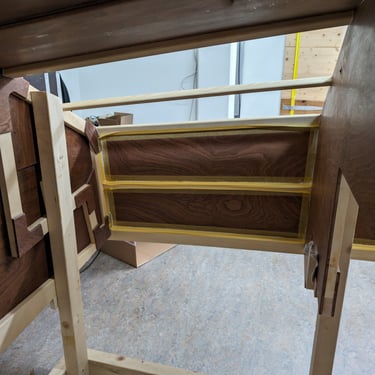
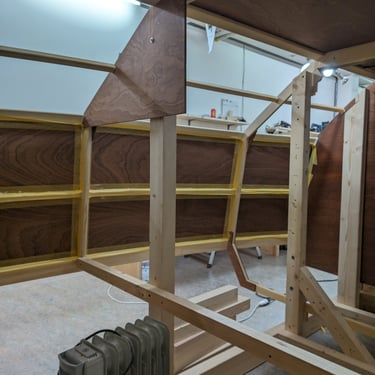


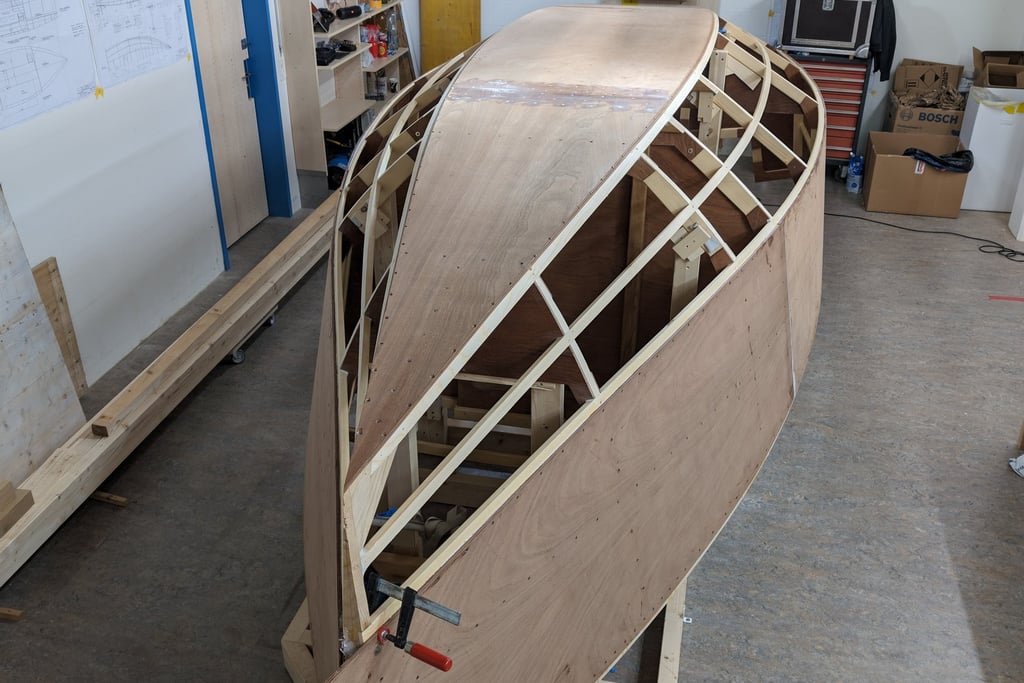
Soo... Handling roughly 6m long planks didn't make life all that easy. From time to time a was able to enlist a friend to come and help out. As seen in some pictures I stacked some construction wood in the center to help me align the planks.
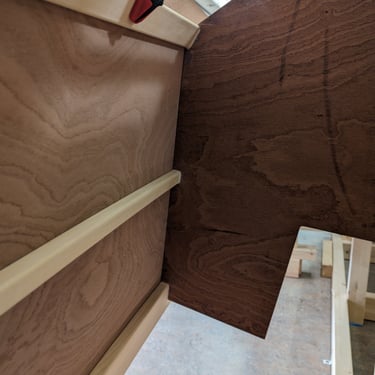
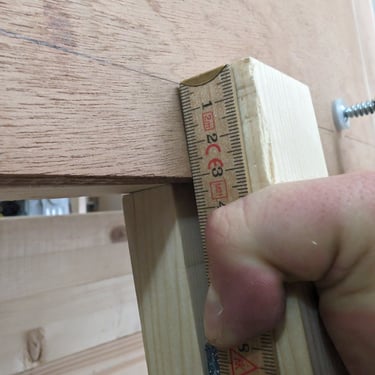
When everything was just right, I marked the inside and then the topside deck. For marking the deck I used a hand made 'tool' to mark 3cm up from the low side of the top stringer. it was very helpful that I had chosen to build this stringer in full size across the whole boat length.
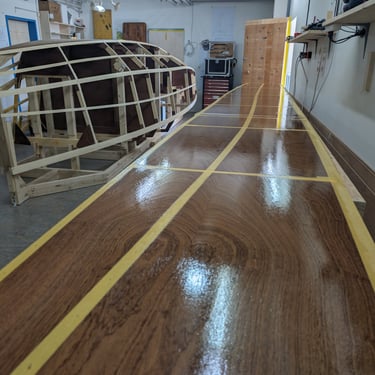
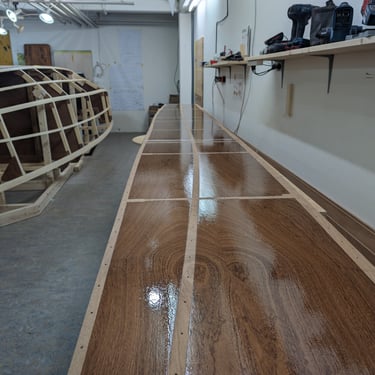
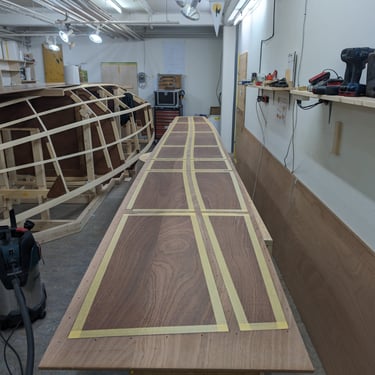
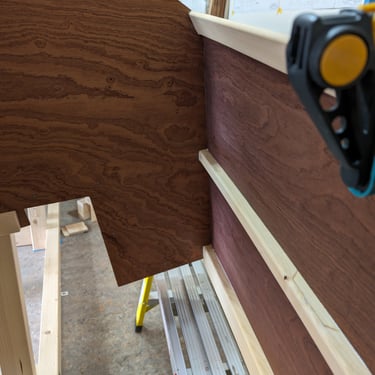
Three coats of epoxy and a time sanding later, it was masking time. Since I had precoated and sanded all the parts, the masking is actually not really necessary. It would be possible to clean up the excess nicely without it. The reason I did it anyway, was for ease of application and because it helps with the speed of the cleanup and that is very important with such large pieces.
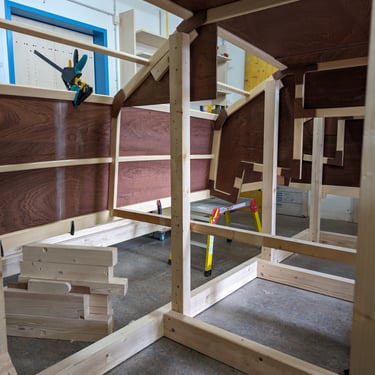
The pictures in this post are a bit mixed, this because I grouped the fabrication of both planks together meaning that I first marked, cut and drilled the port then starboard plank. Then I sanded, coated, re-sanded and masked both planks. Finally I then glued each plank. the first one I did all by myself, really running out of time by the end and barely being able to clean up. For the second plank, and all that will follow, I got some help with the application of the epoxy and setting the plank.
The plank that I wasn't working on was usually stored on top of the boat.