
Painting the Aft Compartment and Interior Lower Structure
A detailed look at prepping and painting compartments with 2K polyurethane paint, tackling dust, fumes, and achieving a durable, high-quality finish.
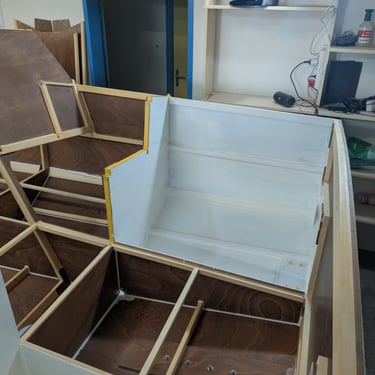
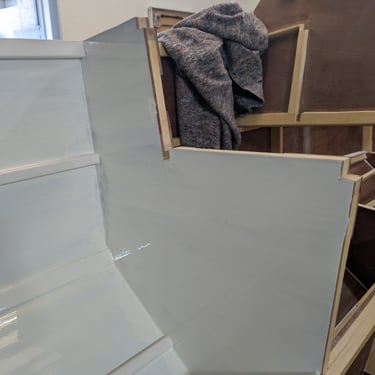
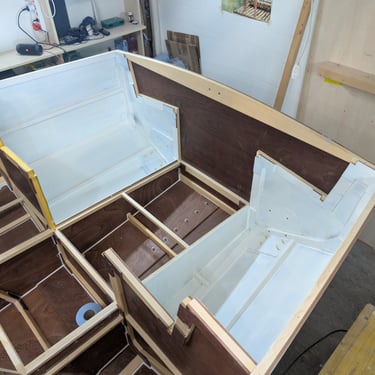
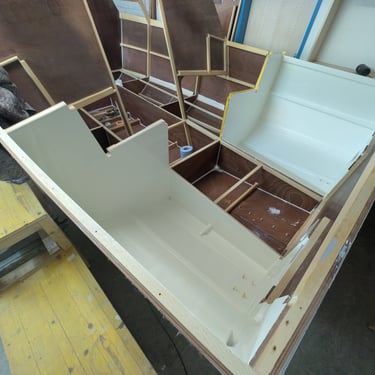
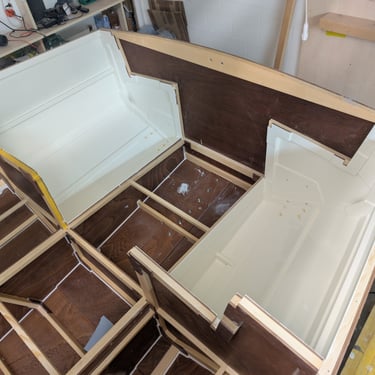
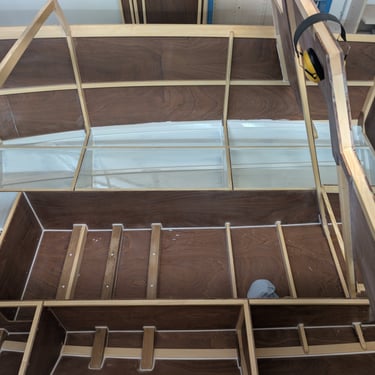
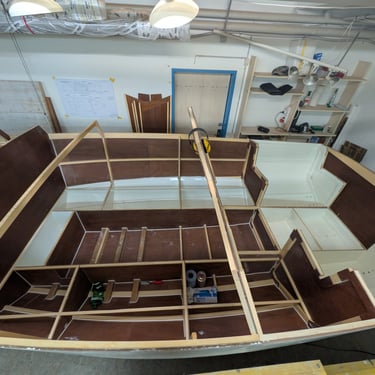
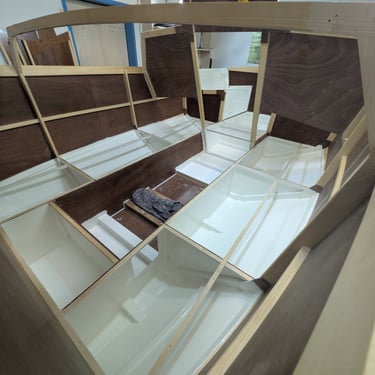
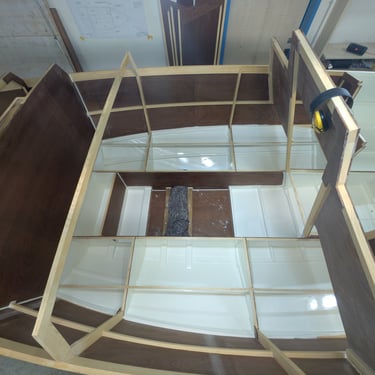
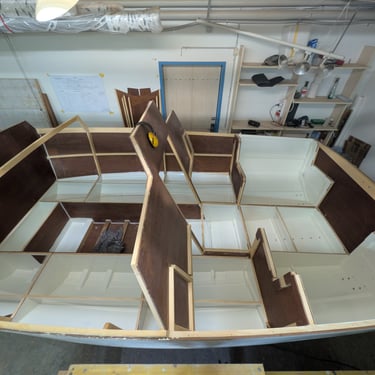
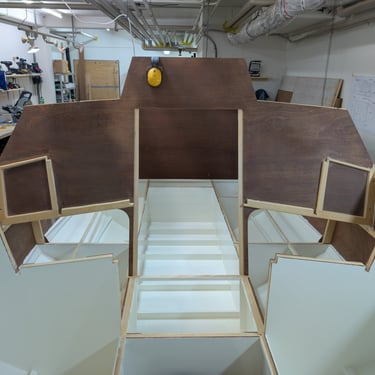

Painting is always a big step, simply because it brings a lot of gratification after seeing such a visually large change. For ease of access I installed the entire interior structure, pre-built the bunk tops and cockpit plating, and then painted all the parts that will not be accessible later. I started with the aft compartment behind frame A, which will become a huge aft locker. I divided it into three compartments, all draining to the centre. This is a small change to the plans that many builders have done to prevent things falling under the floor and becoming unreachable, and also to provide more stiffness to the cockpit floor and structure. For me this means I will need to build an access hatch in the cockpit floor. The painting always follows the same method: preparation is key. All surfaces need to be evenly sanded, first with 120 grit and then with 180 grit. Most parts were pre-sanded before installation, so there was mainly touch-up work, but I still spent days preparing the interior structure and aft locker. I chose to paint everything inside the boat with two-component polyurethane paint, the same as on the topsides. It is the most durable solution: UV-resistant, extremely hard, very scratch-resistant, and even resistant to acids, thinners and fuels for some time. It is also the most expensive and the most difficult to apply. I chose it because the boat has so many hidden corners and sealed compartments, and unlike older boat construction they do not all drain into a central bilge. In a plywood boat a perfect seal and high-quality finish are key to longevity. In the end the system will be three layers of West epoxy, sanded to 180 grit, followed by three layers of Epifanes polyurethane paint, all applied with roller and brush. Before painting, every surface is vacuumed, wiped with a cloth, then with acetone and finally with paint thinner.
When applying the paint I always add a small amount of thinner and keep a close eye on humidity. Especially in winter the air in my workshop can get very dry, so I water the floor until it is around 55 % humidity. Low humidity makes the paint less workable because it dries too quickly; thinner and humidity control help with that. By far the biggest problem, however, is dust. It is almost impossible to make the workshop dust-free. I have even thought about building a tent over the boat and dismantling it again after painting. I usually spend at least a full day cleaning: vacuuming everything, even the overhead piping, then blowing with compressed air, letting the dust settle overnight, and vacuuming again. It all helps, but there is always dust – even the static from the lights attracts it, and there is always some air movement from the heater or dehumidifier. For this reason spraying is out of the question; you would need a very clean environment and proper extraction. The polyurethane paint is also quite aggressive, so I always run a fan to push the fumes outside and keep the opposite door cracked open for fresh air. A carbon filter mask is essential. I have already changed the filters twice – when they start to smell sour, it is already long overdue 😊