Rudder
Making the Rudder
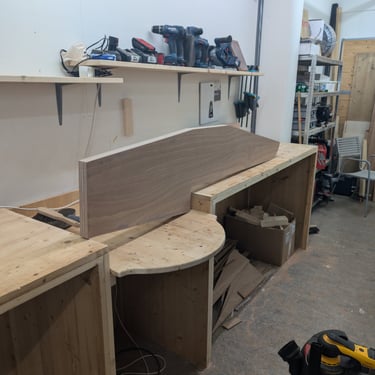
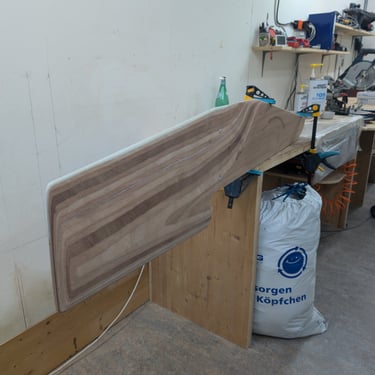
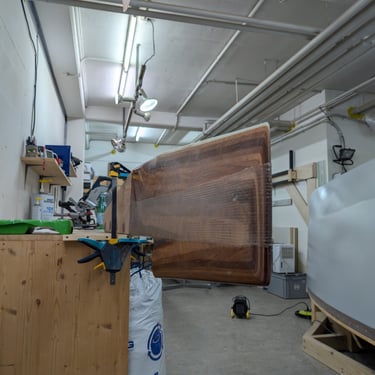
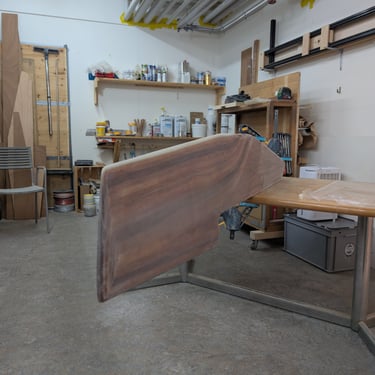
As you can see from the progress of the boat in the background, building the rudder spanned several months. I built the wooden blanks for the rudder and daggerboards quite early to break up the work and give myself some projects when I needed a break from sanding.
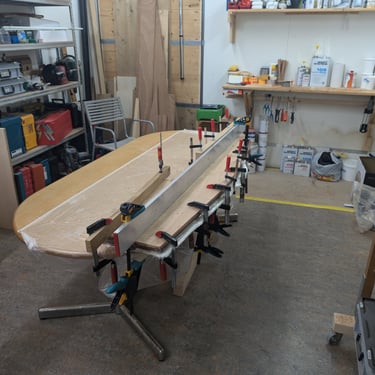
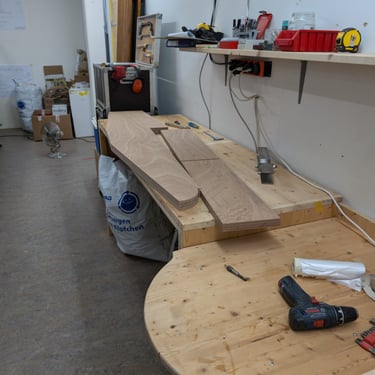
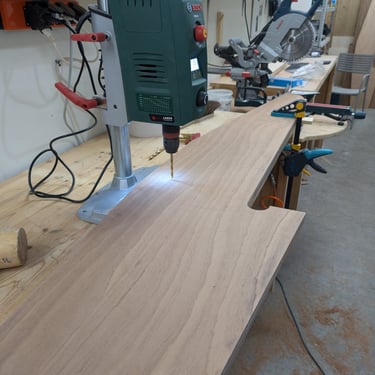
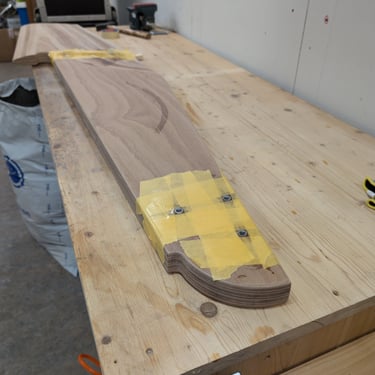
To cut out the rudder blanks, I used Joe’s rudder template. Joe, from Hull 165, is building with a kit and kindly provided me with his template—thanks, Joe! 😊 I traced the shape of the rudder onto four 10mm mahogany plywood sheets and rough-cut them using my track saw. I then routed a 10cm wide groove in the center pieces to accommodate some fiberglass for the trailing edge. During the glue-up, I laminated a roughly 4mm thick fiberglass band inside that groove. The entire process was done wet-on-wet. To ensure proper alignment, I used pre-drilled guide screws along the length of the rudder. Once everything had cured, I used the template again, this time tracing it with a router. I first cut the fiberglass with a Fine tool to avoid completely ruining my router bit.

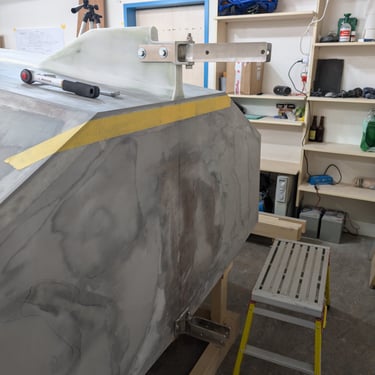

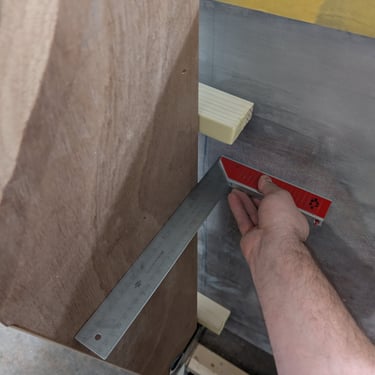
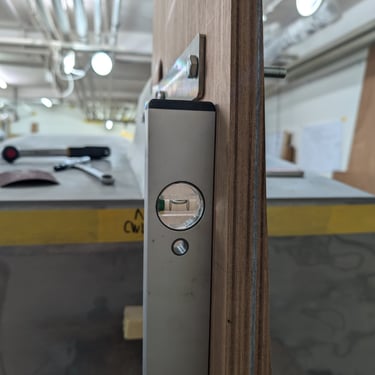

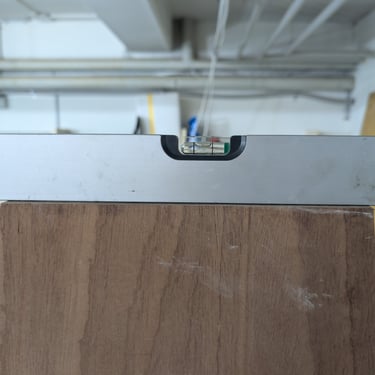
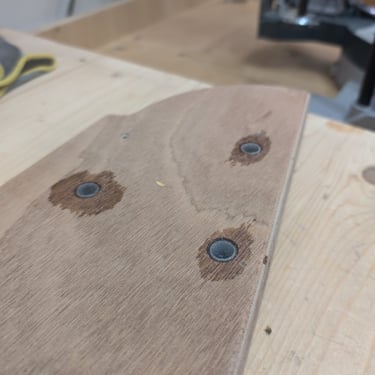
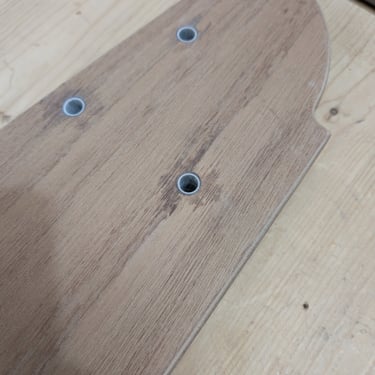


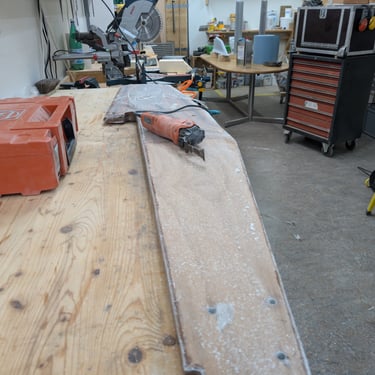


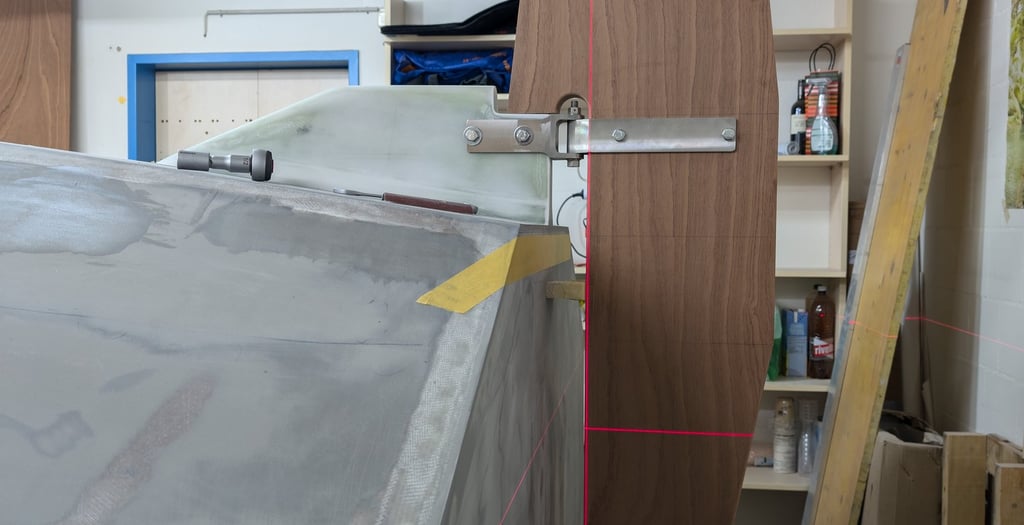
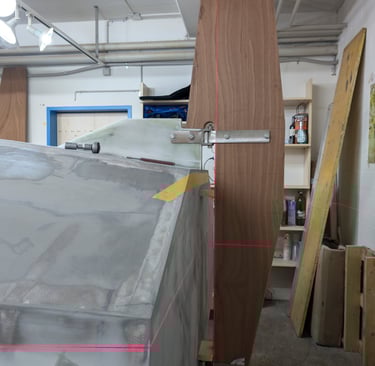
The next step, after provisionally installing the skeg, was figuring out the exact placement of the rudder and the holes for the rudder fittings. I wanted to do this now because I wouldn’t have another opportunity later without lifting the boat. Plus, I wanted to continue working on the rudder with my approach of gluing fiberglass tubing into all the critical holes. I mounted the rudder, using the construction waterline as a reference for where the rudder should sit and deciding on the distance from the stern. I made a slight adjustment to the cutout for the bolt, cutting it about 5mm deeper to provide enough clearance. This adjustment was likely due to the stern lamination and fairing, which resulted in the skeg sitting a bit lower or higher at the aft end, depending on how you look at it. Once I was satisfied with the alignment, I marked the holes and drilled them in both the rudder and the boat.
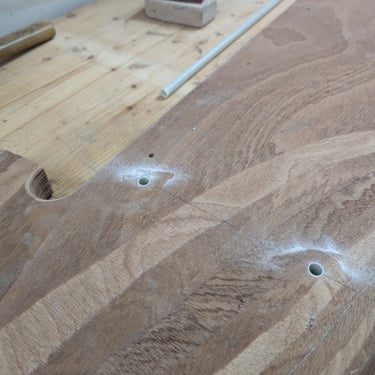
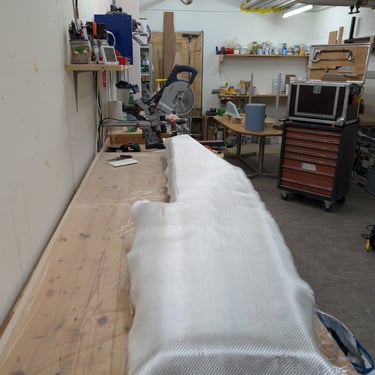
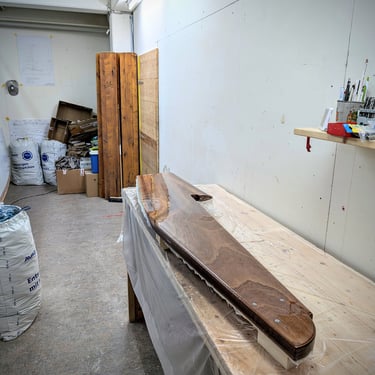
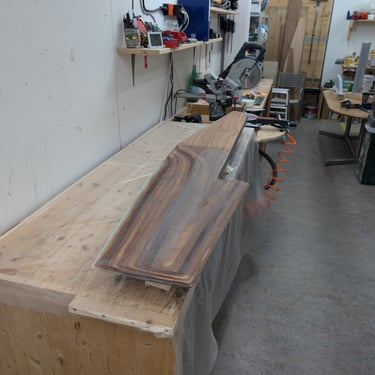
Next, I glued in the fiberglass tubing using the same process I did with the keel bolts. I taped the bottom of the holes, filled them with epoxy, and inserted the tubes. After some cleanup, I finished the profiling. For most of the profiling, I used electric and hand planes. For the top part, where the rudder shape flows into the full width, I used an angle grinder because it’s too concave for a plane. As specified in the plans, I then laminated a 600g/m² biaxial band around the bottom part. I also applied a little thickened epoxy to the entire rudder to create a better surface for lamination. Sanding and planing plywood like this results in some tear-out of the cross-grain fibers.
I then laminated the rudder using 280g/m² twill in two stages from either side. This worked out well, with the only problematic spots being the bottom and the cutout for the bolt. I recommend laminating these parts first, as I had to do a bit of fixing in these areas.