
Skeg
A Months-Long Journey
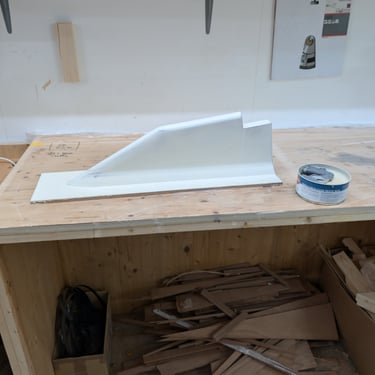


Building the skeg was a months-long process, even though I didn’t have to build the mold myself 😊. Huge thanks to Joe (Hull #165, jogotransat.ch) for letting me borrow his mold. It has been amazing to have someone nearby to exchange ideas with and engage in technical discussions. Joe and I have become great friends, and I’m incredibly grateful for his support, advice, and the inspiration I’ve drawn from his boat..
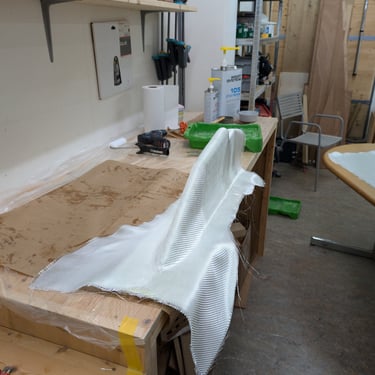
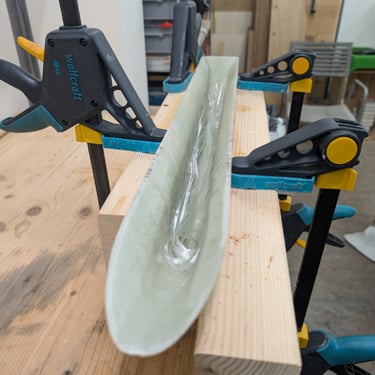
The mold was built exactly to specifications and finished to perfection. All I had to do was apply one more coat of wax before diving into the lamination process. Unlike Joe, I opted to laminate without vacuum bagging. I started with resin and peel-ply and then proceeded to laminate the glass fabric. I used the same 280 g/m² twill as I had used on the hull. I had prepared 14 layers but ended up using 12 to achieve the final thickness of roughly 43 mm. According to the plans, the skeg should be 40 mm wide, but since the rudder fittings are 44 mm wide on the inside, I chose to over-laminate to match that thickness. I finished with one more layer of peel-ply.
Pro Tip: When using peel-ply on the inside, be very careful with its orientation and how you lay it. If not done properly, it can be extremely difficult to remove
A Big Mistake… and the Fix
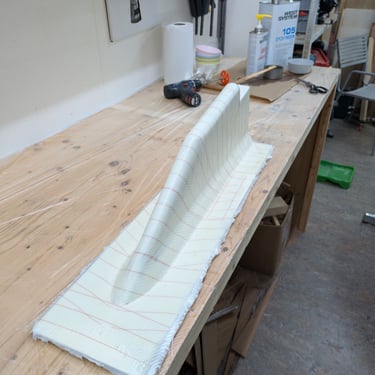
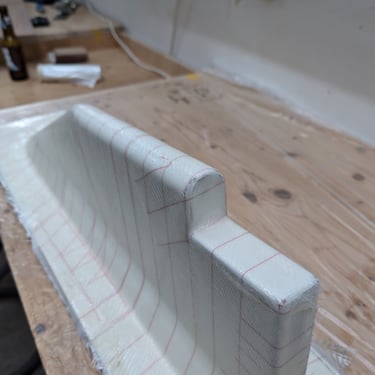
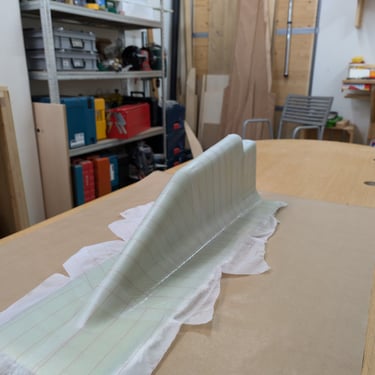
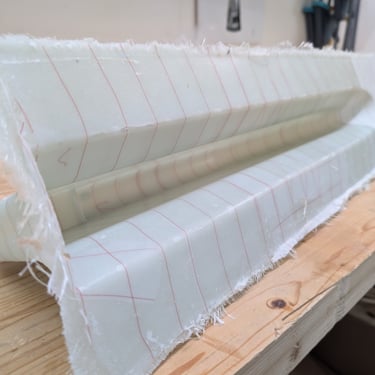
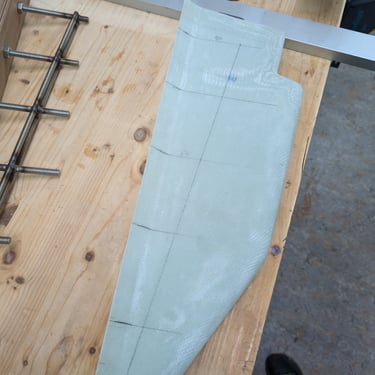
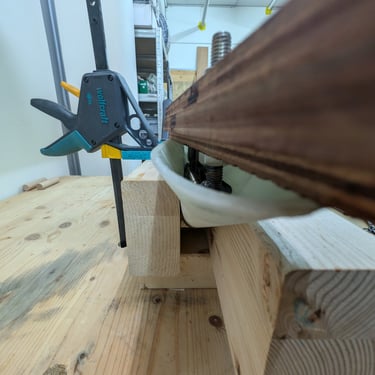
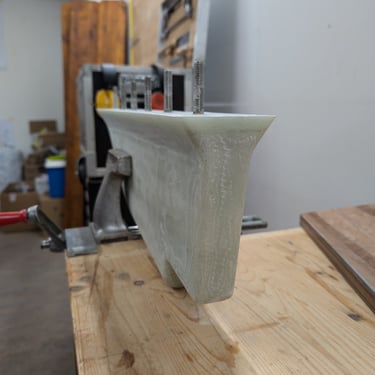
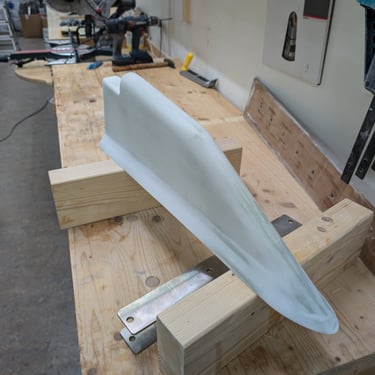
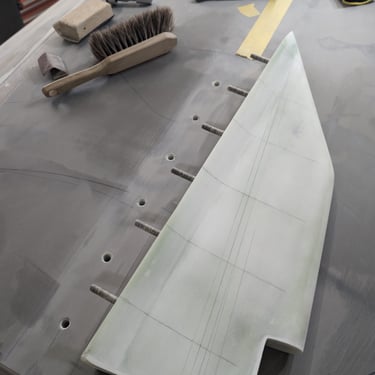
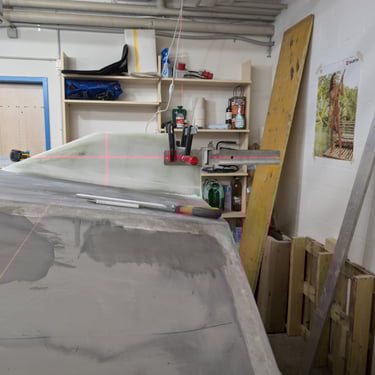
The skeg released beautifully, and I easily removed the peel-ply. However, I made a significant mistake during the trimming process. I cut along the corner at the bottom of the mold and then sanded it back until the round-over was gone. When I placed the skeg back on the mold, I realized it was now 10 mm too short. Oh no! This error is clearly visible in the third picture. To fix it, I laminated a 10 mm fiberglass plate to the top later.
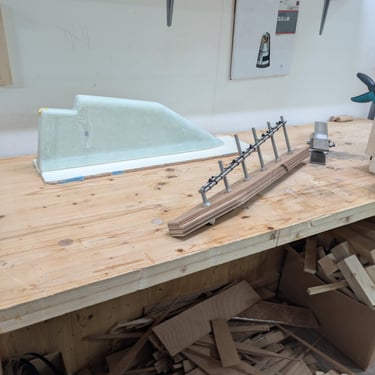
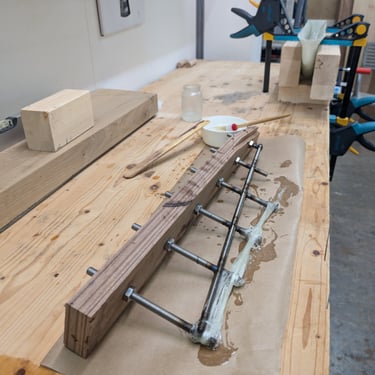
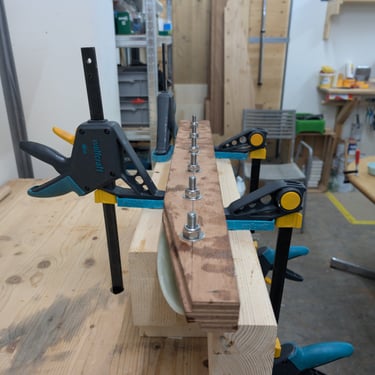
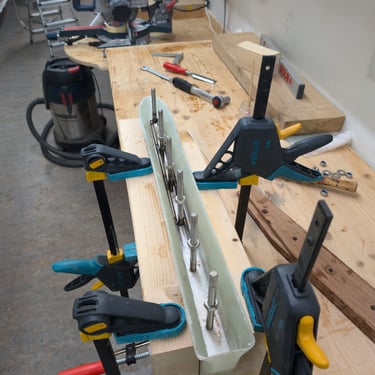
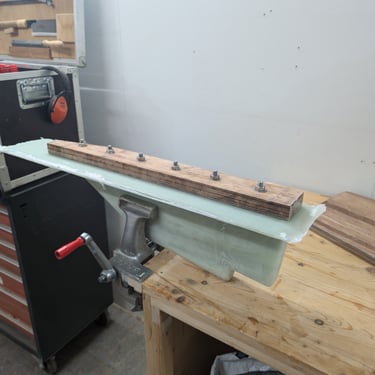
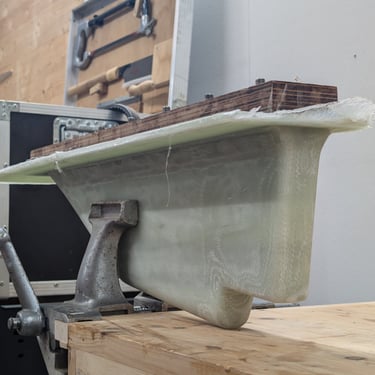
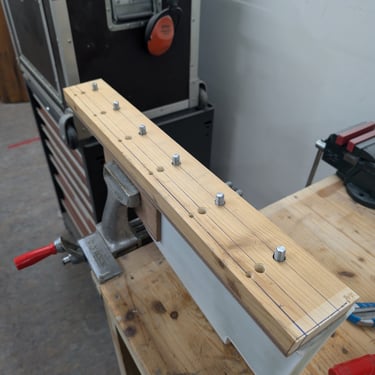
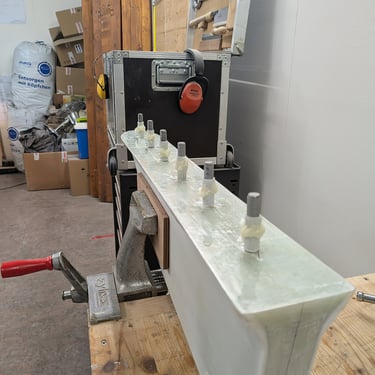
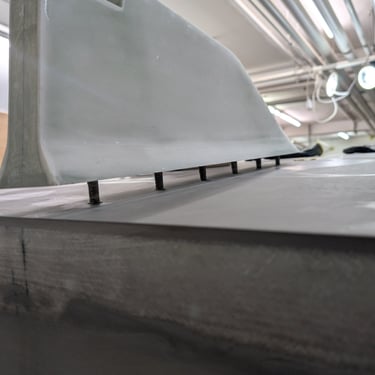
The next step was to fill the skeg with fibers and resin and place the skeg bolts. I made a jig to hold the bolts, which I could lay on top of the skeg and align with the sides and back. The filling process was done in two steps: first to set the bolts, and then to fill the skeg completely. I used West System epoxy with the slow hardener and an entire spool of 200 m heavy roving. Each part of the filling was done in small batches, spaced an hour apart to reduce heat buildup. Still, in hindsight, using a casting resin might have been a better idea, as the skeg did get quite hot to the touch both times. The resin didn’t boil or smoke, but based on experience, it wasn’t far off.
A big thank you to Philip Käser from Käser Bau und Haustechnik for welding up my skeg contraption!
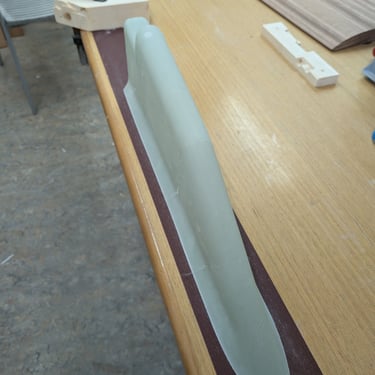
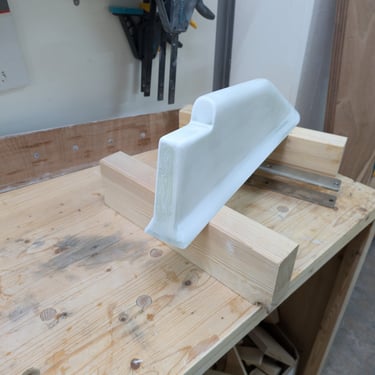
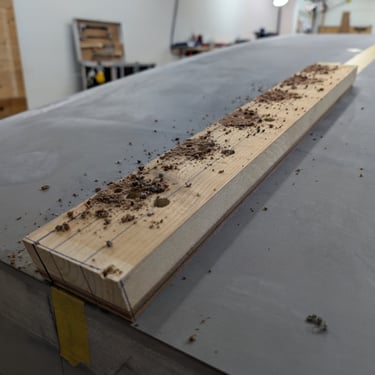
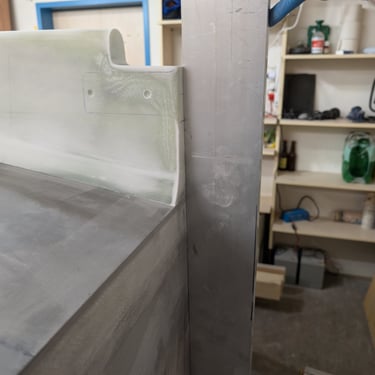
To fix my earlier mistake, I laminated a 10 mm fiberglass plate and glued it onto the filled skeg. I’m happy with the results—the skeg feels absolutely indestructible. Unfortunately, I had to cut away the wooden backing with my Fein tool because I couldn’t release it. I also used the Fein tool with a cobalt-hardened blade to cut the 10 mm glass plate. This worked brilliantly and greatly reduced dust production.
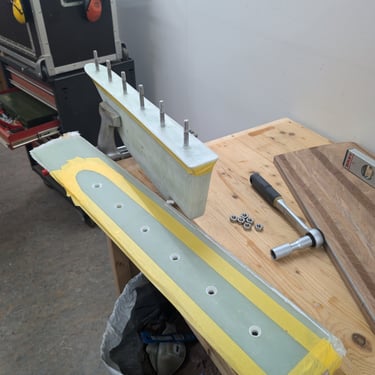
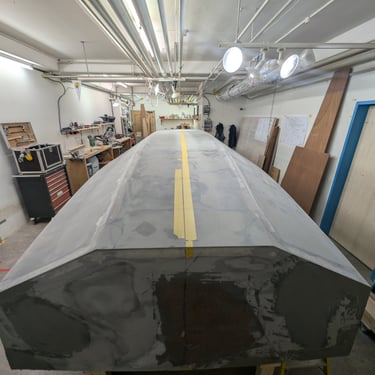
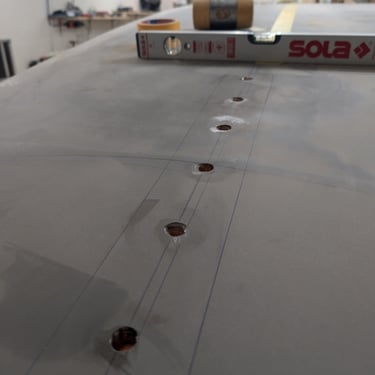
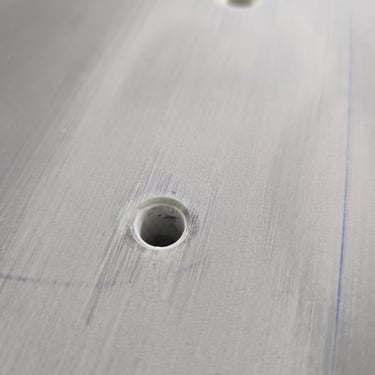
Next, I coated the skeg with epoxy putty and sanded it smooth. I then created a drilling template to drill the through-hulls. I made several hole sizes in the template to double-check the centerline from the inside. Inside the hull, the centerline was marked on all the frames. On the outside, I used a laser level and my markings on the boat and wall to find it. With the centerline now marked on the hull, I also drilled the keel bolts, but I’ll save that for another blog entry.
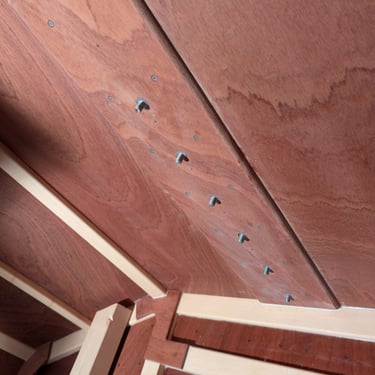
I over-drilled the holes with a 13 mm drill bit and then glued in some glass tubes. This was done in two steps: first, I fixed the skeg and tubes in place with epoxy spots. Then, I released the skeg, taped the inside of the holes, and poured resin into the tubes to fully glue them in and seal all the wood. This method gave me some leeway while tacking in the glass tubes. The skeg now fits perfectly and will soon be permanently installed.
Stay tuned for more updates!