
SS Transom Supports
Strengthening the transom for the daggerboard mounts.
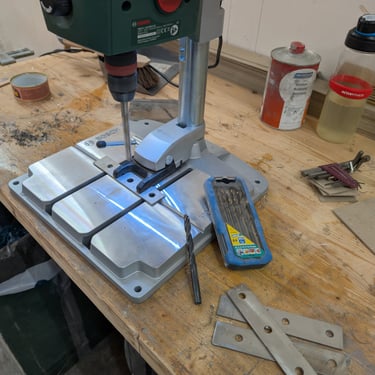
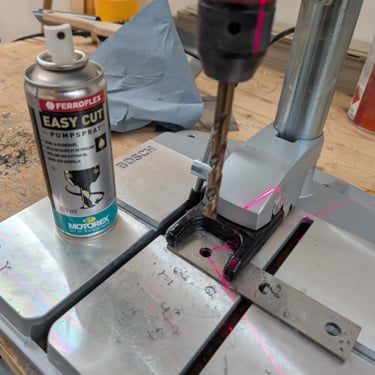
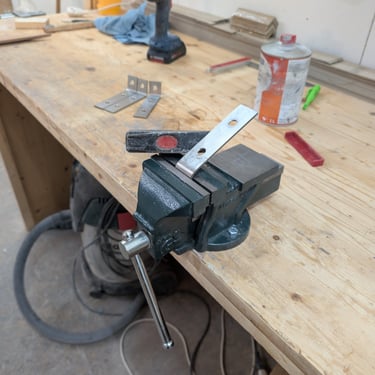


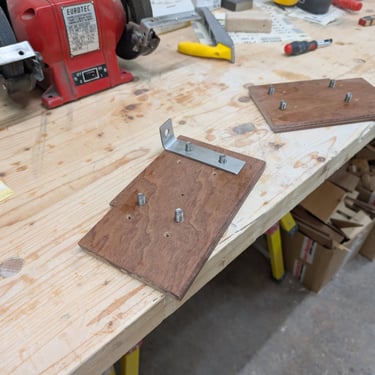

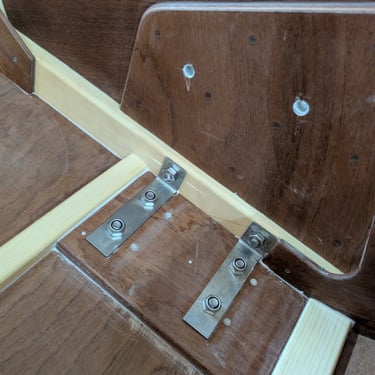
With the daggerboard mounts completed, I moved on to installing the mandatory stainless steel angles that help take the load off the transom. These angles are part of the standard stainless steel package and come as four flat steel plates. They need to be drilled and bent before installation.
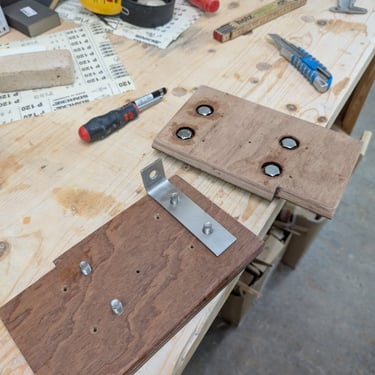
The idea is that the top hole aligns with the daggerboard mount and is through-bolted together, while the two bottom holes transfer the load into the hull. According to the plans, this should be done with two 10mm bolts going straight through the hull. However, like many builders, I hadn't decided on the exact placement before laminating the hull, so through-bolting wasn’t an option anymore.
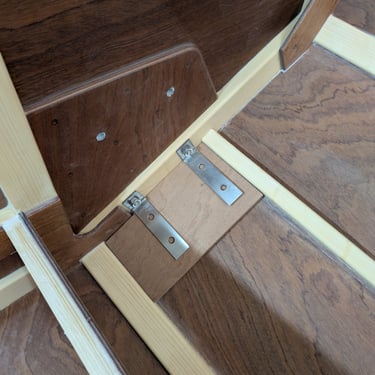
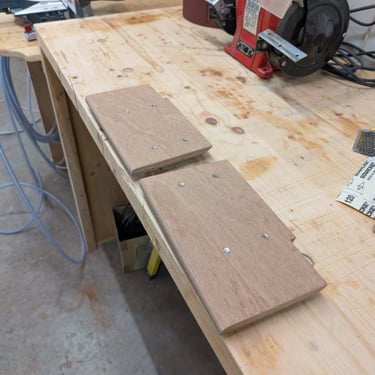
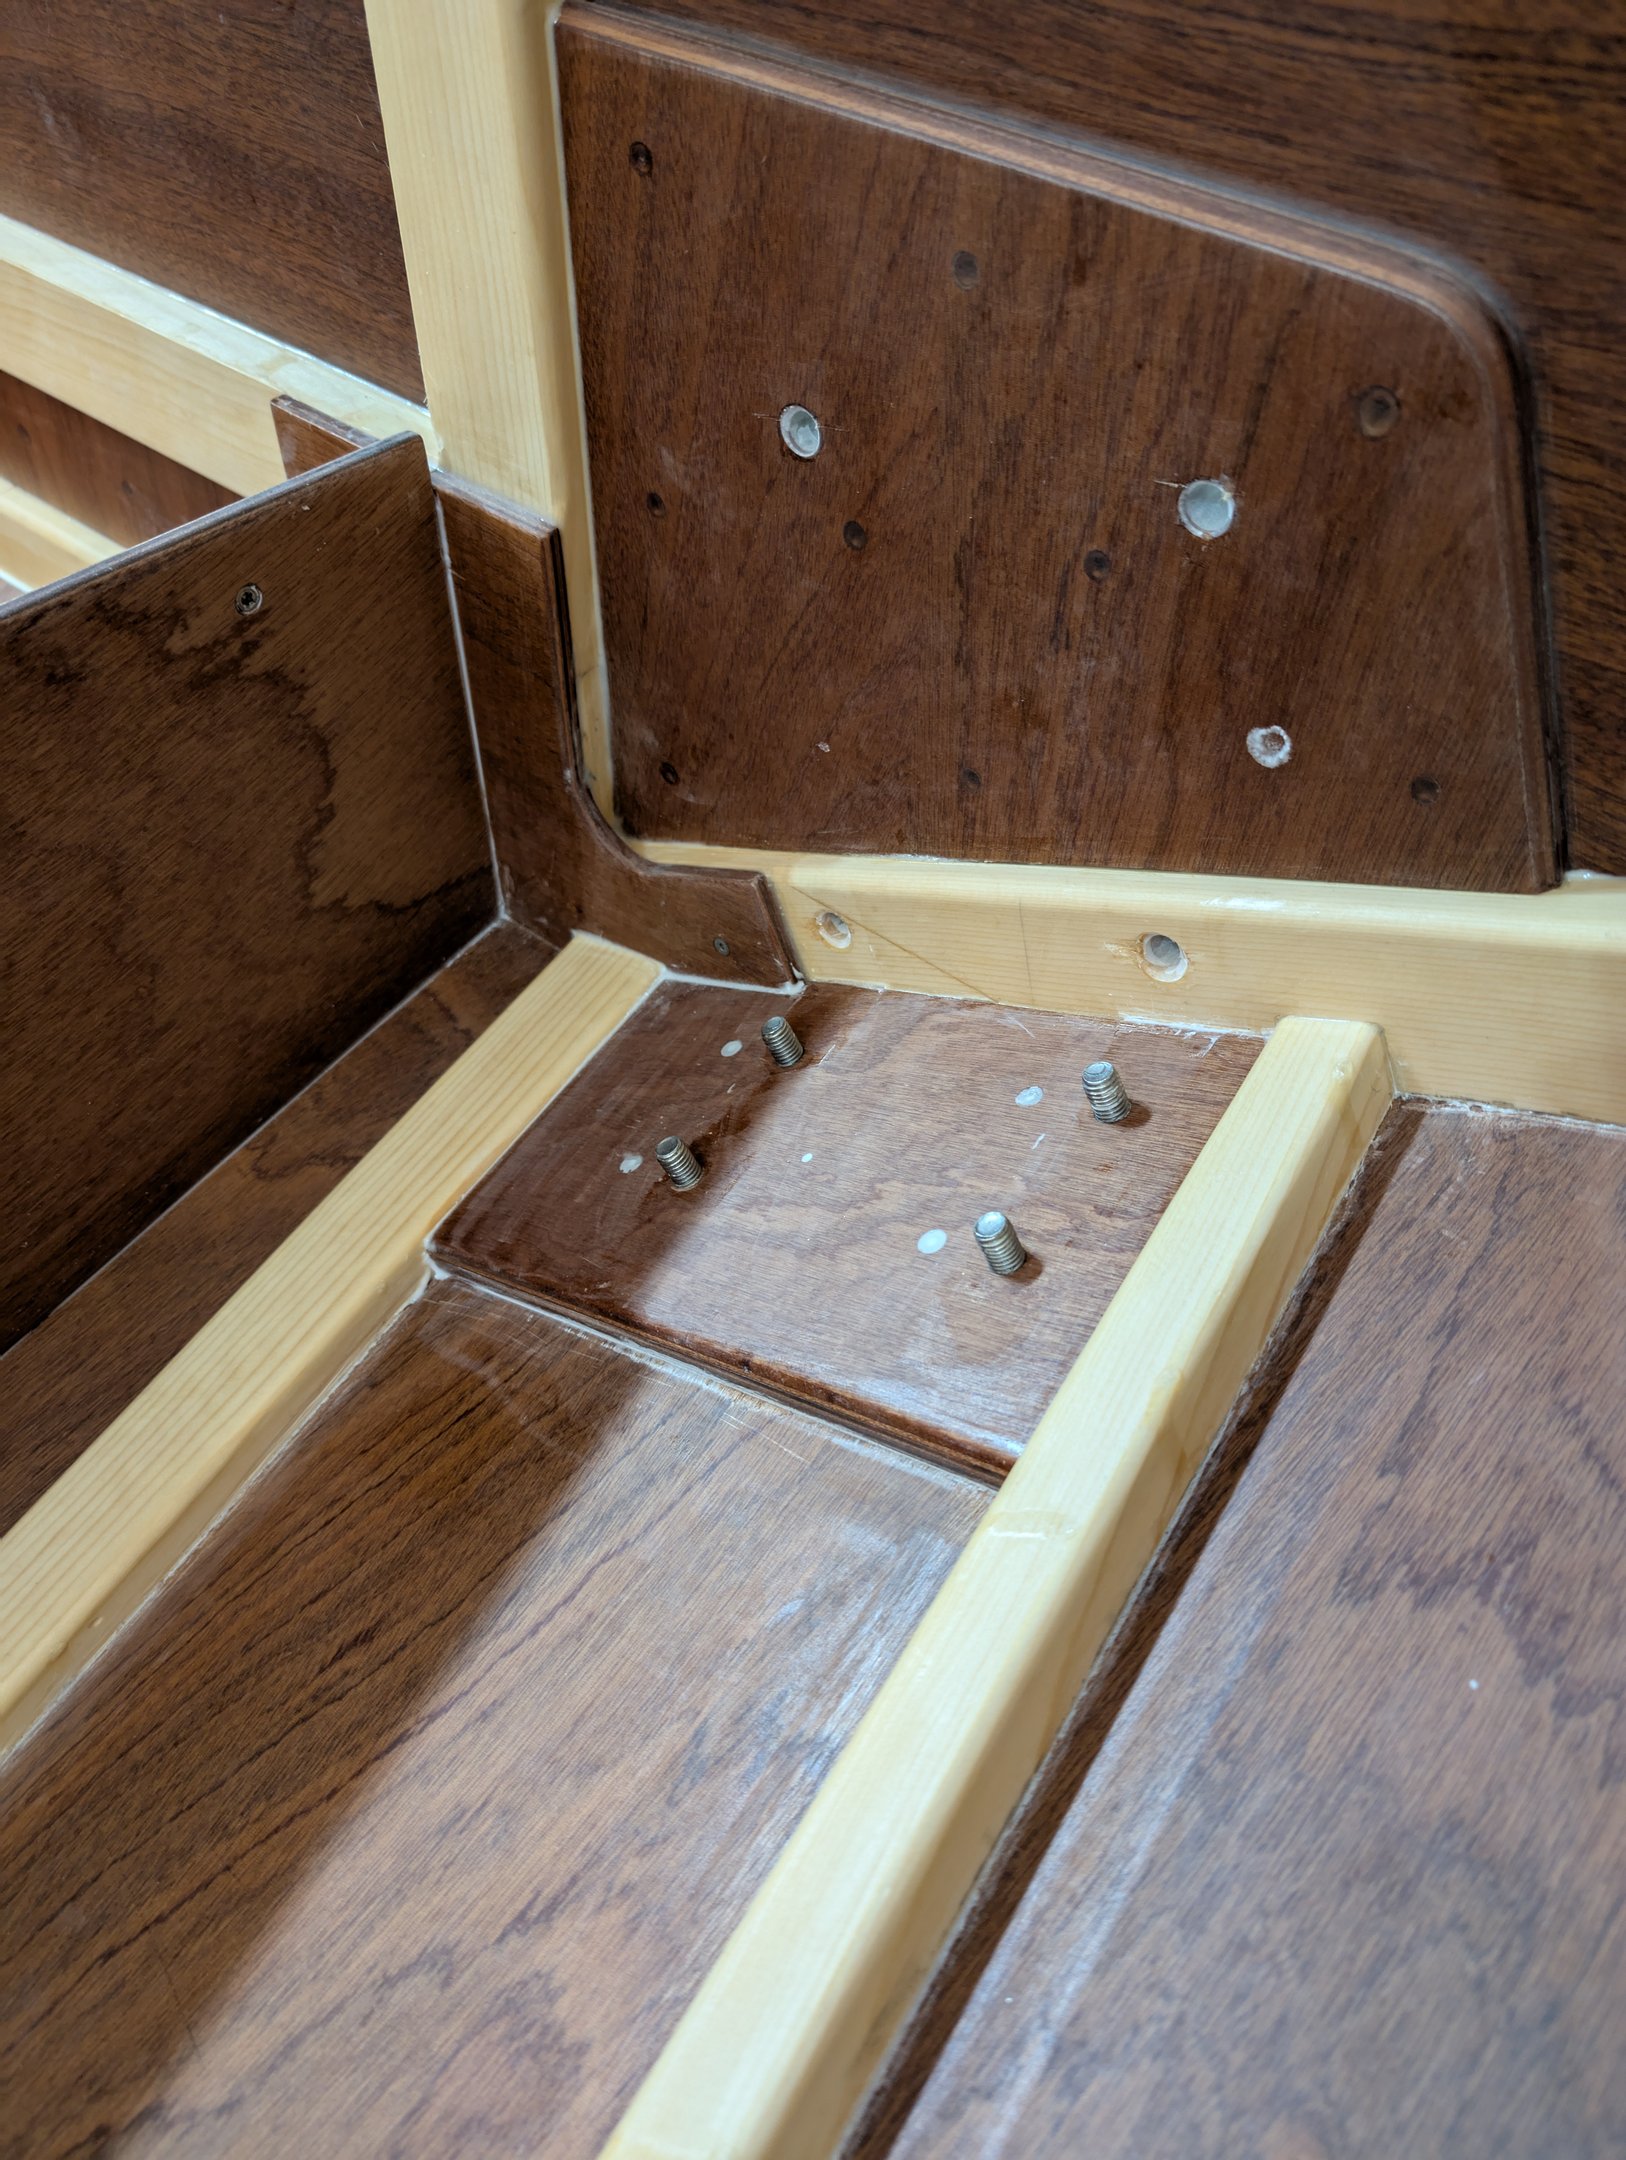
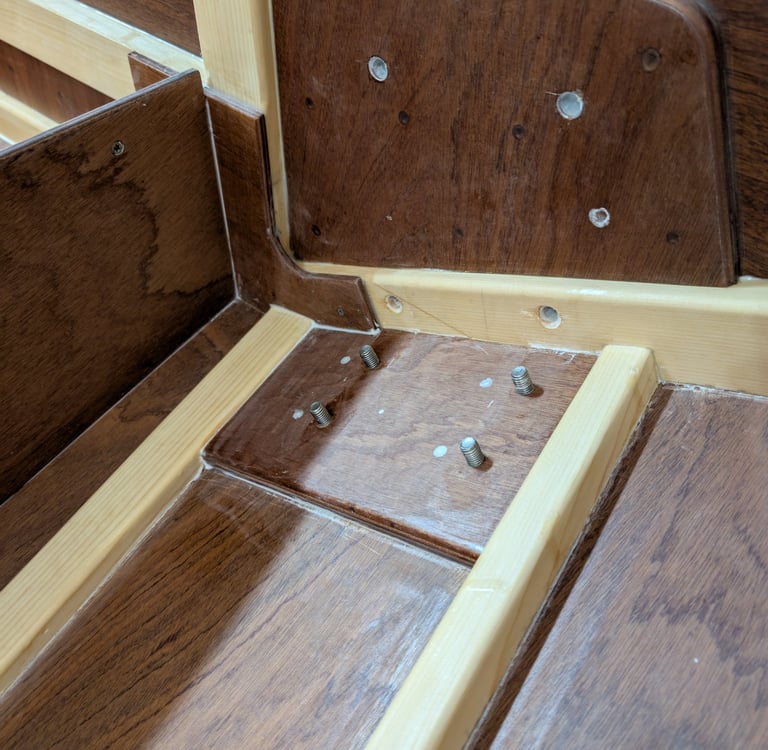
Instead, I followed a similar method to Joe (#165, jogotransat.ch) by adding internal doublers. I laminated two pieces of 8mm mahogany plywood together to make the doublers. After shaping them, I installed bolts from the back side and cut threads into the doubler itself. This gave a strong glue surface and allowed the loads from the daggerboard mounts to transfer securely into the hull. Cutting the threads also allowed me to tighten the bolts before gluing, which made for a really convenient stand when it came to coating everything!
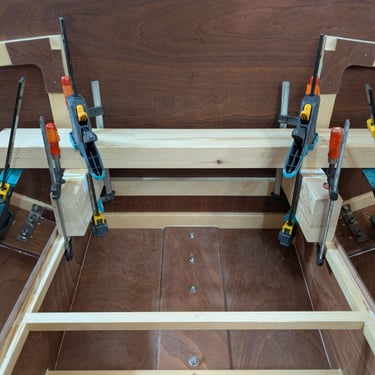
Originally, I planned to use four screws to provide clamping pressure during glue-up. However, I ran into a small issue: I hadn’t bent the stainless angles perfectly, and when tightening the bolts, they created quite a bit of upward pressure. The four screws into just 6mm of ply couldn't hold it. So, I ended up making a clamping contraption instead.
In the end, I’m really happy with how it turned out. With this step complete, I can now move on to the final finishing and prep work for painting the aft section!