
The Daggerboard Mounts
Wrapping up the daggerboard mounts in preparation for work on the aft cockpit lockers.


With the first stage of the interior fit-out complete — frame S and the bunk sides now in place — I’ve started thinking ahead to the cockpit floor. That got me realizing: I’ll soon want to paint the aft locker. But before I get to that, there’s still the matter of mounting the daggerboards and their stainless supports on the transom, which means figuring out their exact positioning. I want to have the daggerboard mounts fully ready to ensure a perfect fit.
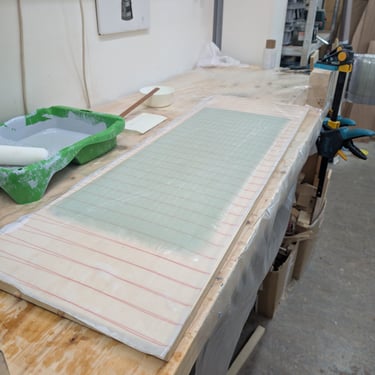
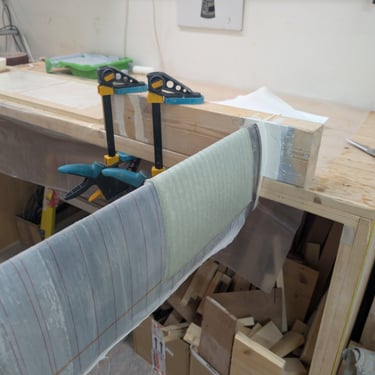
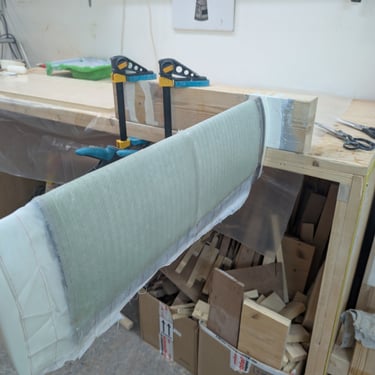
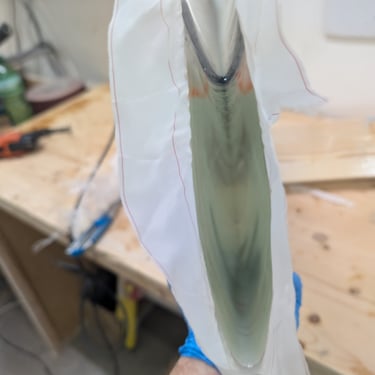
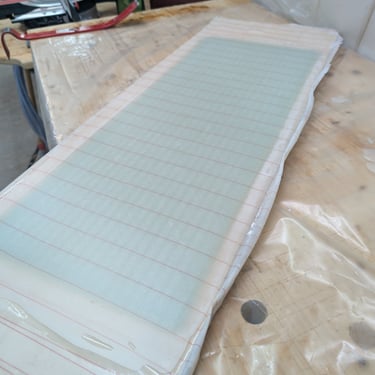
So I got started on making the fiberglass parts. The lamination schedule followed the plans, and I used 600g biaxial tape throughout. For the back piece, I laminated onto a plastic-veneered chipboard, used peel ply on both sides, and then pressed it all together with clamps. Clean and simple. The daggerboard pieces themselves were a bit trickier. I cut a cheap plastic car floor mat to size and fixed it onto the daggerboard using shrink wrap tape. Then I prepped the laminate on my workbench — again, peel ply on both sides — and laid it over the daggerboard. After that, I wrapped the whole thing.
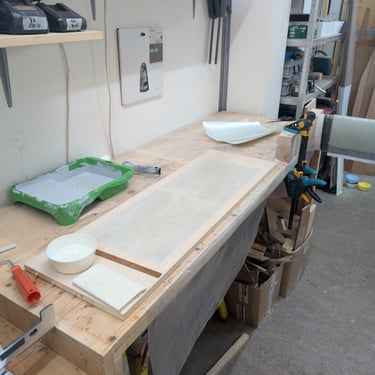
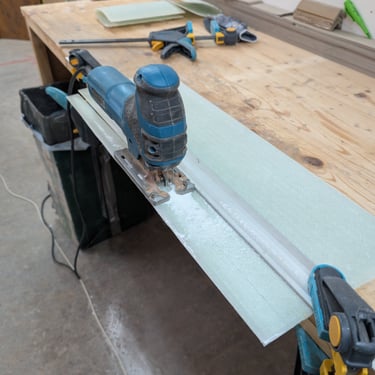
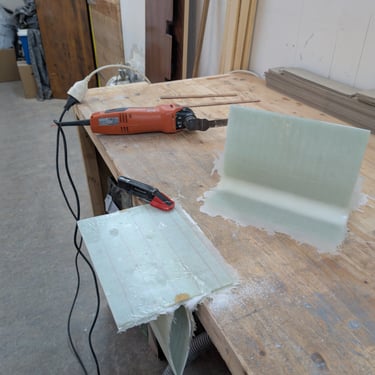
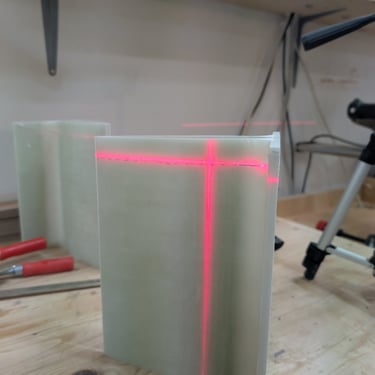
I was really happy with the results. Once everything cured, I cut the pieces to size. Cutting fiberglass needs a slow and steady hand — you don’t want to burn the resin. I used fine-toothed hardened blades to avoid ripping the strands. On the fine oscillating tool, I used a hard-metal blade, and for the jigsaw, a standard metal blade with the speed set to about a third of max and the feed to zero. I finished with 80-grit sandpaper to clean things up.
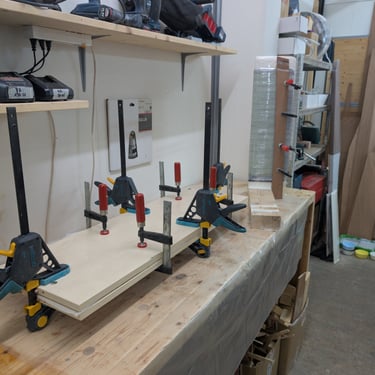
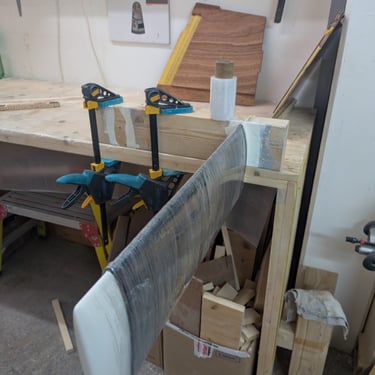
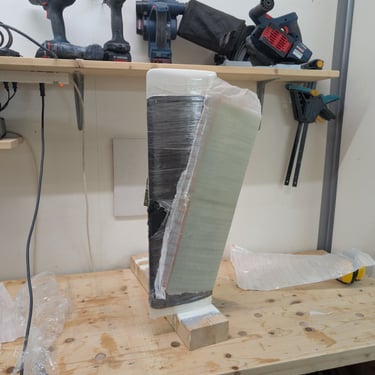
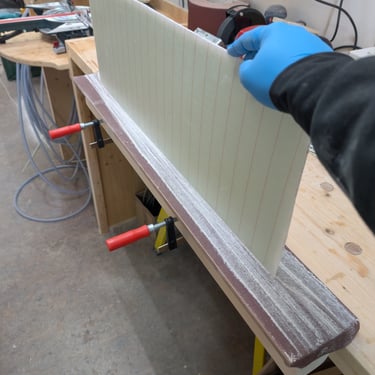
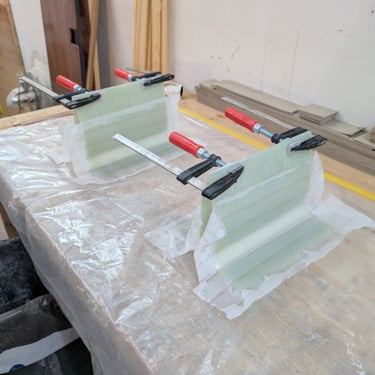
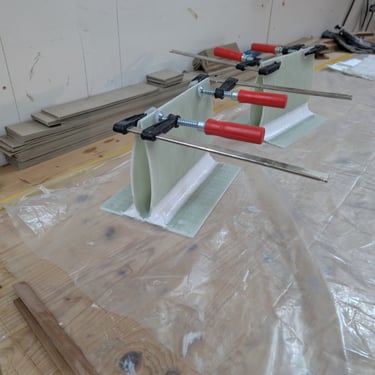
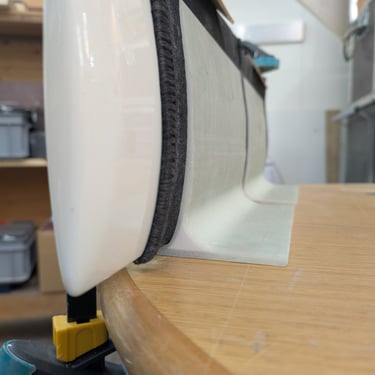
To glue two pieces together, I built a small jig to hold one of the daggerboards at a 90° angle and taped it to the table. Then I applied clear epoxy to the joint and did a small initial fillet to lock it in position. I followed up with a larger fillet and once that got tacky, I laminated over it — this time using a couple of clamps to pre-bend the workpiece, giving me higher pressure on the boards later on.
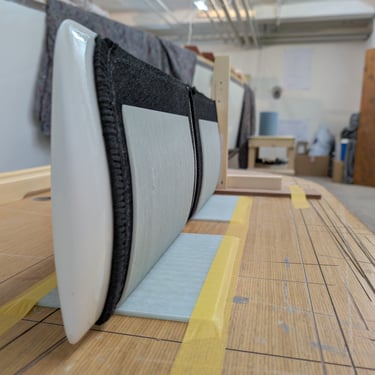
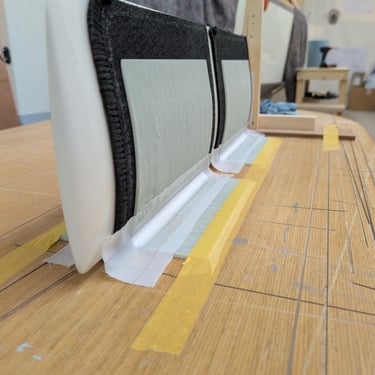
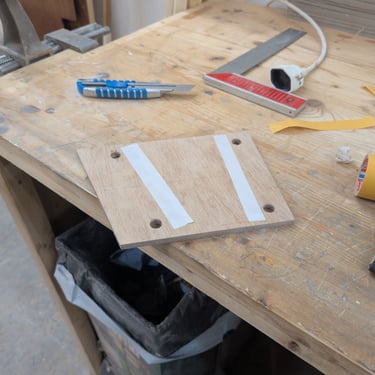
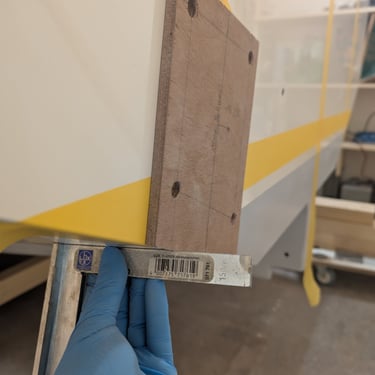
With the mounts glued and laminated, it was time to install them. I decided to stick with the 10° angle on the Transom and mounted them as far apart as the plans allow — this will also line up perfectly with the stainless supports later on. To measure the placement, I used tape on the transom and made a plywood template. That helped me mark the cutaway on the daggerboard mounts and the positions of the mounting holes.
Now that those steps are wrapped up, I can move on to fabricating and installing the transom supports. After that, it’ll be time to prep and paint the aft locker — then finally close up the cockpit 😊