The Stringers
Stringer cutouts, pre fit, epoxy coating and glue up.. lots happening in this post
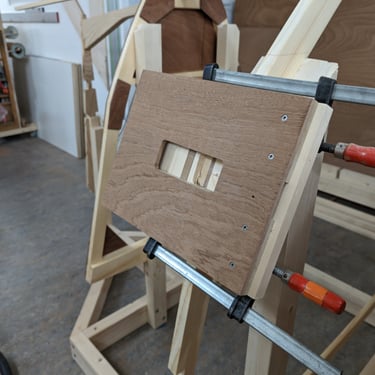
I built a jig for letting in the stringers with my router. To check the depth, I pre drilled each with a forstner bit and checked with calipers. The doublers used for clamping the jig on to the frames had sacrificial plates on them to eliminate tear out.
The bevels I did afterward with a rasp, file and chisel
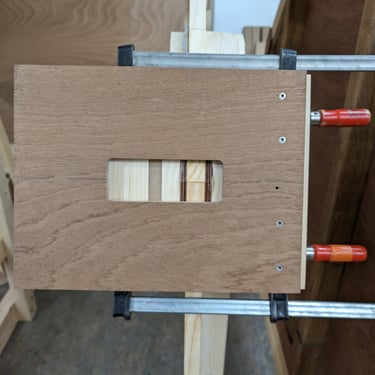
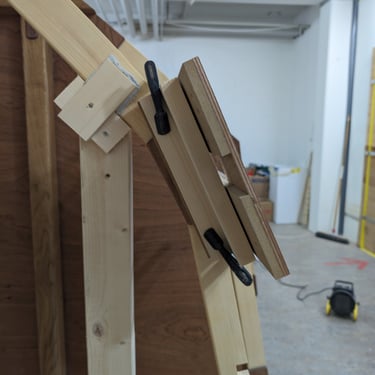
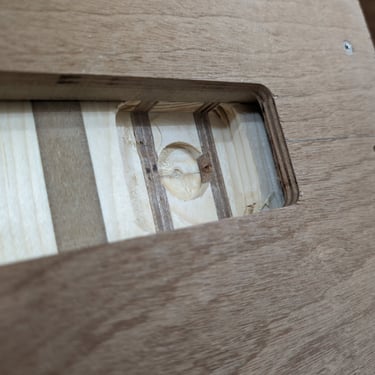
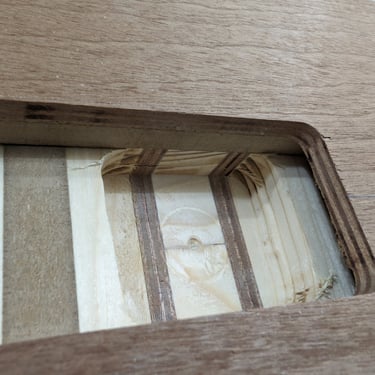
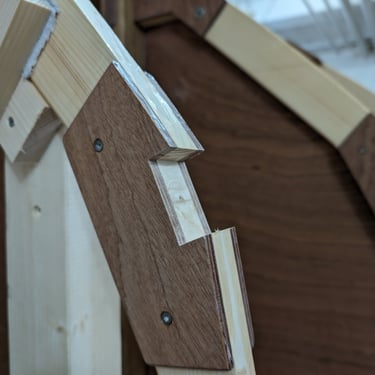
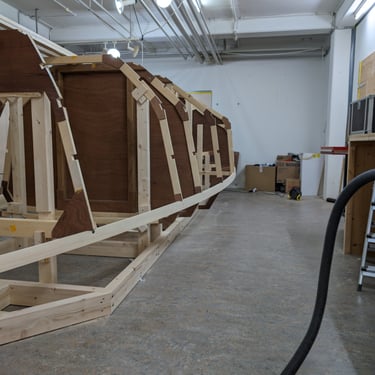
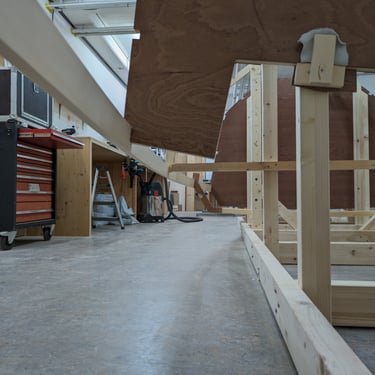
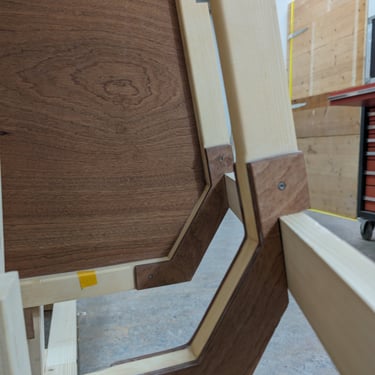
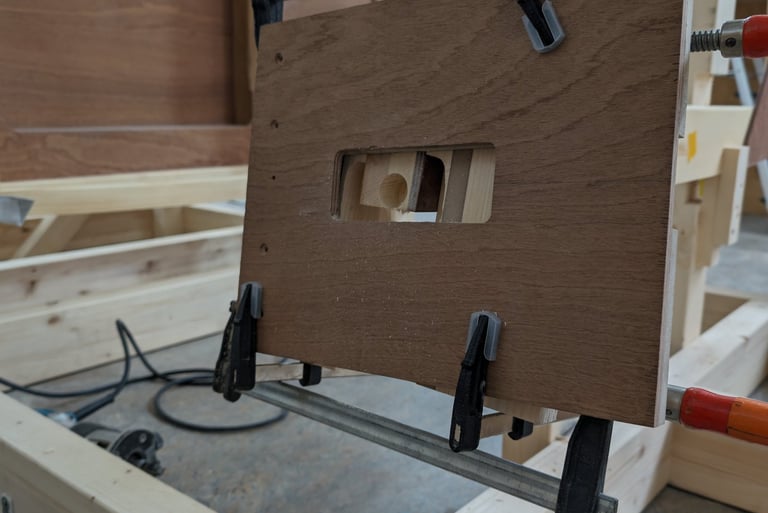

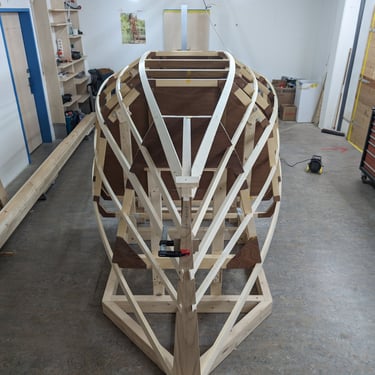
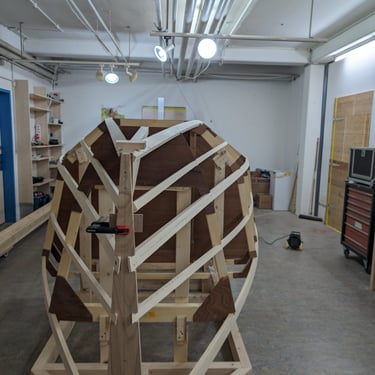
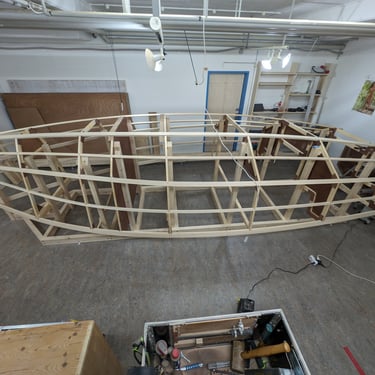
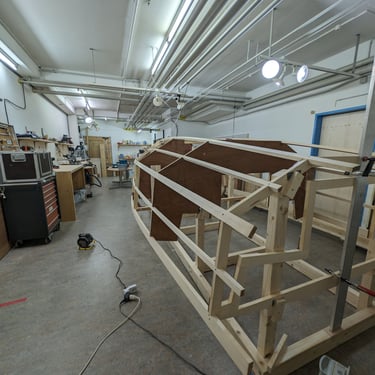
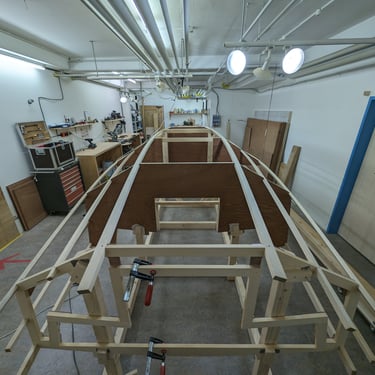
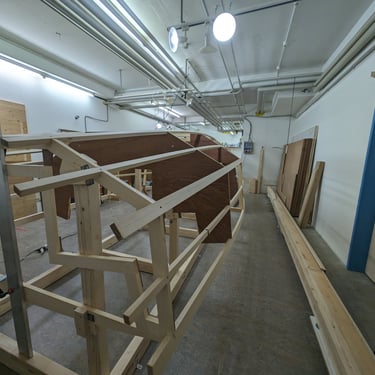
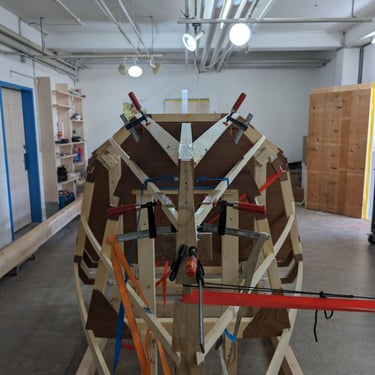
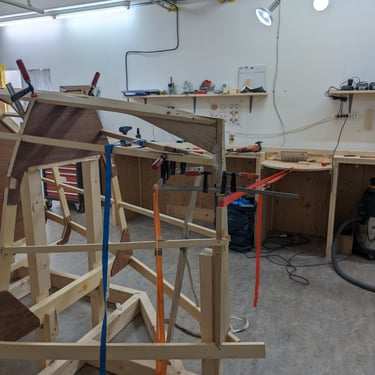
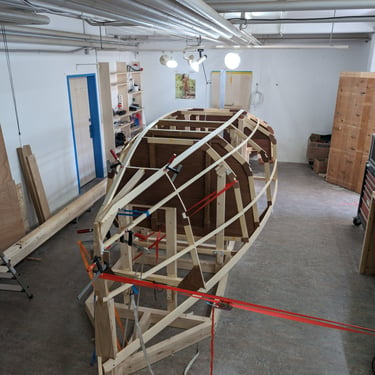
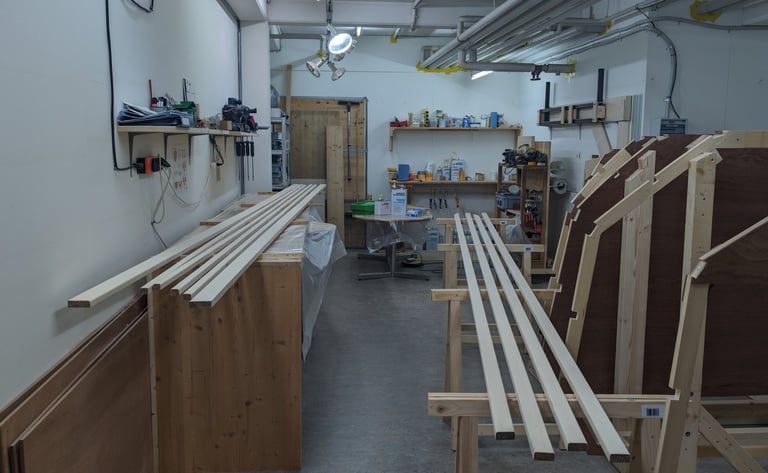

Some 70 cutouts and a couple days later I had all the stringers pre fitted on the frames and fixed with screws. I then marked the position of the frames to all the stringers for the round over. next i will be taking them all off for a sanding and some epoxy.
For me the chine stringer was by far the hardest to bend into place. To ensure the best outcome, I decided on the following order for glueing:
Deck stringer, bottom stringer, then the middle stringers, followed by the chine stringer, naturally always alternating sides.
The stringers ready for their epoxy coating
After the stringers had been sanded, I started to glue them on always alternating sides and checking for symmetry. As seen in the pictures above, I had to pull the bow to one side a bit and I used two clamps to give a twist to the smaller bottom stringers.
